Well it all started early in the year when I was looking for a Suzuki as a daily driver so that I could take the Surf off the road for some much needed repairs and TLC.
The plan was to buy a tidy Stock Samurai and possibly look at some minor mods in the future.
Criteria were - Good runner / WOF / REG / Minor/no rust / In Budget.
After lurking on Tard Me for a month, being dismayed at the prevalent cost:rust ratio
Arranged to go and have a look at a Vit in Tauranga and was told there about a 413 in Kawerau.
Ended up coming home much to my flat mates distress
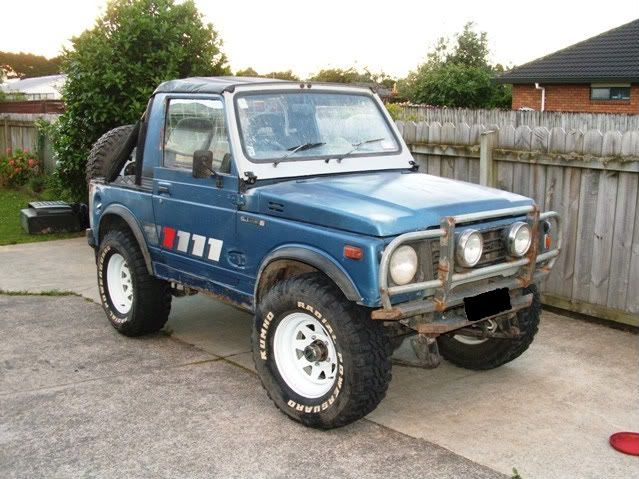
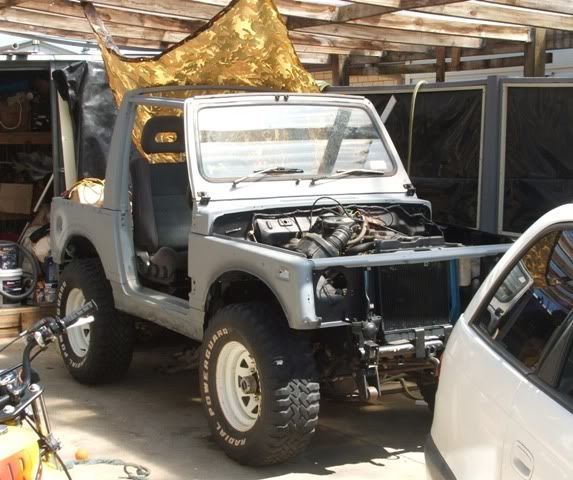
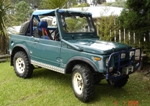
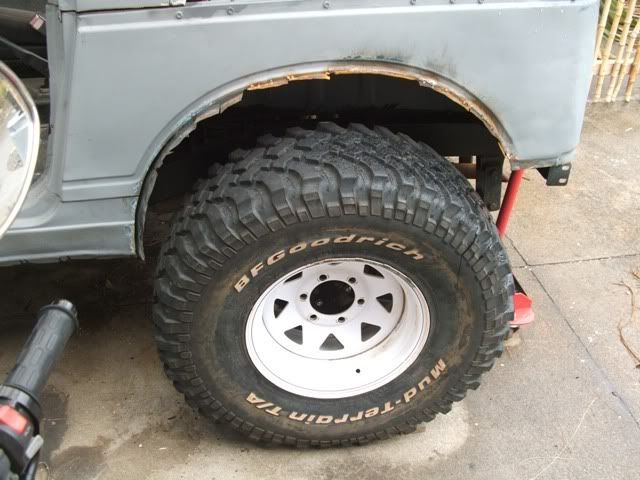
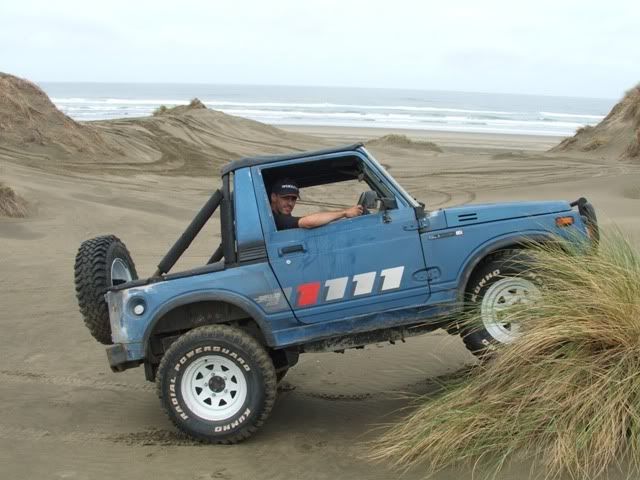
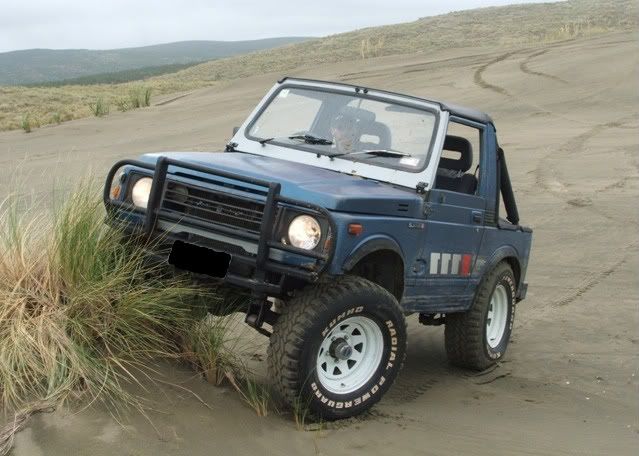
1985 Suzuki SJ413 JX SWB Convertible
G13a 1324cc big block, New Bosh 4's ,New leads and Coil
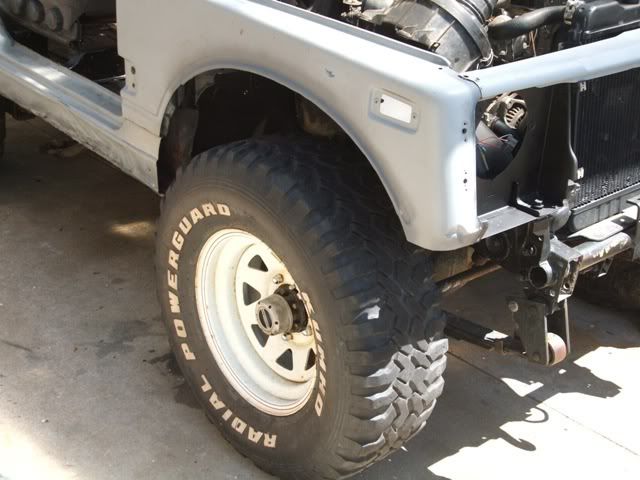
31x10.5 Kumhos
2" Spring lift
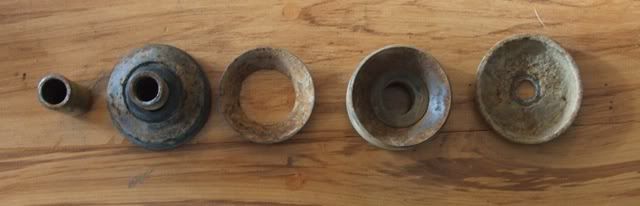
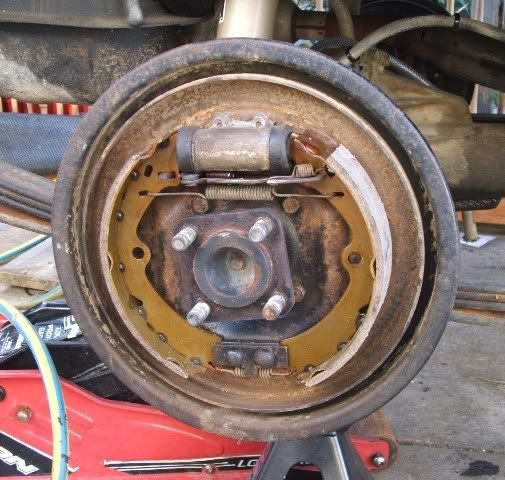
New Shocks , Rebuilt knuckles , Super Winch manual hubs
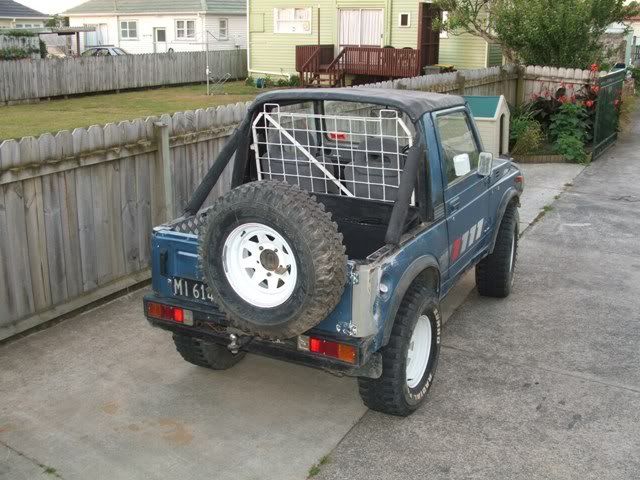
Soft Top , Tonneua Cover, Roll Bar
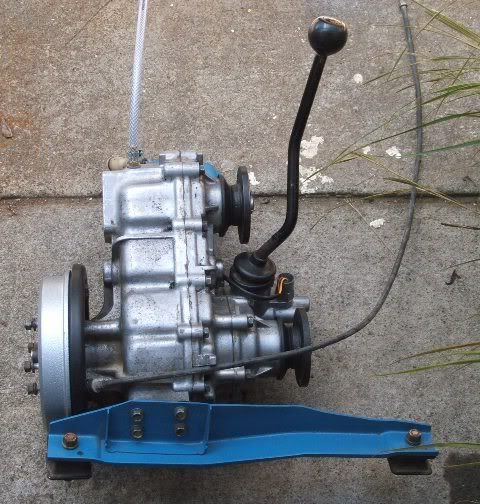
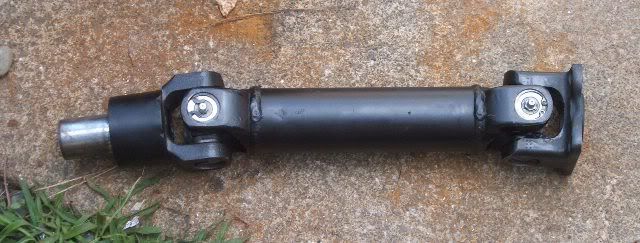
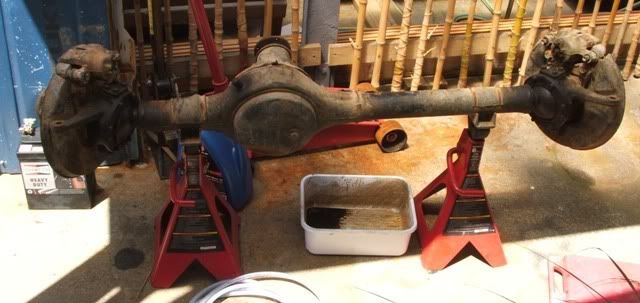
Spare Motor / Gearbox / drive shafts / transfer etc etc etc etc
Current WOF and REG
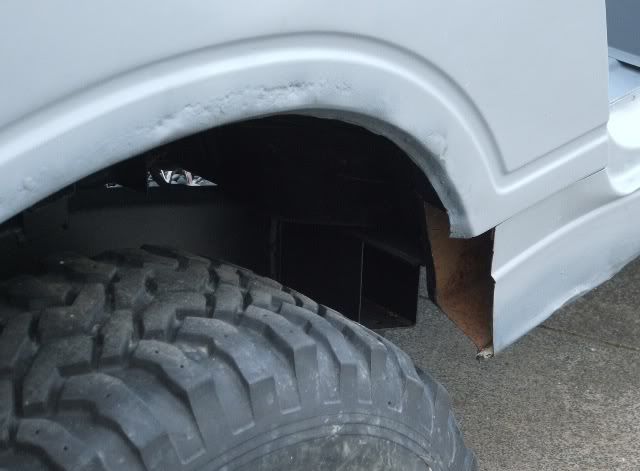
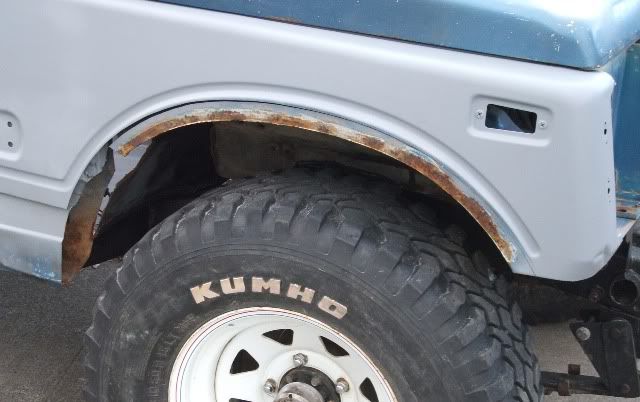
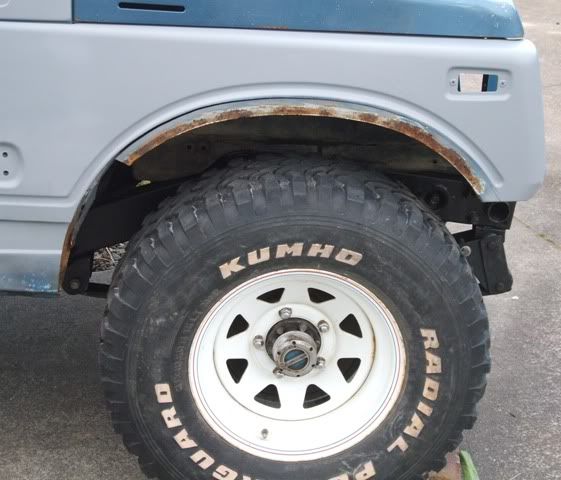
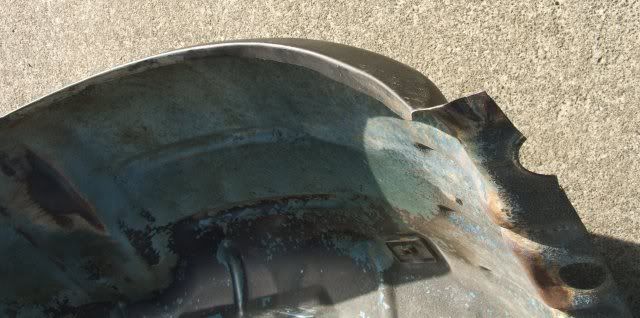
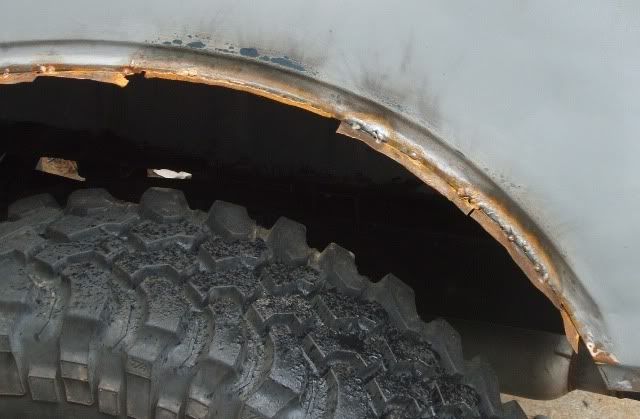
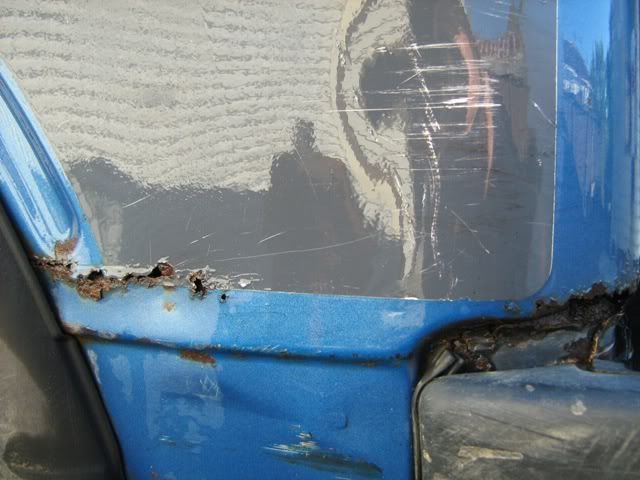
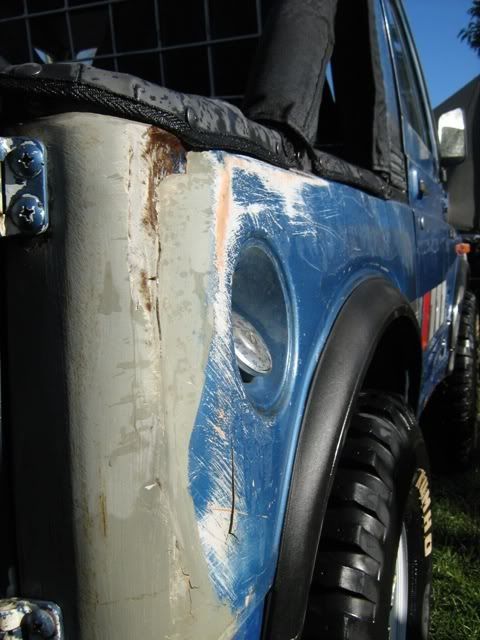
Only visible rust was in the left rear corner
has a few

Did a few minor mods .
Pulled out the Cargo Barrier (Can know put the Seat right back)
Adjusted the steering box free play (Was a very interesting drive home)
New Spring Bushes (Calmini - Soft like the rubber ones)
Oil Change / Time and tune up
Wired up electric fan properly (So i diddn't have to twist wires together)
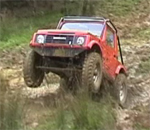
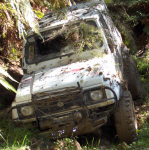
Then drove the crap out of it for a couple of months.
Feel in love with the wee girl and the plans for future modifications started
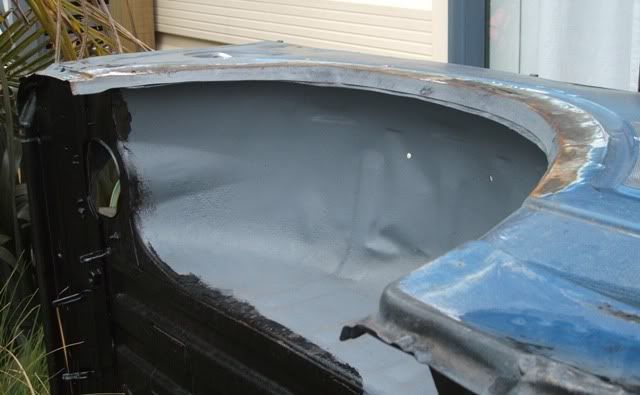
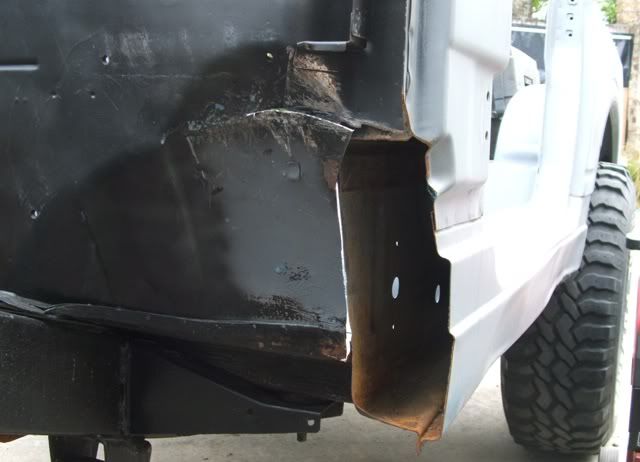
Had WOF coming up so cut the rust out of rear and welded new metal in . Also tided up the body a little (Sprayed over rust patches
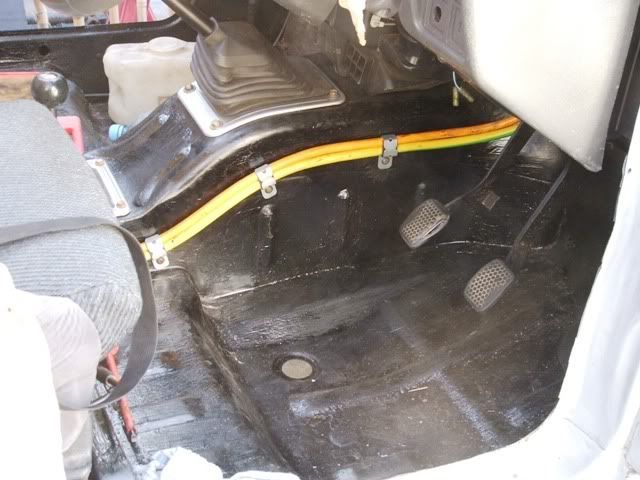
Then decided that I should do something about the 2 inchs of mud in the interior , so I gave her a interior clean out and got a bit carried away.
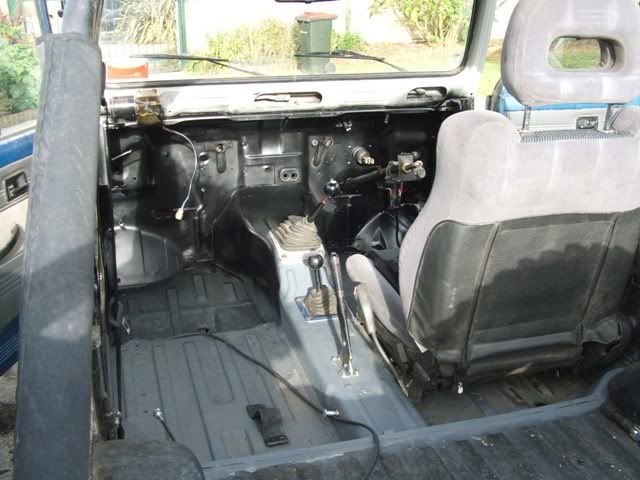
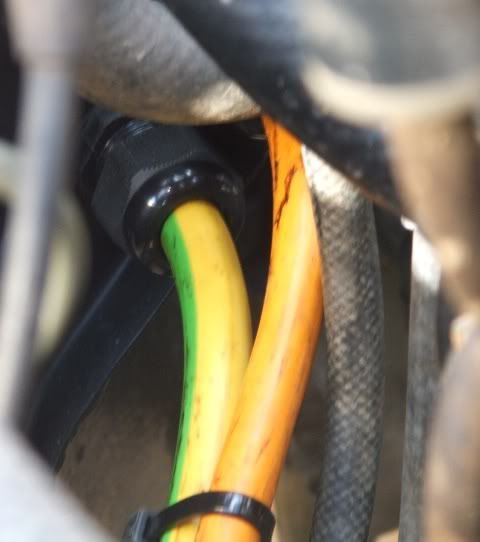
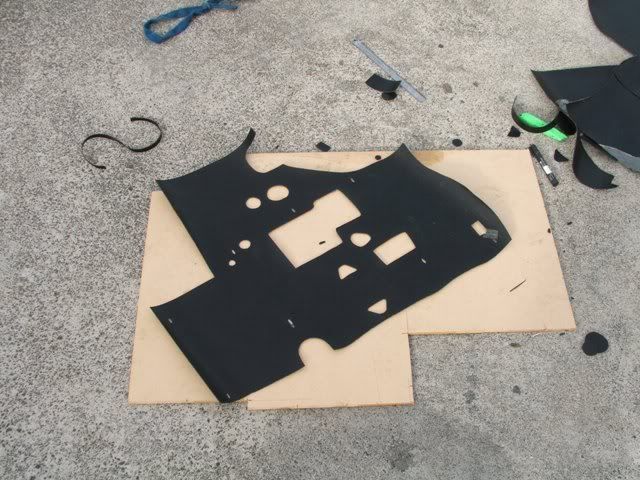
Stripped the entire dash out, cleaned and rebuilt the air system, Got rid of all the previous owners dogey wiring.
painted firewall and made a new rubber firewall liner.
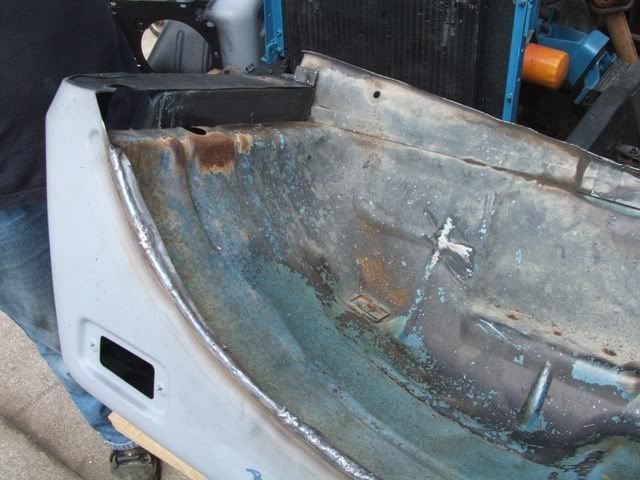
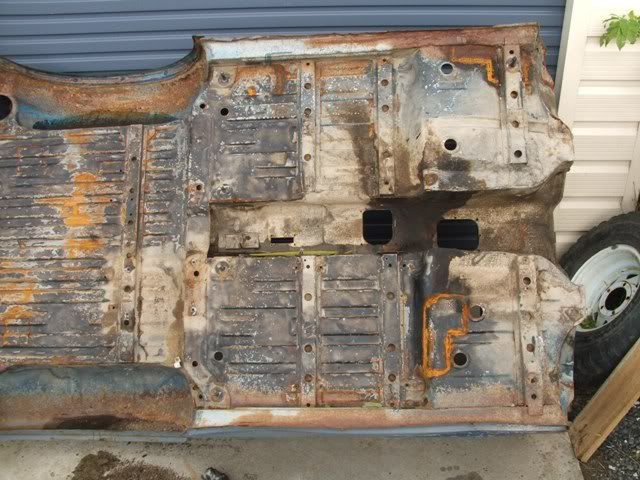
Then stripped all the old rubber floor insulation out with a hammer and chisel and found the start of some serious rust in the floor pans.
Welded new plate steel into the floor pans.
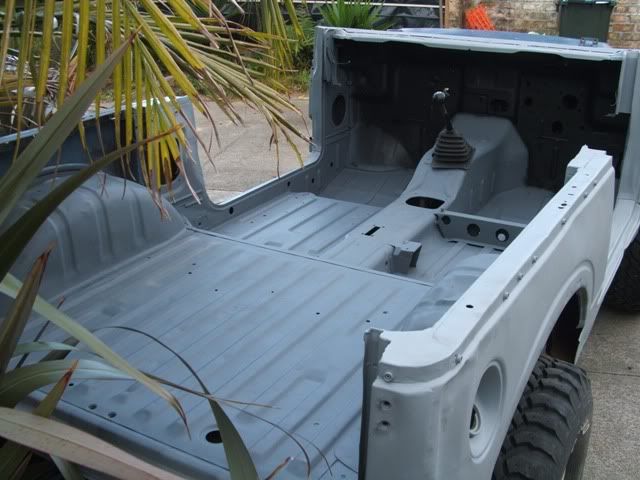
Rebuilt the dash ,stripped out the paneling in the rear and started cleaning the deck up so I could hippo line the entire tub.
Thats when every thing went to Custard.
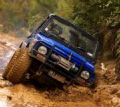
Was driving over to a mates to do some more work on the Zuk and suddenly lost power and acquired a sound like I had a couple of big holes in the exhaust.
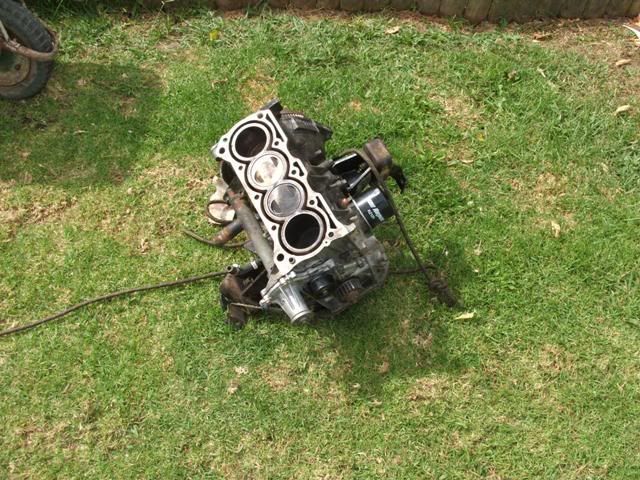
Nursed her home and checked and double checked all the electrics, Carb ,fuel pump etc etc etc for problems. Found none so off came the head. Found that the head gasket had let go between number 2 and 3 cylinders . Had spat a piece of gasket down number 3 and scored the bore pretty bad.
Out came that engine and in went the spare G13a (I had been told this was a runner just a little smokey)
The Zuk then sat for a month because I couldn't get the bastard to run at all. I tried every thing I could think of to no avail.
Then finally I though to check the cam position to crank and found that I was 180 deg out
Took about 15mins to fix and I had her running again.
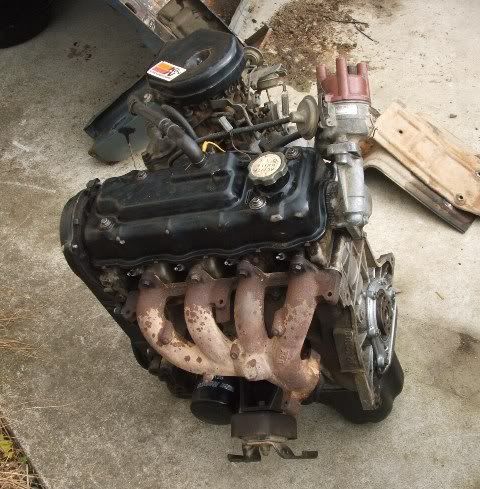
However it didn't take long to realize that the spare motor had a nice metal on metal dinging sound coming from the bottom end. Closer inspection revealed that the big end was poked.
The Zuk then sat for another month as I tried to track down another motor.
Ended up finding one very close to home (Cheers Icekayak)
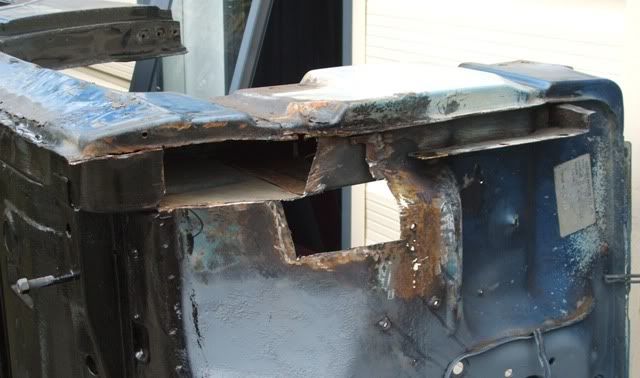
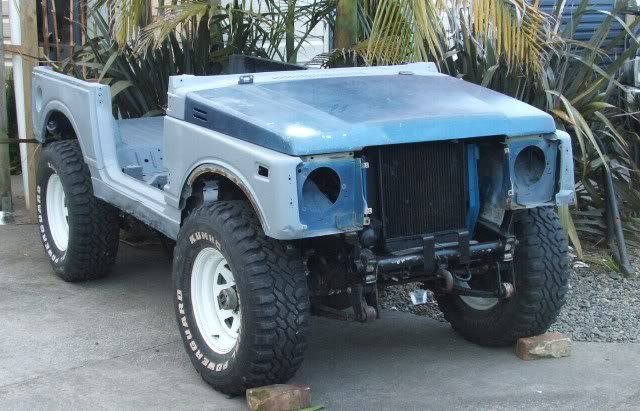
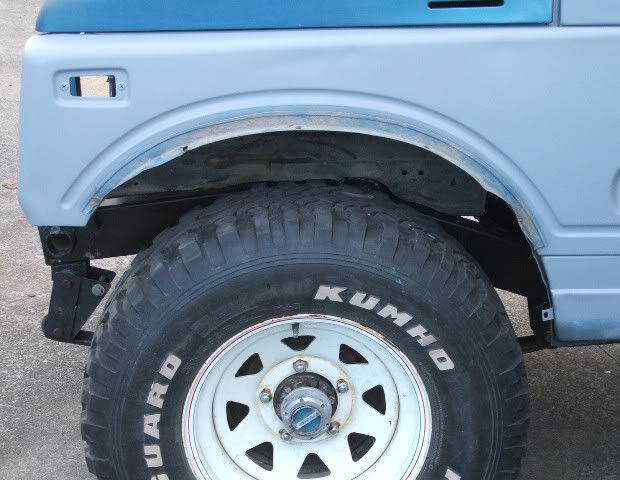
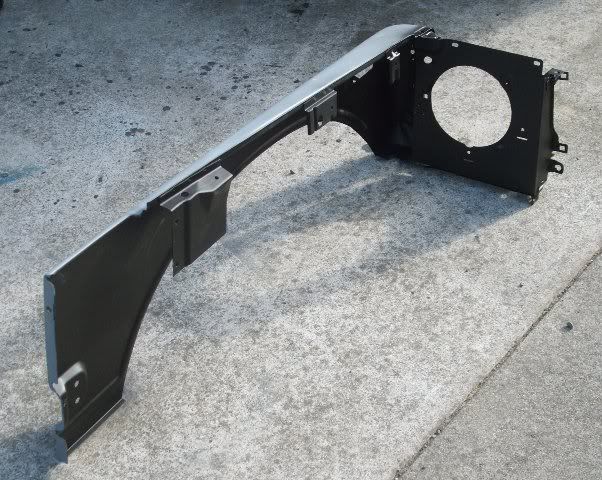
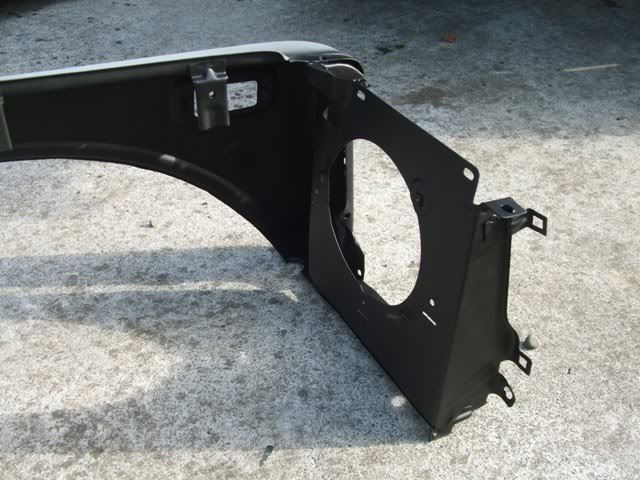
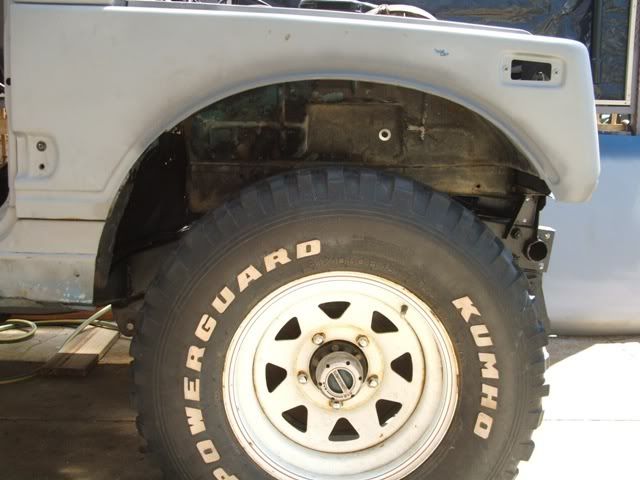
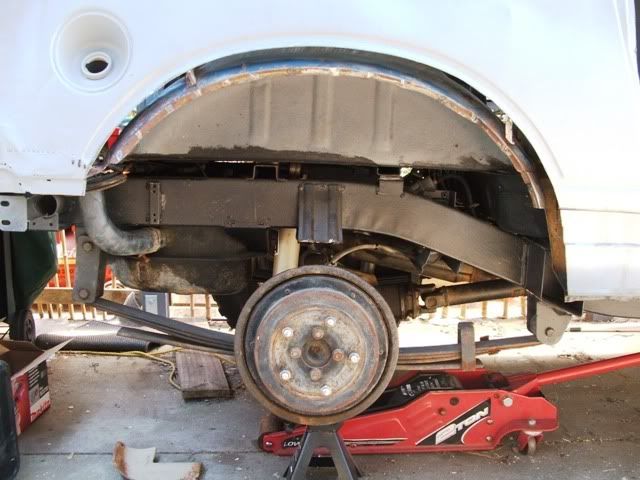
Pulled off the front clip to get the old engine out and found the start of more rust
Pulled the old engine
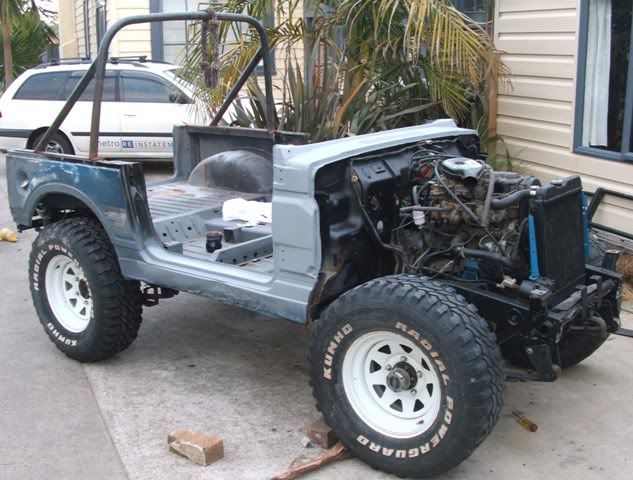
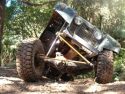
While waiting for my mate to come give me a hand to lift the new engine in ,I wondered what the Zuk would look like without its doors - so I pulled them off. Then I wondered what it would look like with the windscreen down - folded it down then took it off to.
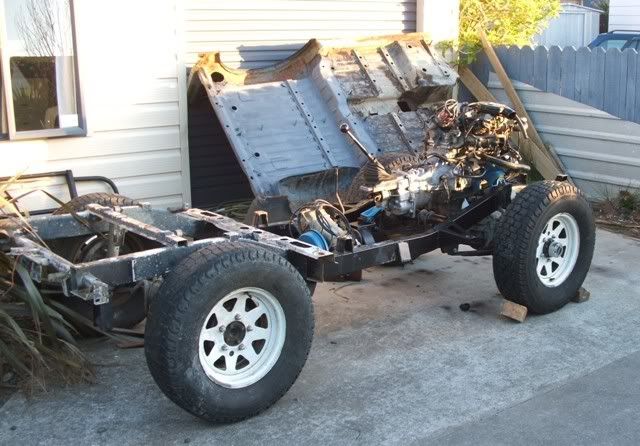
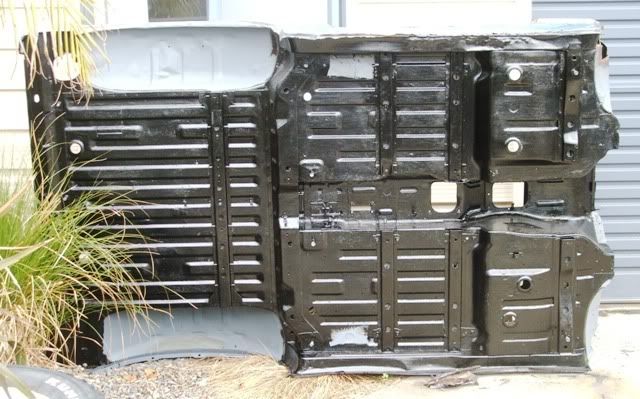
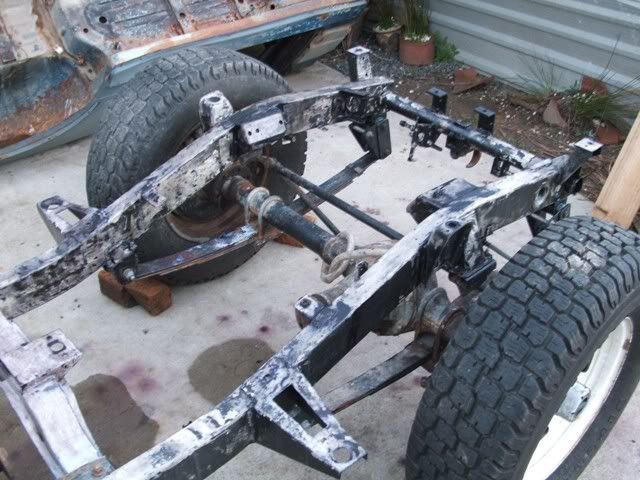
Sat like that for a few days then I made the mistake of checking out the underbody for ease of cleaning/deadening. Looked like a nightmare with the body on the chassis. Only 6 bolts holding the body on.
Brian starts churning about all that rust forming on the underneath.
A few hours later .
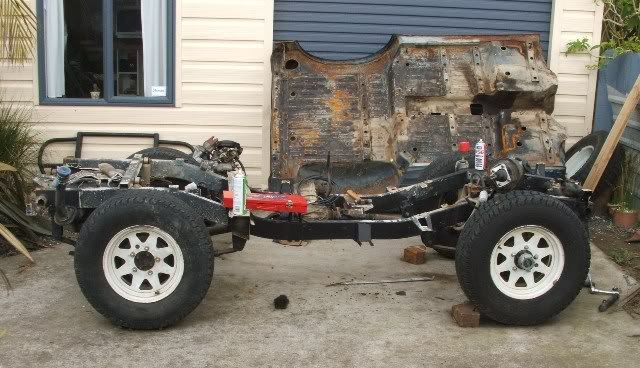
The plan at this stage was to Strip /rust convert / paint the entire chassis.
Strip / rust convert / paint / deaden the bottom of the tub.
Re-paint body
Hippo line interior of tub
Virtual Lift
Custom Bar work
Exo cage
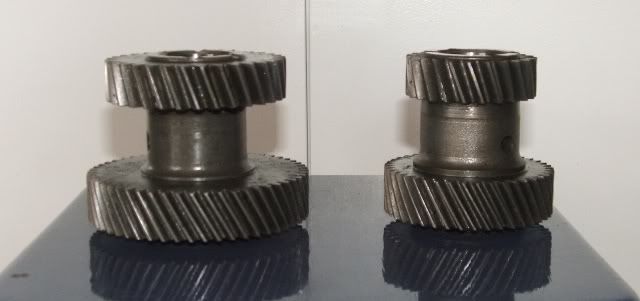
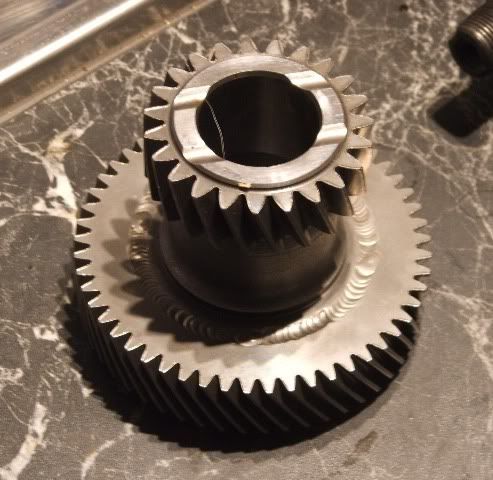
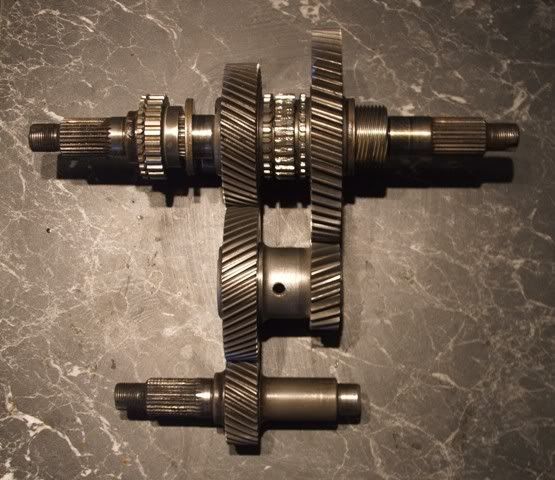
Gearing
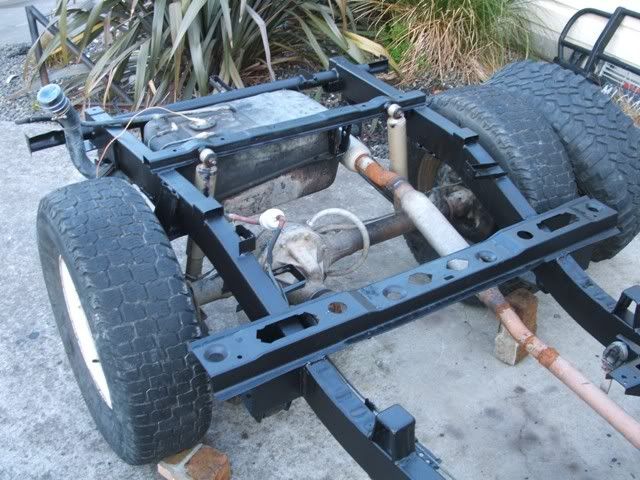
Since then I have spent many hours with wire brush wheel on the drill .
Chassis half stripped and Rust converted
Will post up more pics as the revival progresses