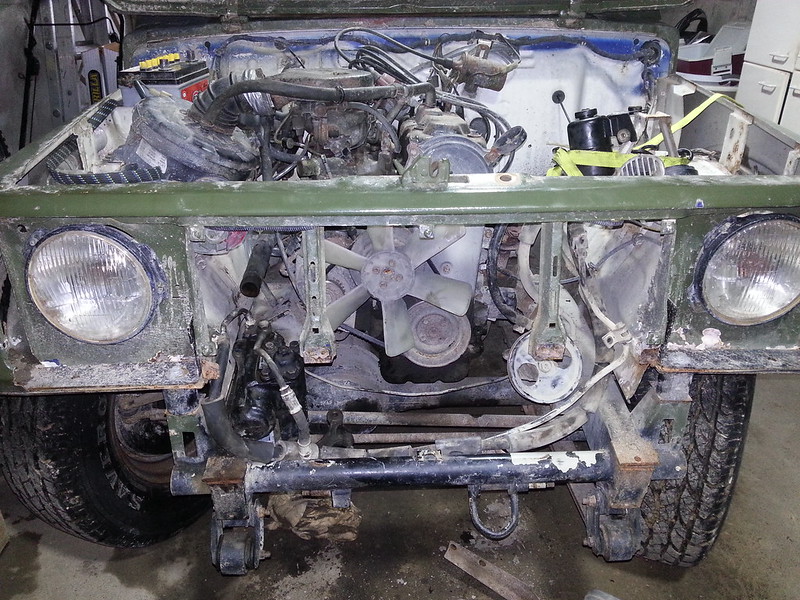
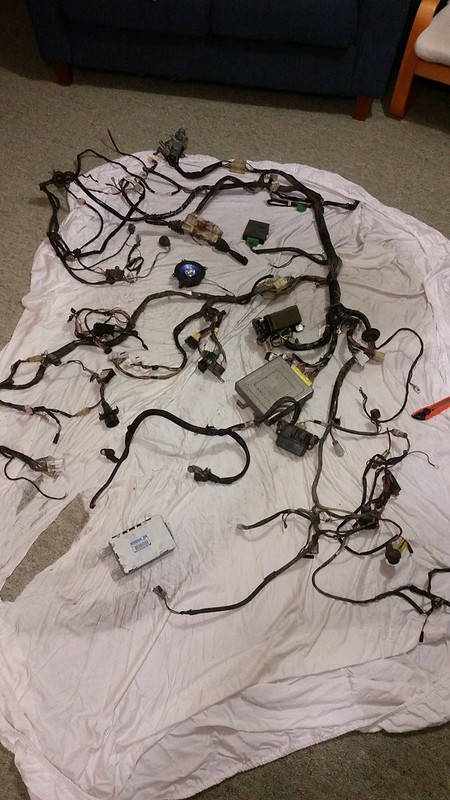
A good bit has changed since updating last.
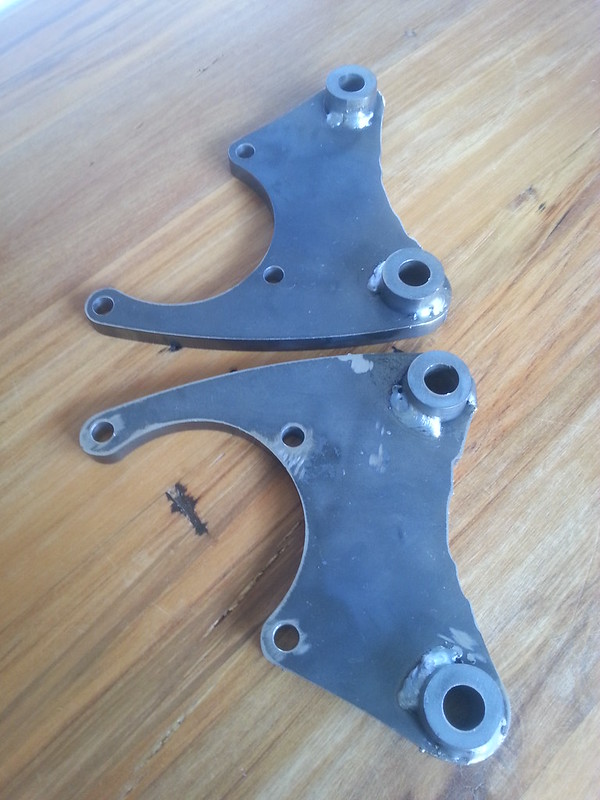
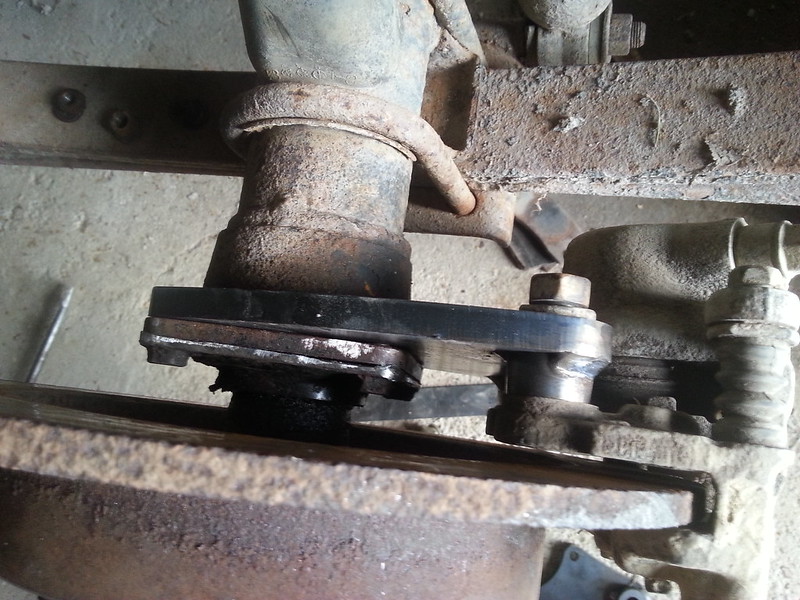
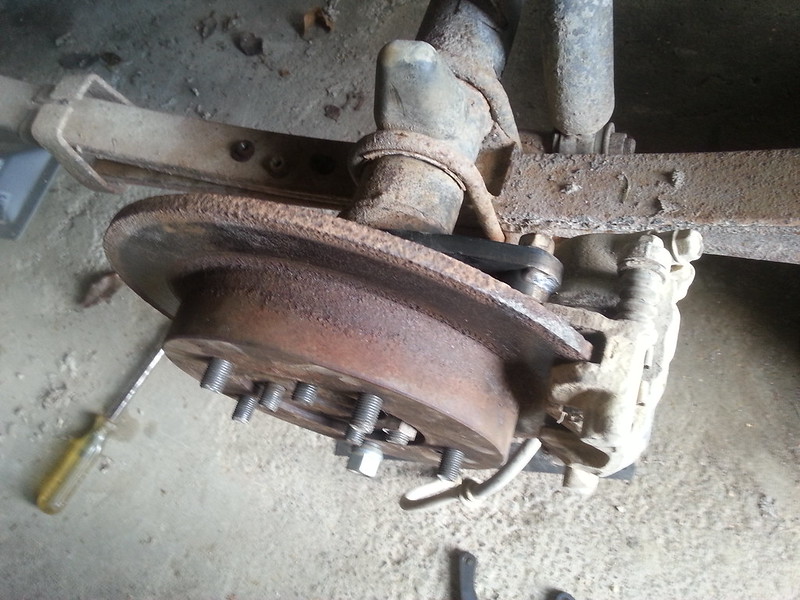
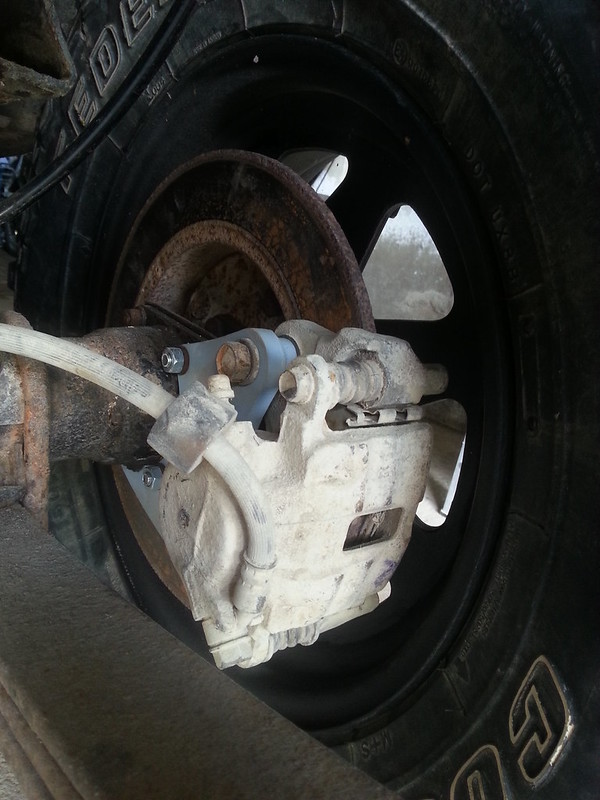
The first thing I did was finish the brakes. So I painted the brackets and mounted everything up.
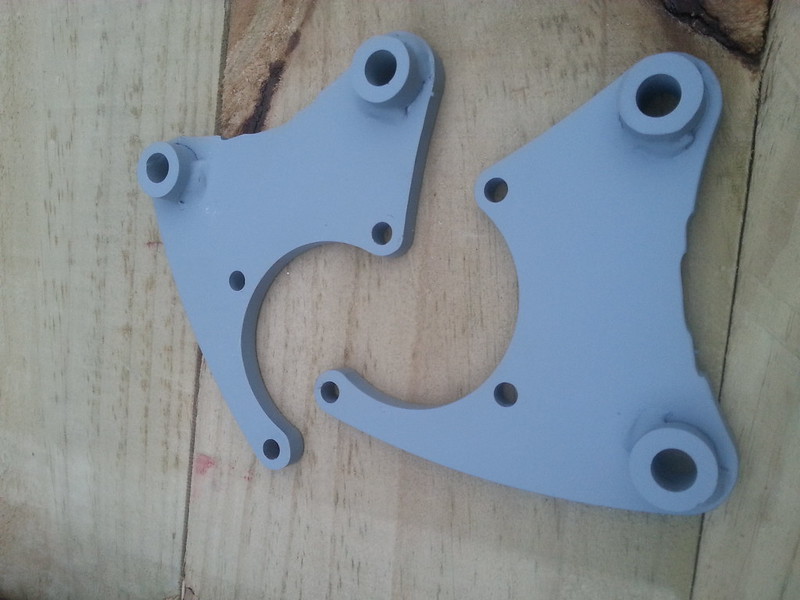
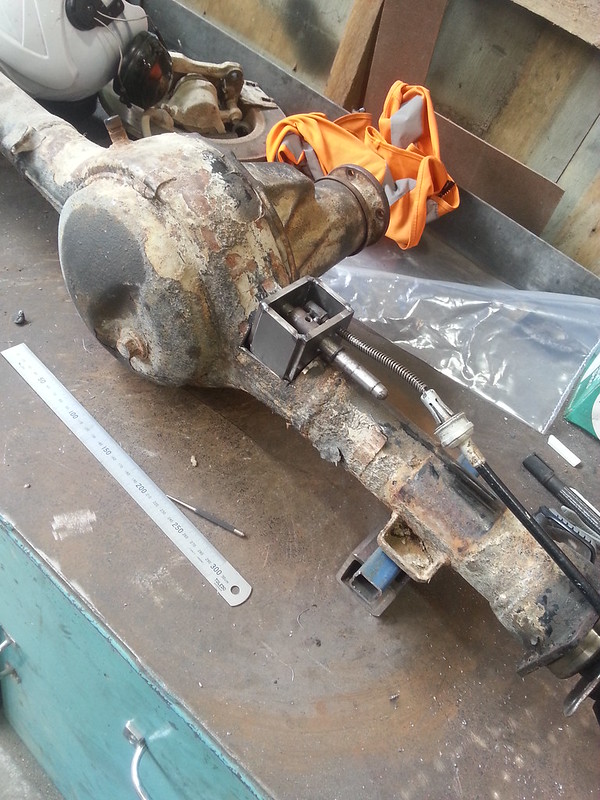
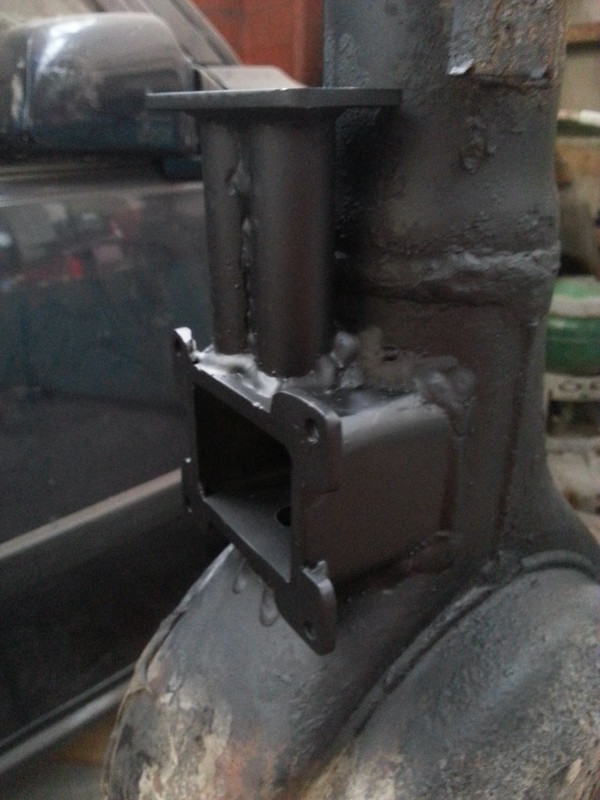
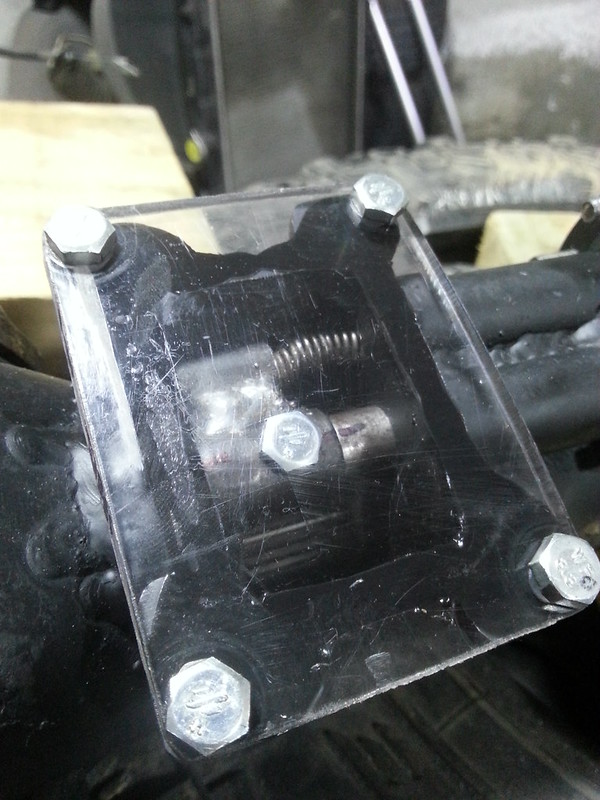
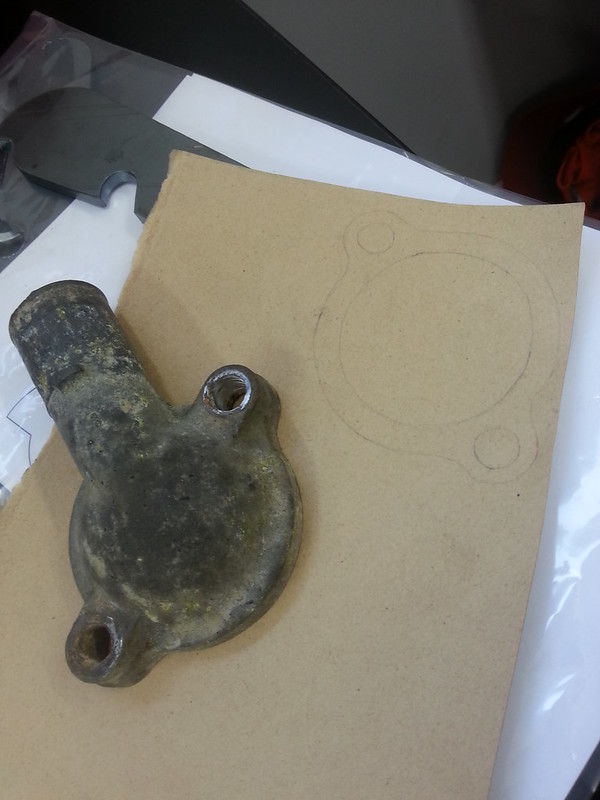
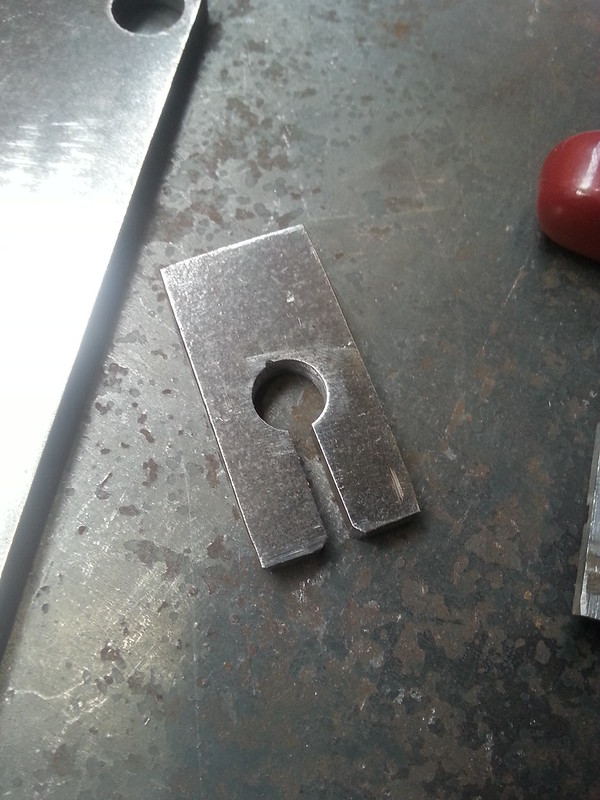
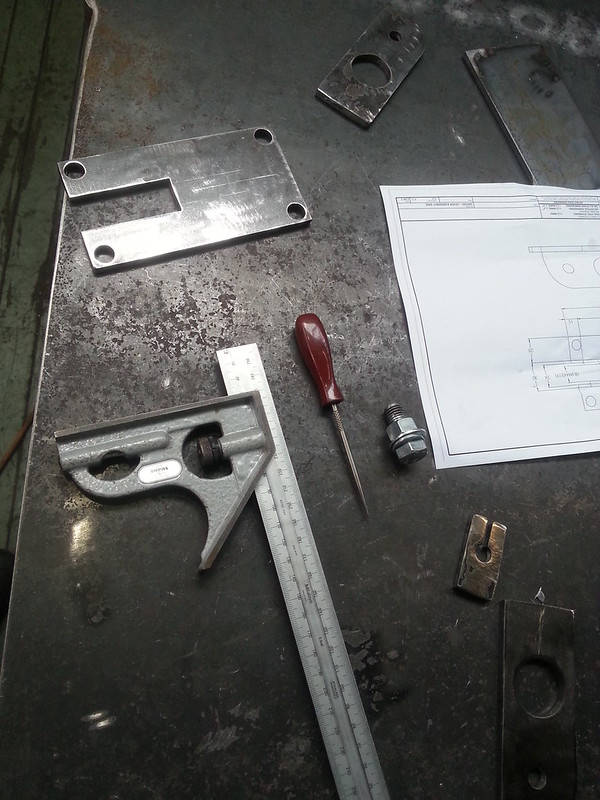
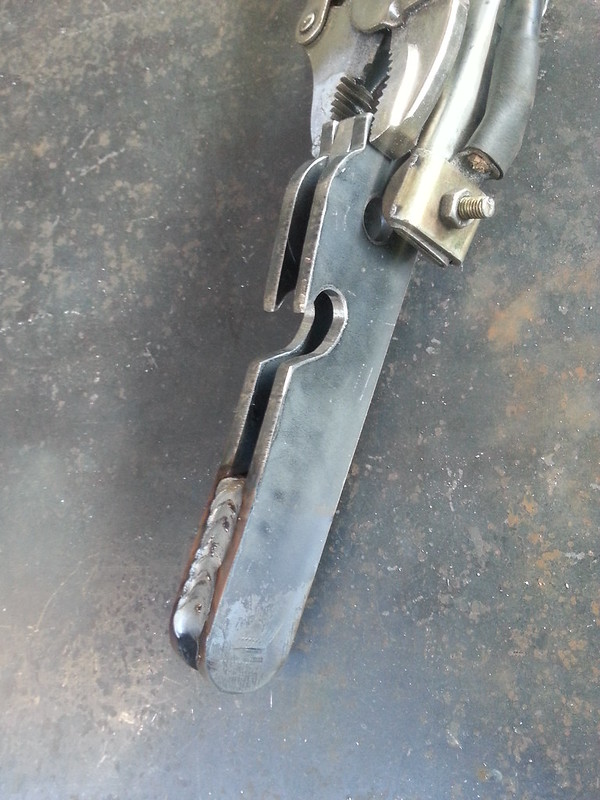
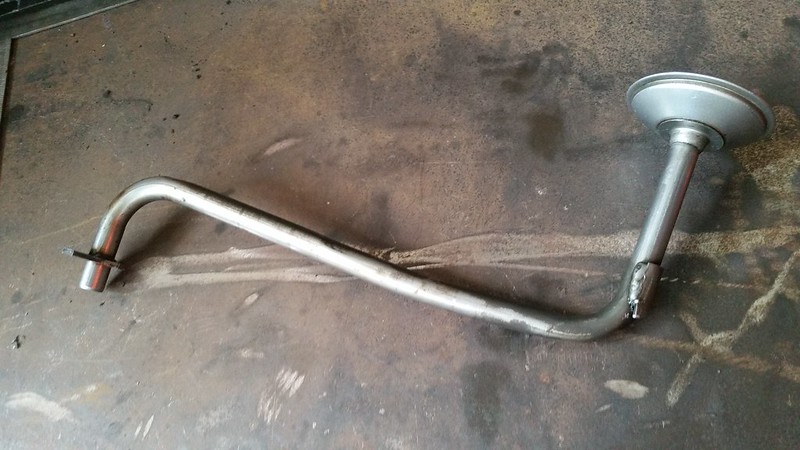
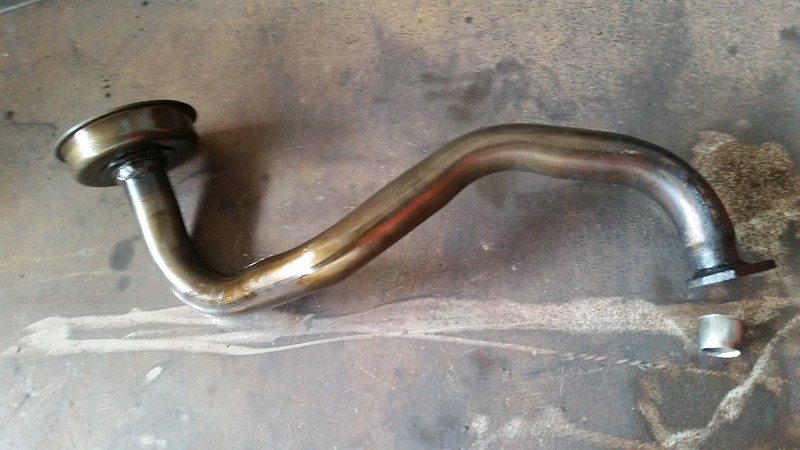
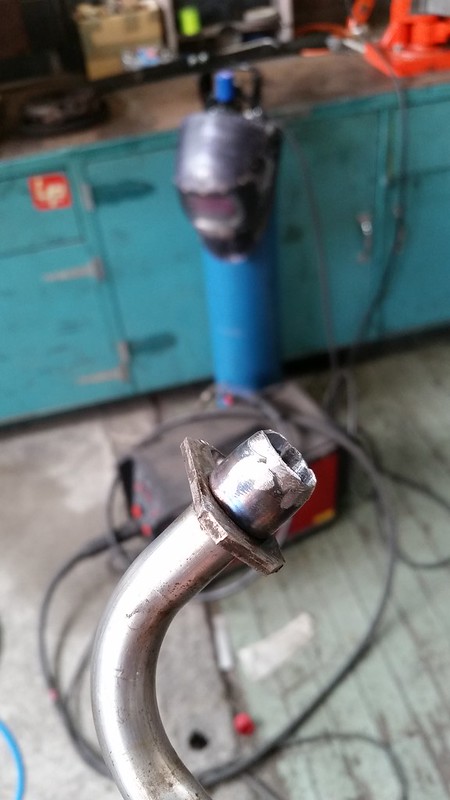
I had to get this made to tee up the brake lines:
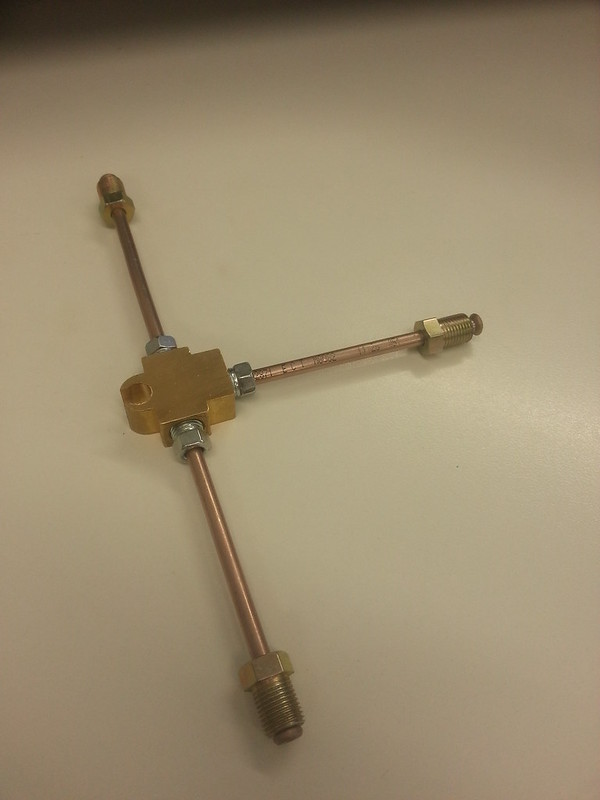
Then bled them and tested them. Pedal feel is spongy due to the bigger piston surface area, but they stop the car really well. It’s a win in my books. The only problem I have is that the tee piece is just sitting on top of the diff and isn’t mounted in any way. If I had a bit of foresight I would have welded a nut on top of the diff to bolt the tee to. And alas, no welder at home. I’m going to have to come up with a different solution somehow…
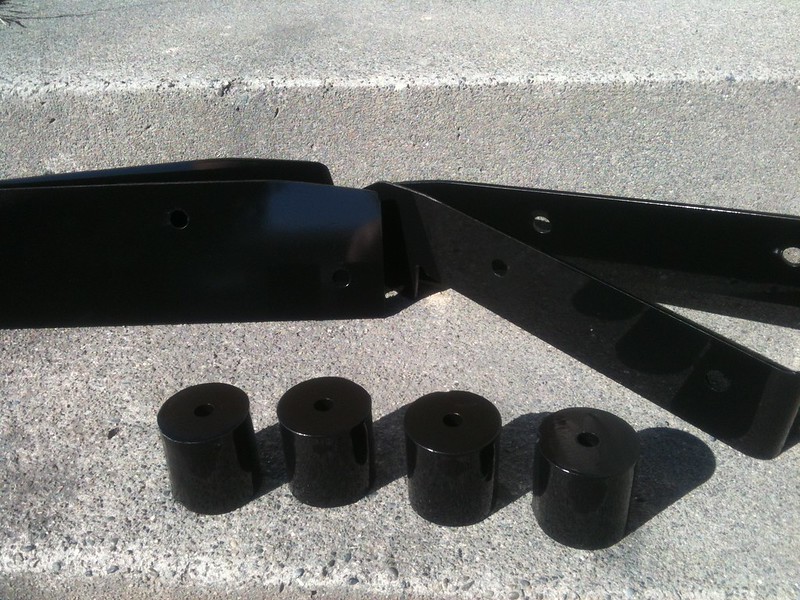
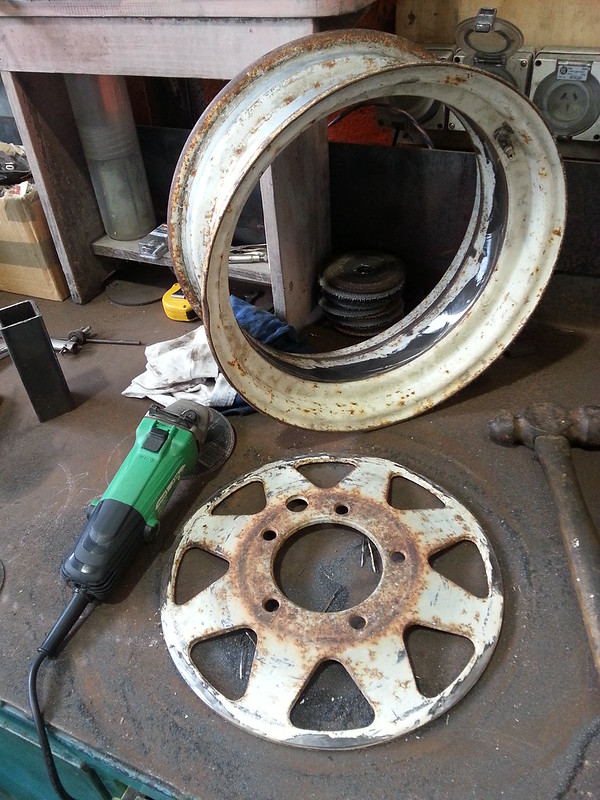
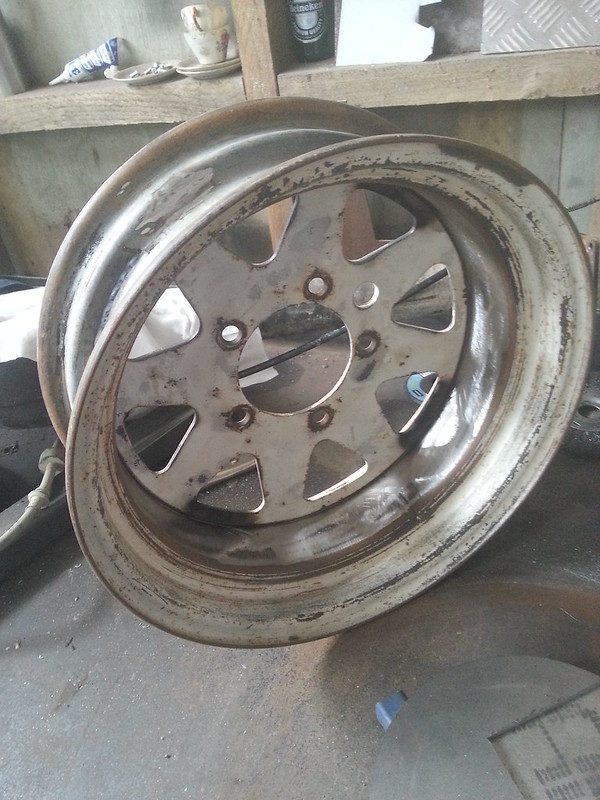
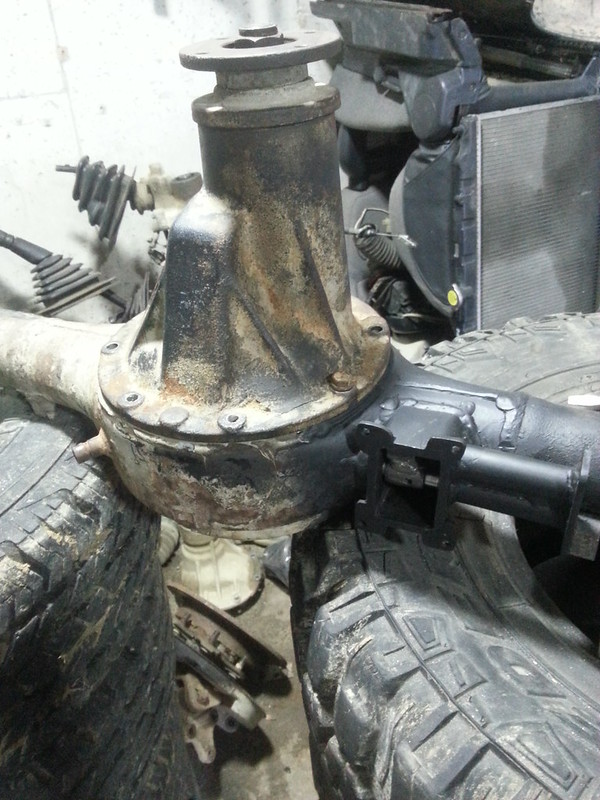
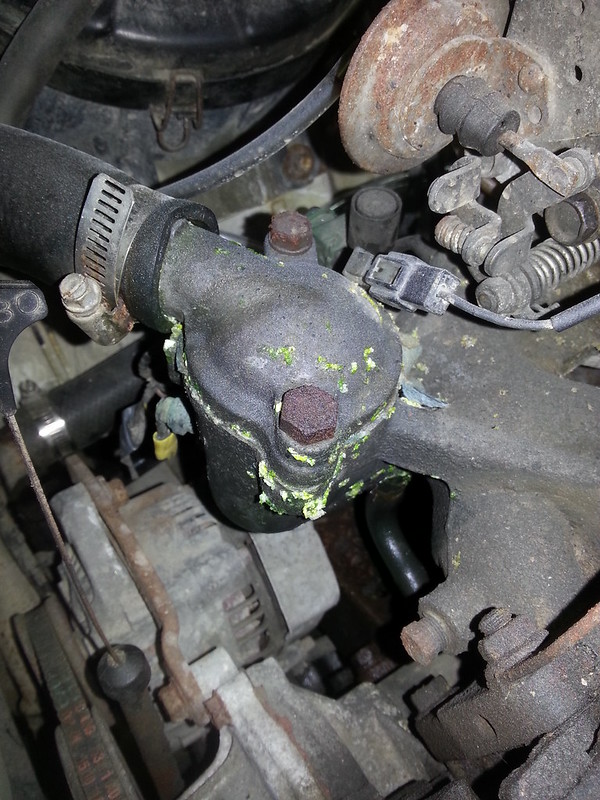
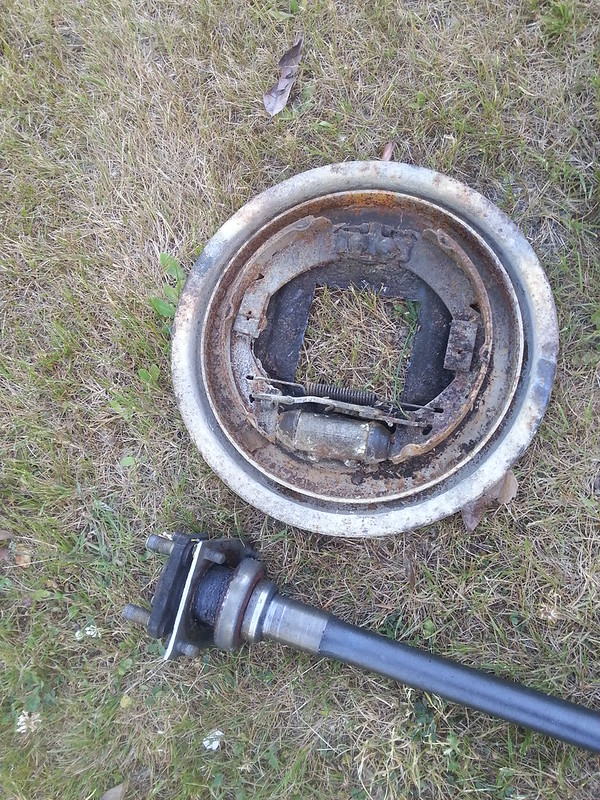
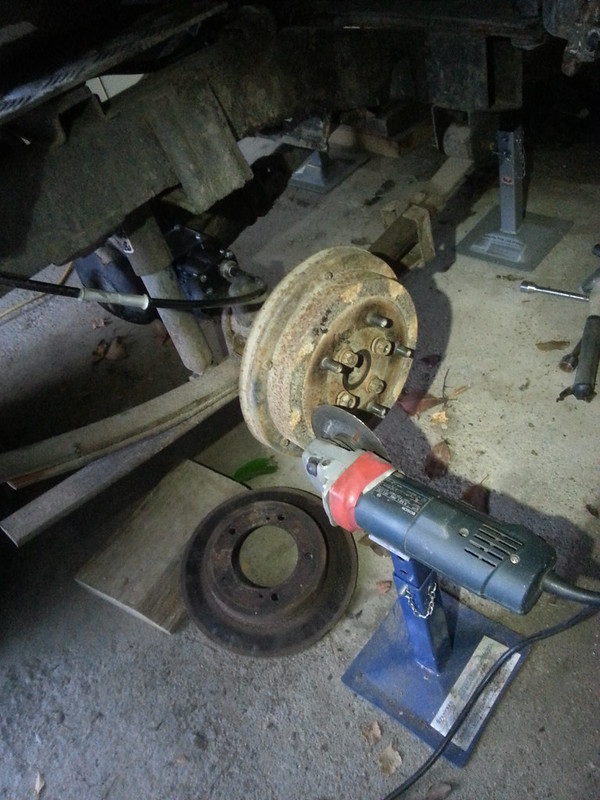
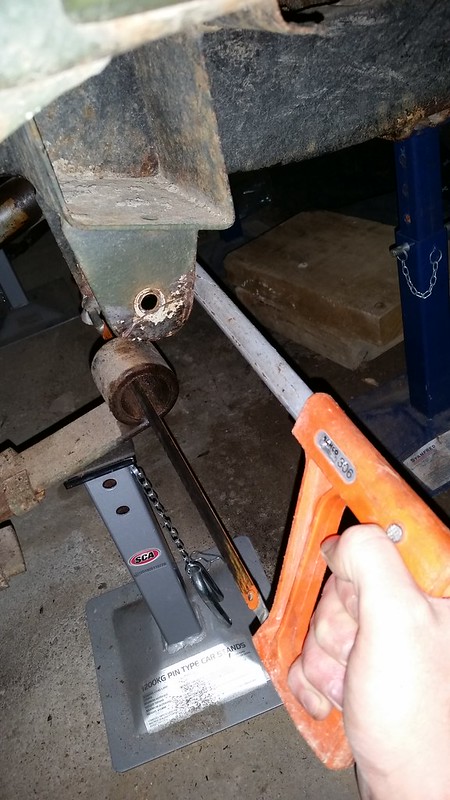
Then I got onto fitting those spring eye bushes. This is what the old ones looked like:
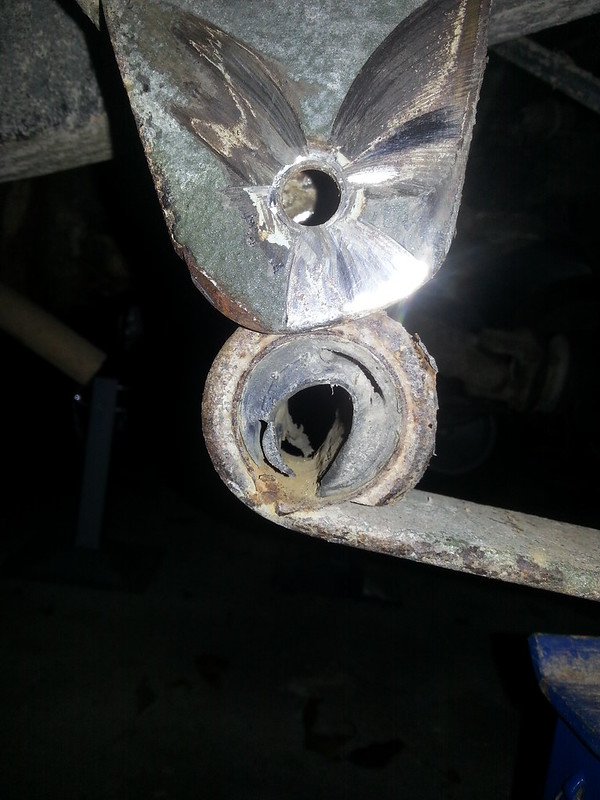
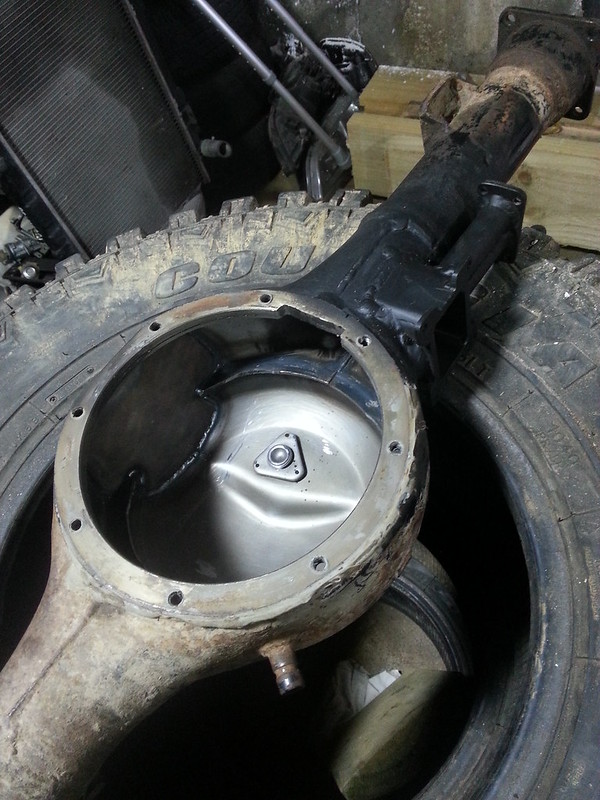
The crush tubes were frozen tight to the bolts, so I had to cut them off. They were also very not round any more!
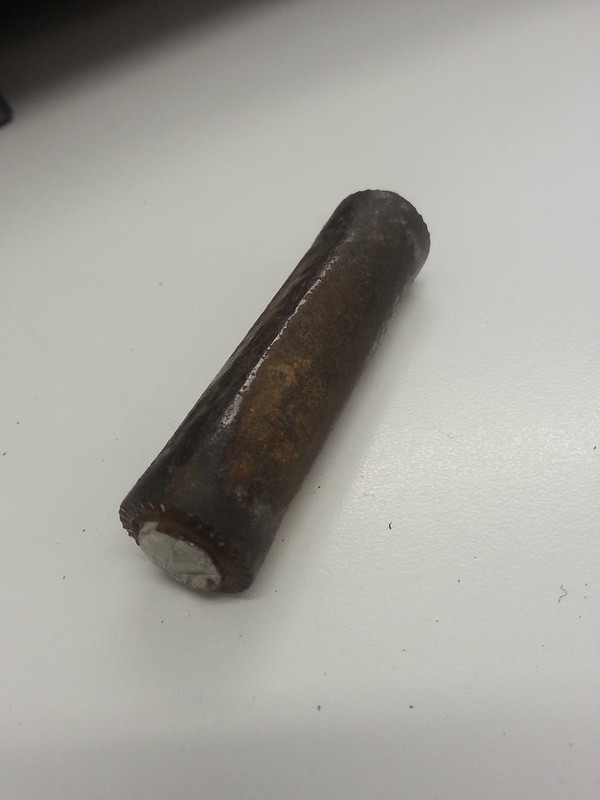
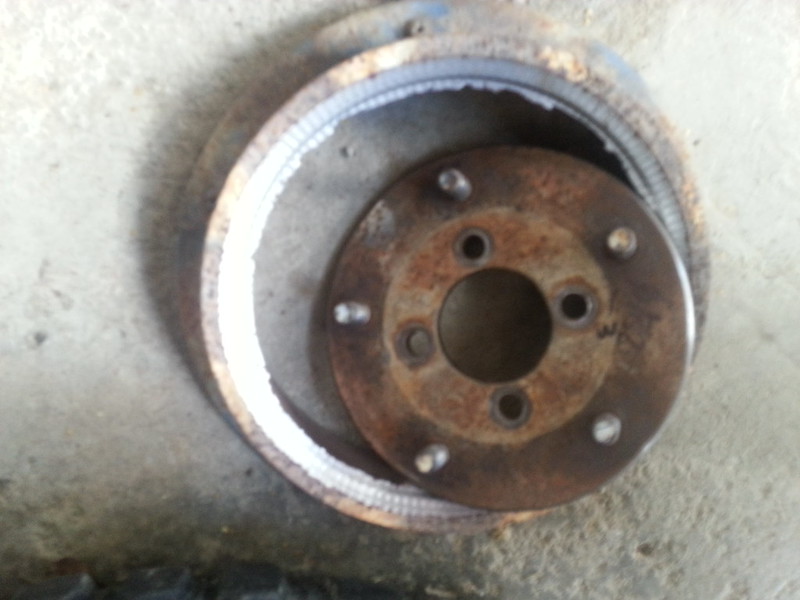
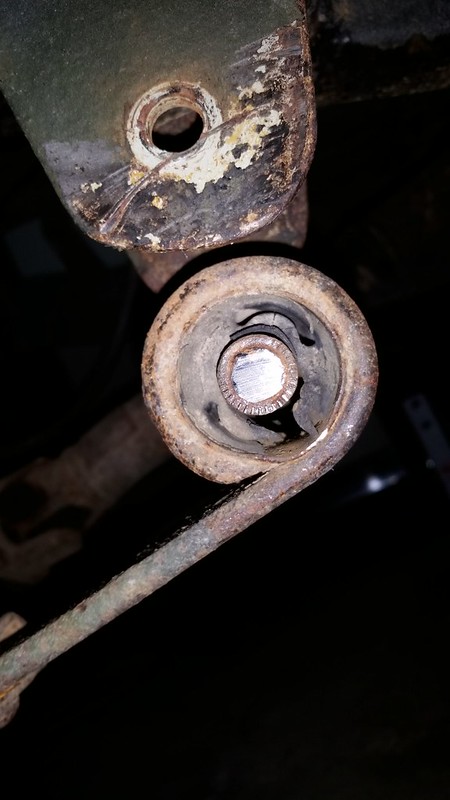
And the original bush sleeves were stuck too, so I had to cut them out
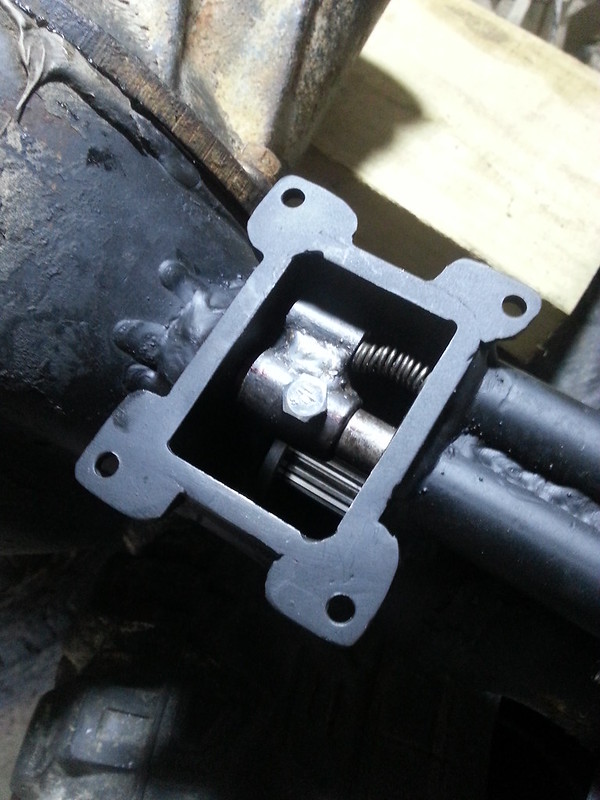
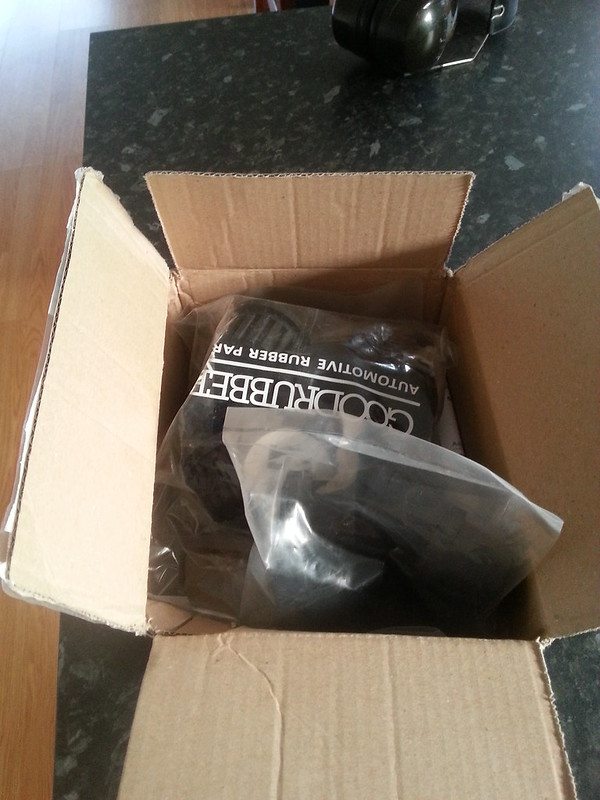
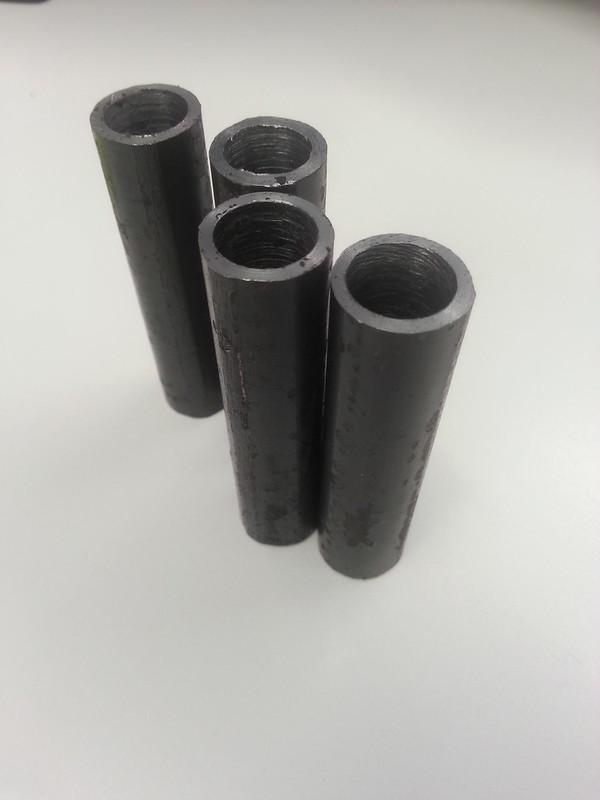
Checkerhead turned up some new crush tubes for me (Thanks Arron)
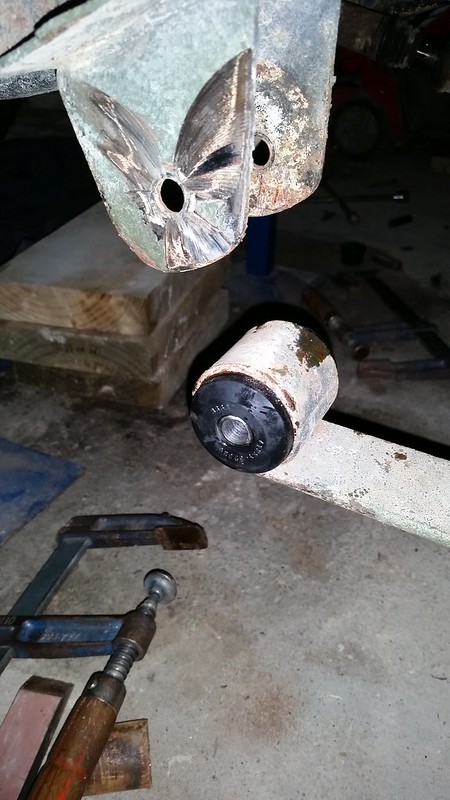
And all fitted and well greased, it looks (and drives) a billion times better! Job done.
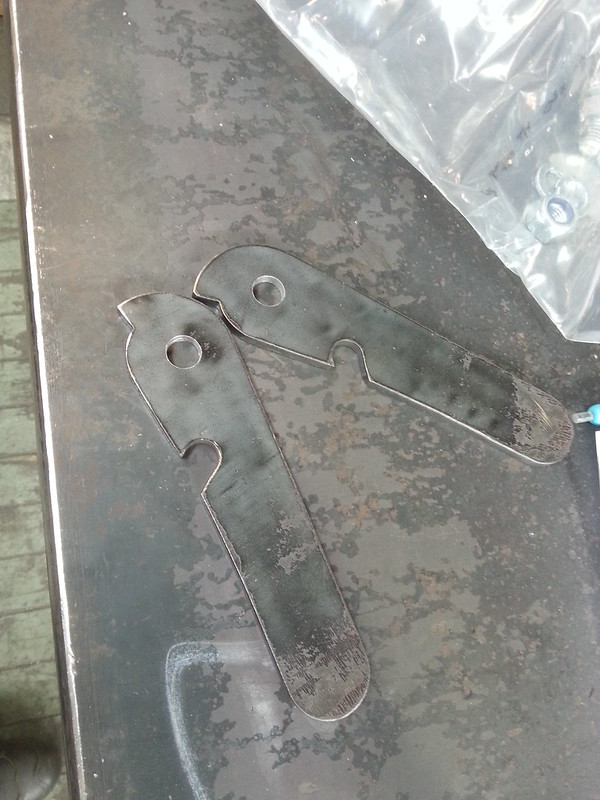
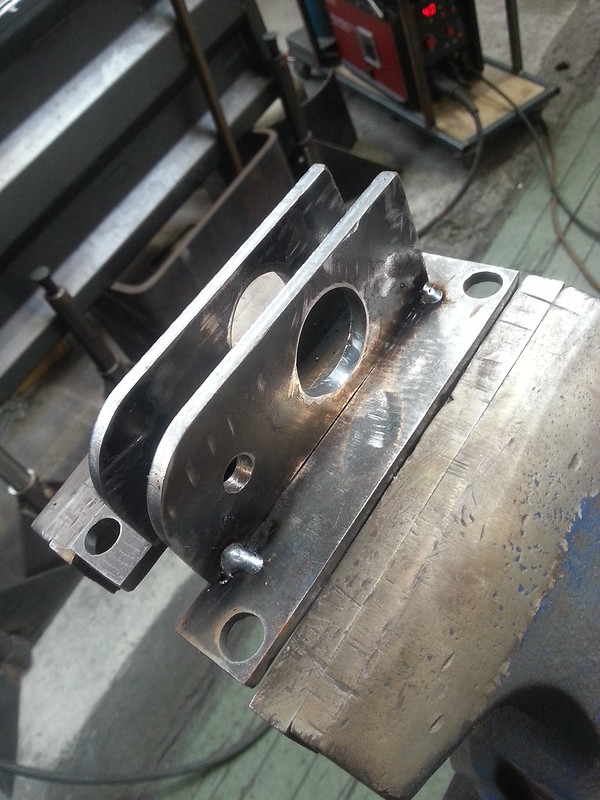
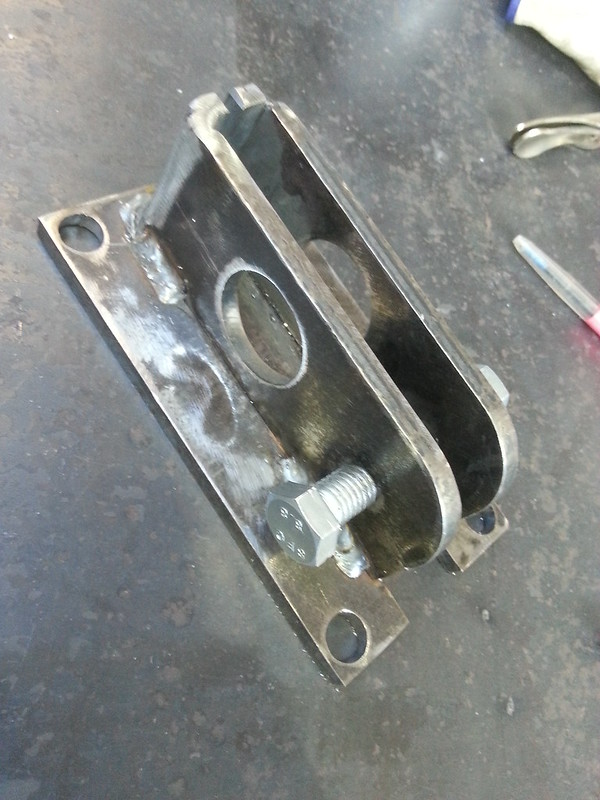
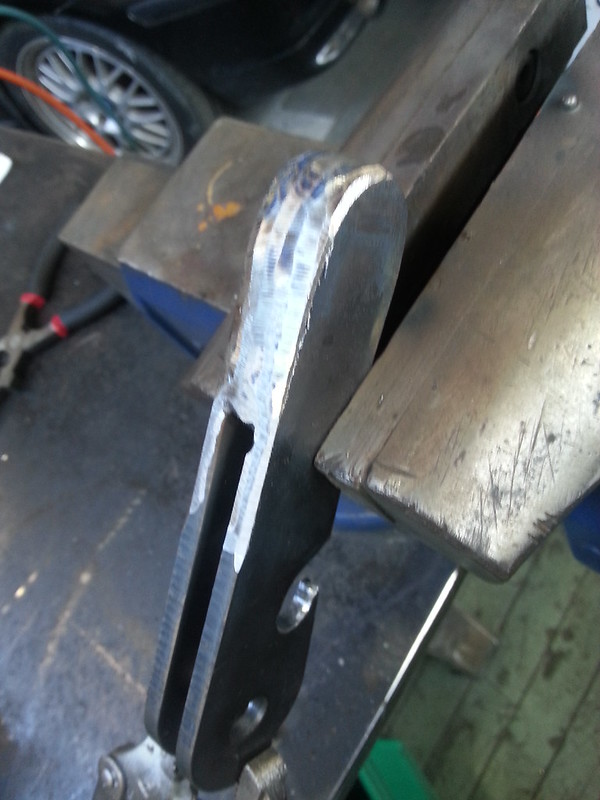
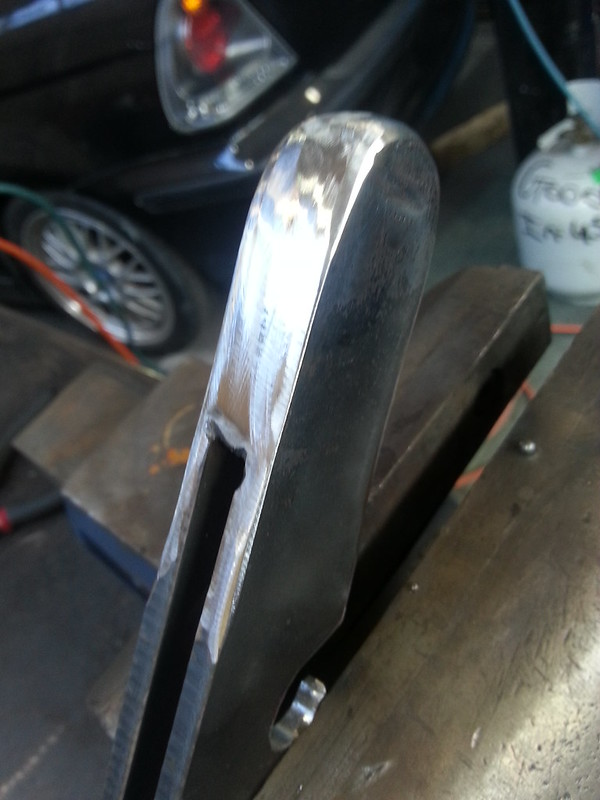
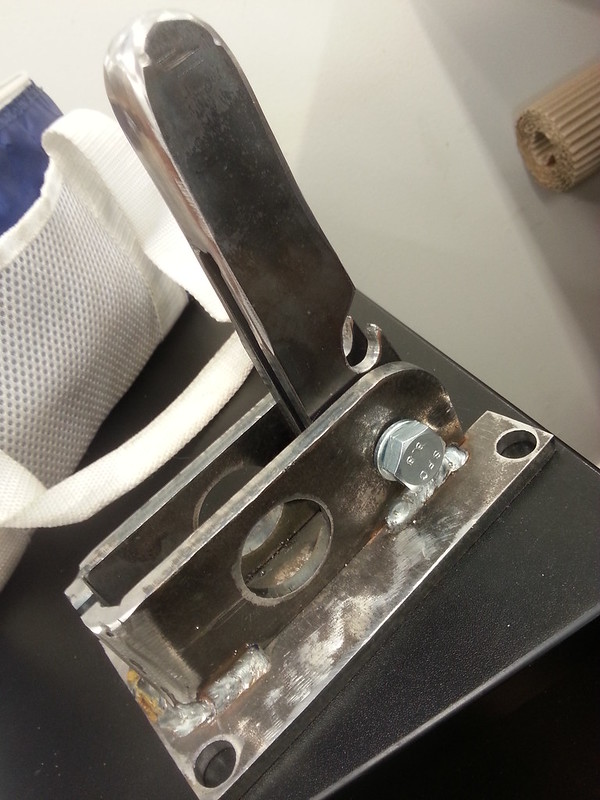
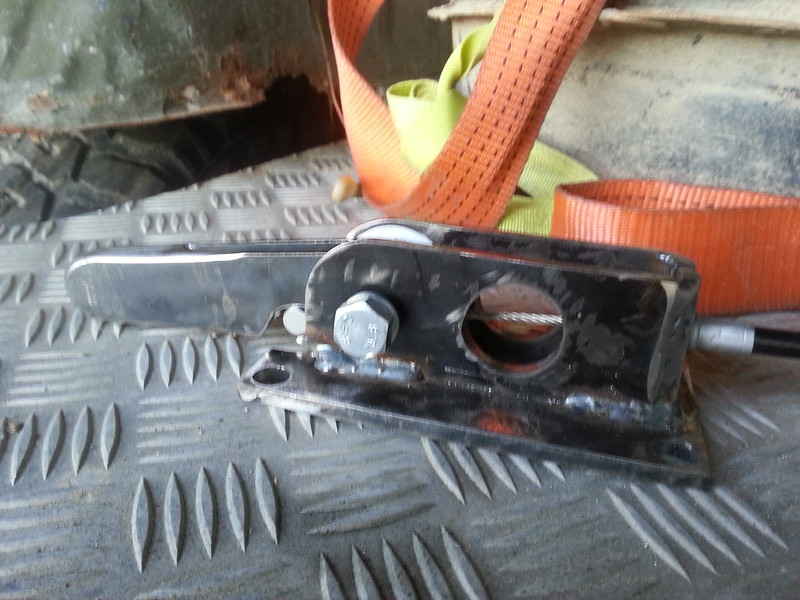
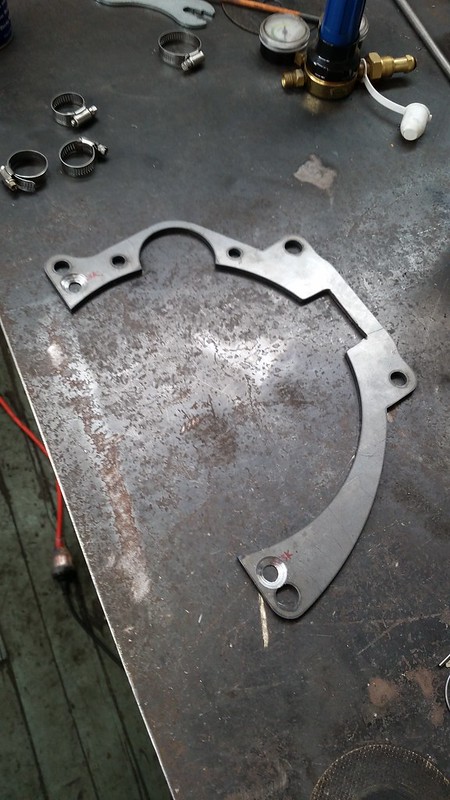
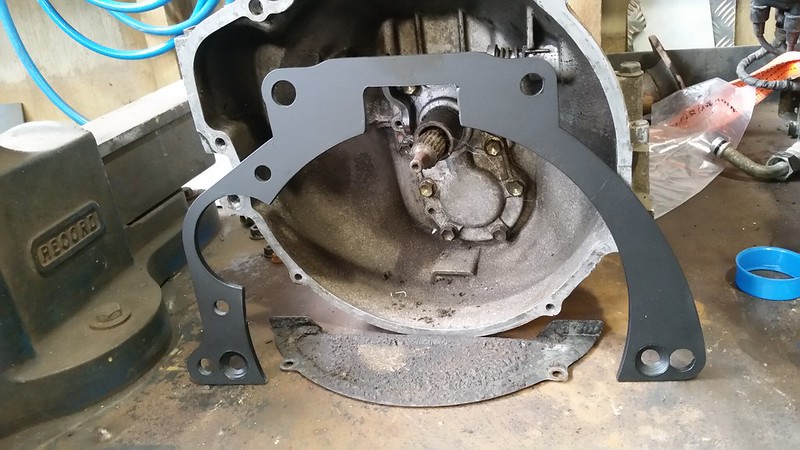
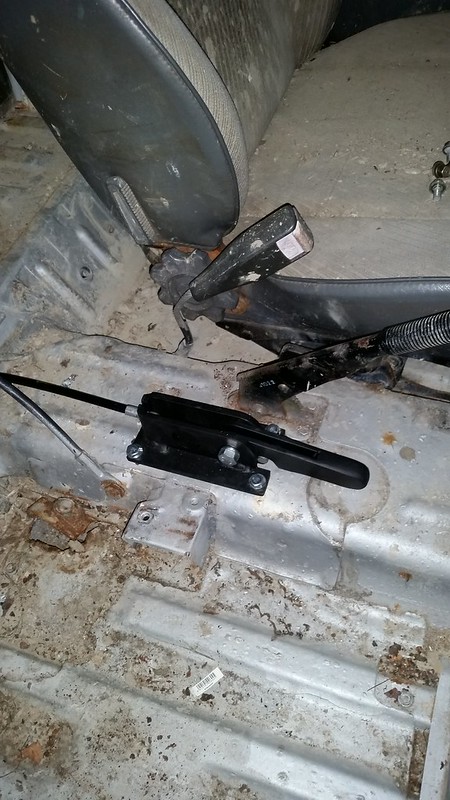
I also finished and fitted the lever for the locker. I made this from scratch and it took a good bit of time to calculate the correct throw to get me the correct cable pull distance. But it all worked out perfectly first time, so I was stoked with that! It all sits next to the handbrake lever. When in the locked position, the handle is upright and just touches the driver’s seat, so it’s nicely out of the way.
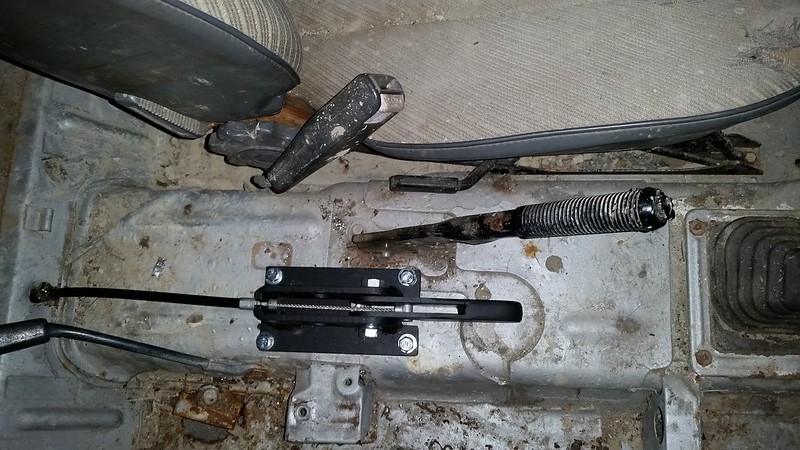

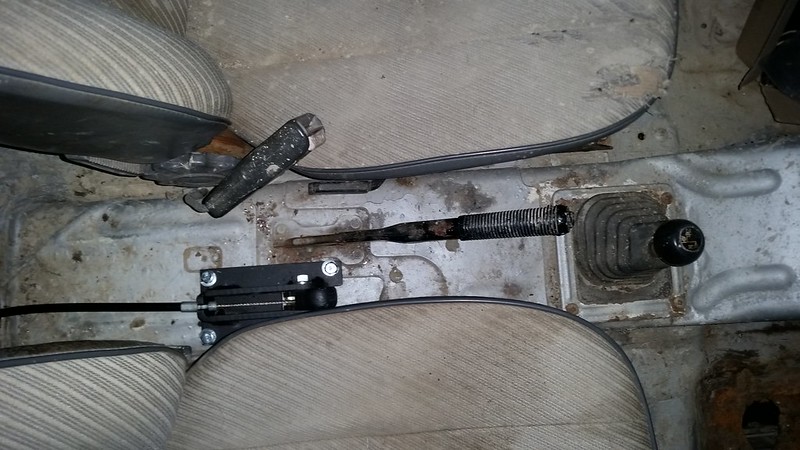
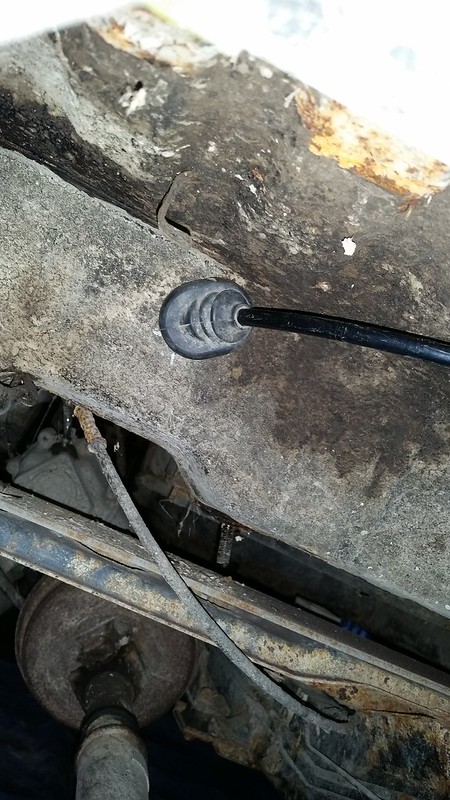
And the cable runs out the back of the cab with a protective sleeve around it to stop any damage from rubbing.
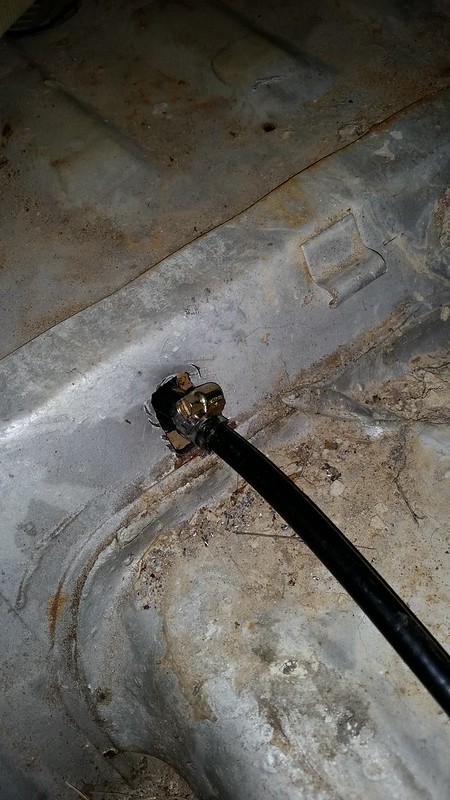
The original rubber boot even serves a nice purpose haha
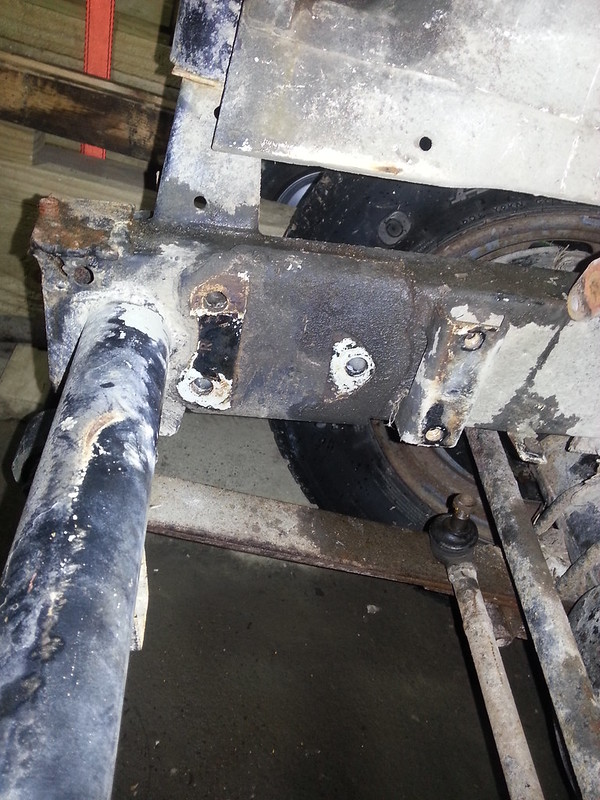
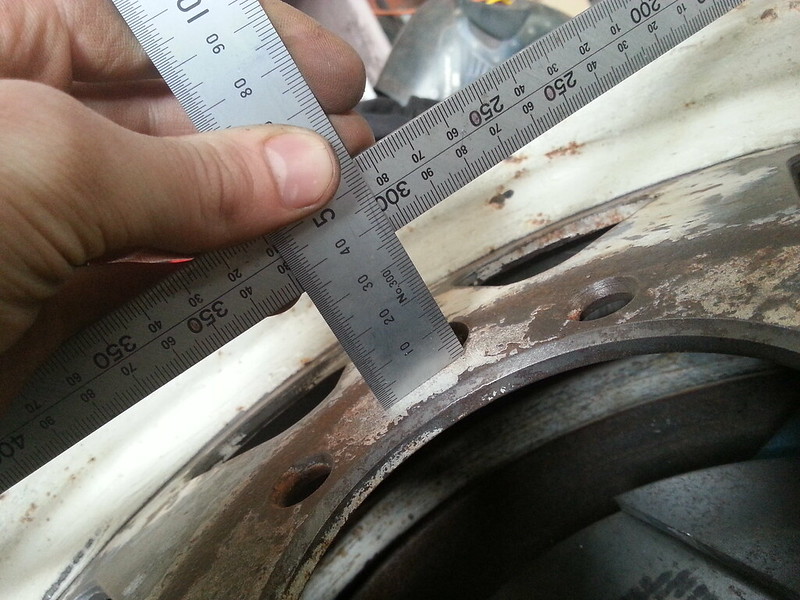
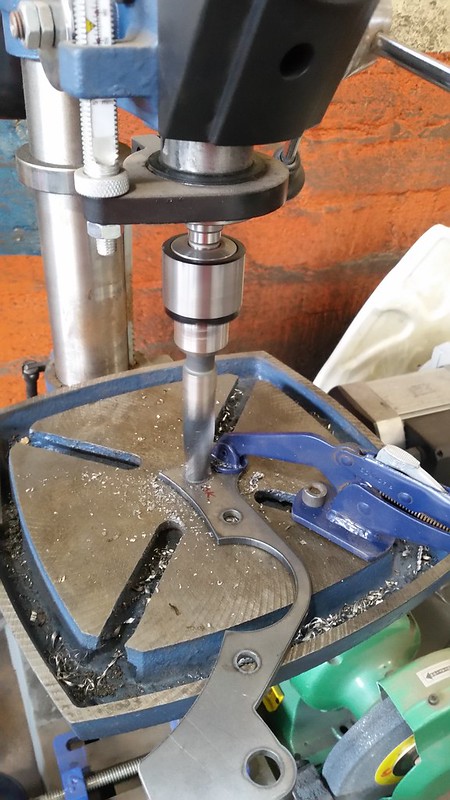
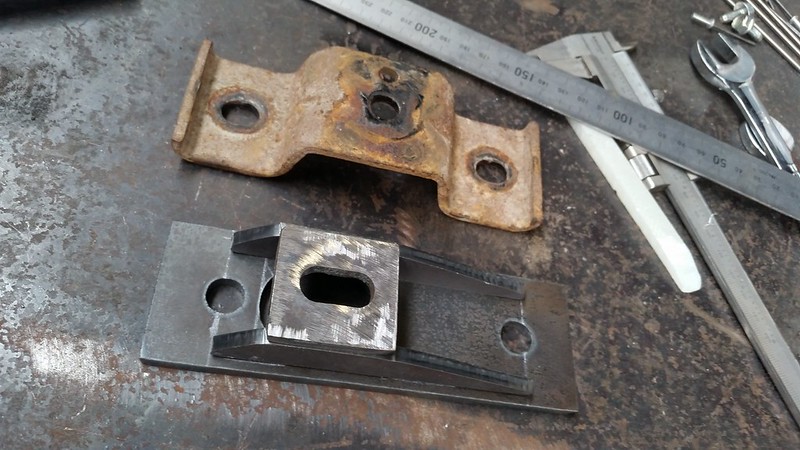
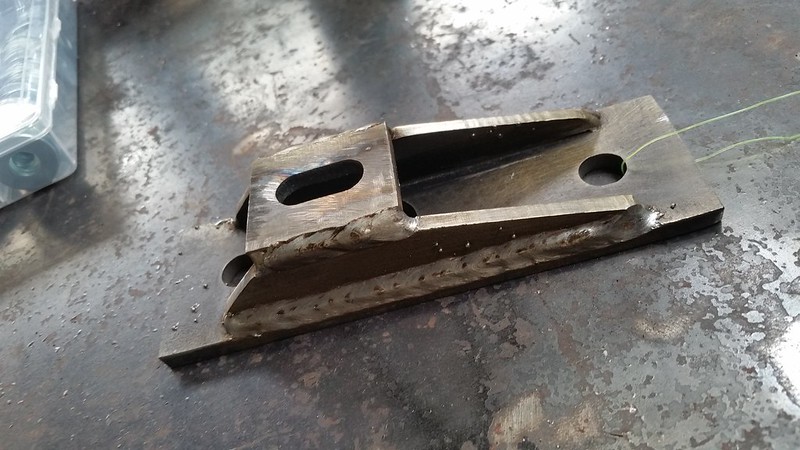
Next up was lifting the transfer. 50 x 50 x 50mm cubes.
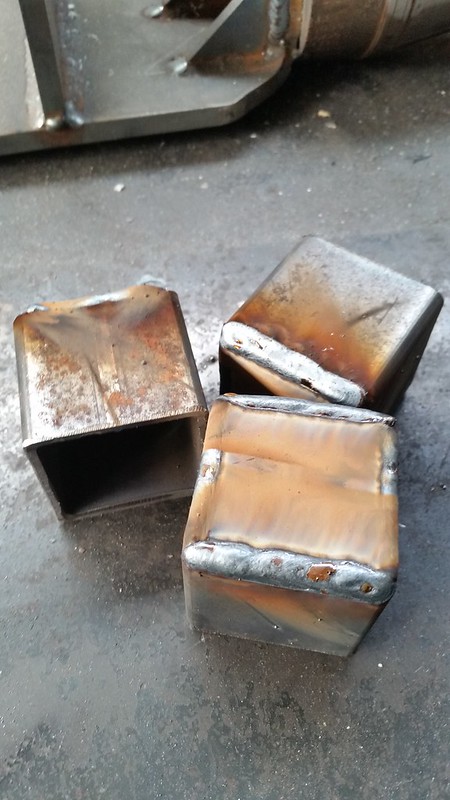
10.5mm hole on one side and a threaded M12 on the other. I planned to drill out the original 10mm hole in the chassis to fit a 12mm bolt which I’d wind into the lift block. I’d then put a locking nut onto the back of the bolt to keep everything nice and tight.
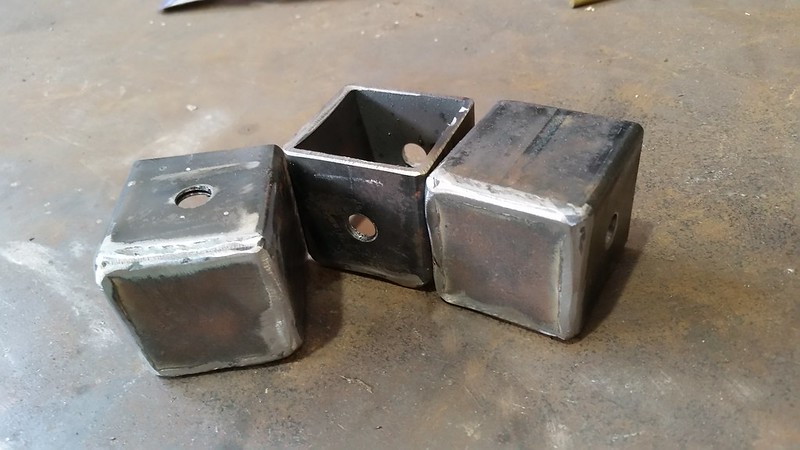
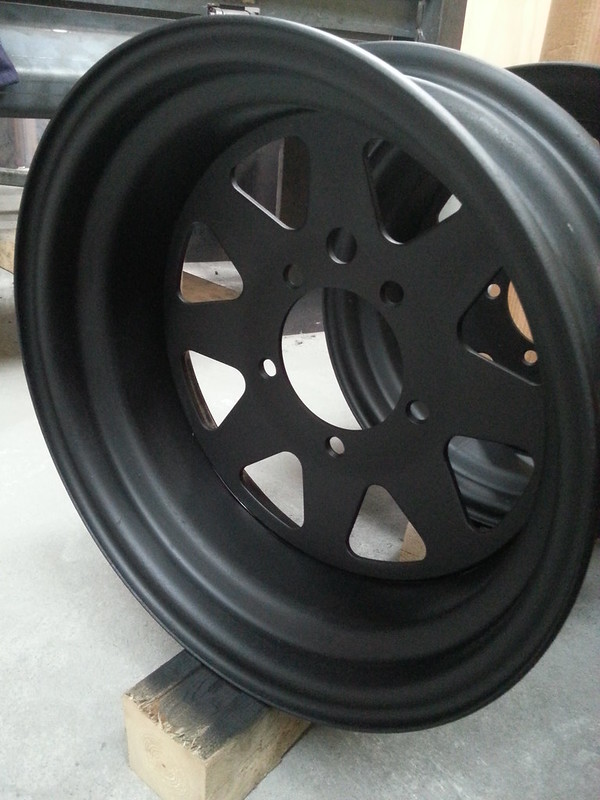
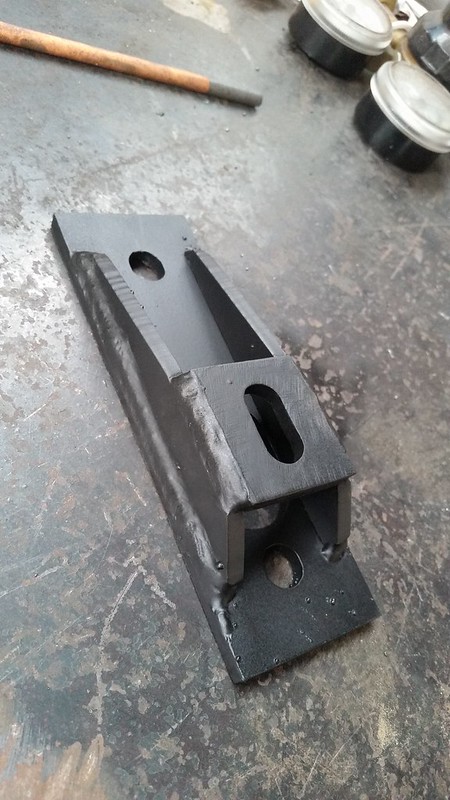
And painted
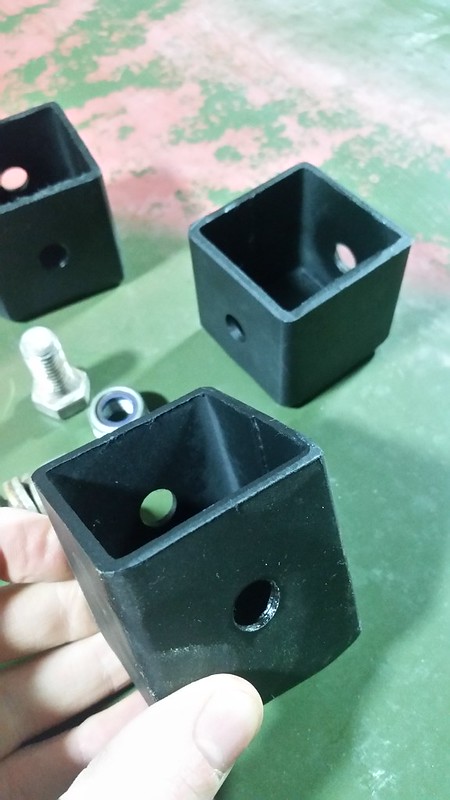
Installation was ridiculously easy. Half hour job, no jack required.
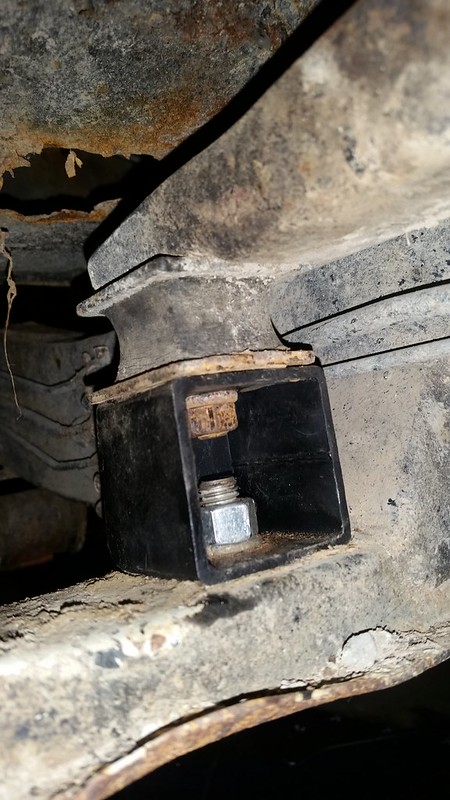
Lifting by 50mm was enough to get the transfer above the chassis rails, so I was stoked with that. No pics sorry.
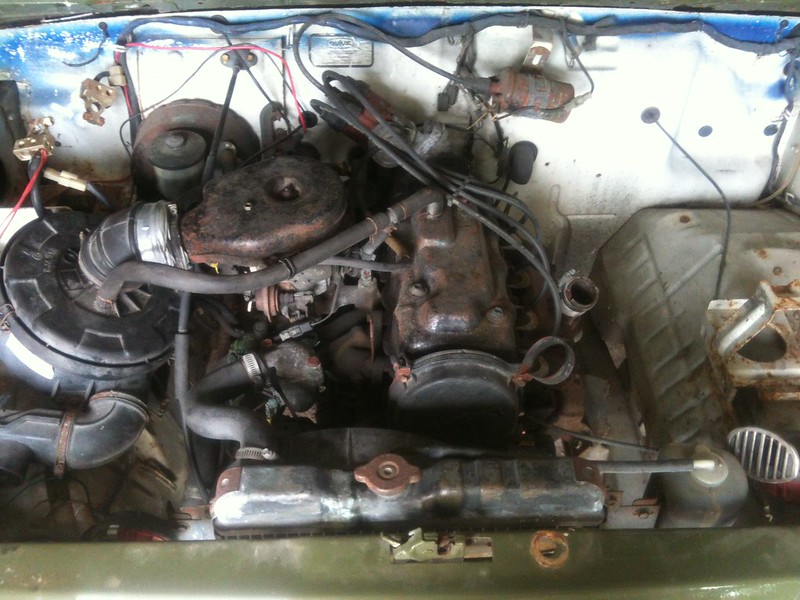
I also adjusted all of the tappets because at least one was a little noisy. No more ticking = another win.

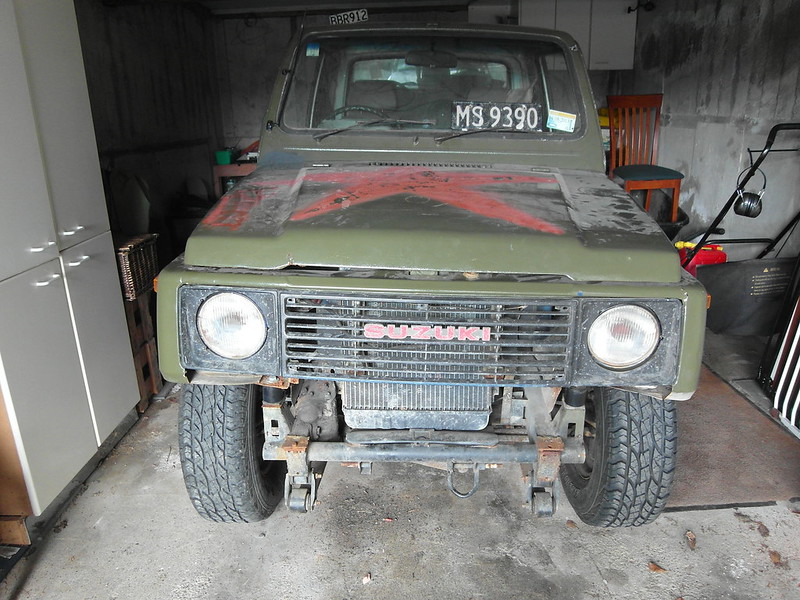
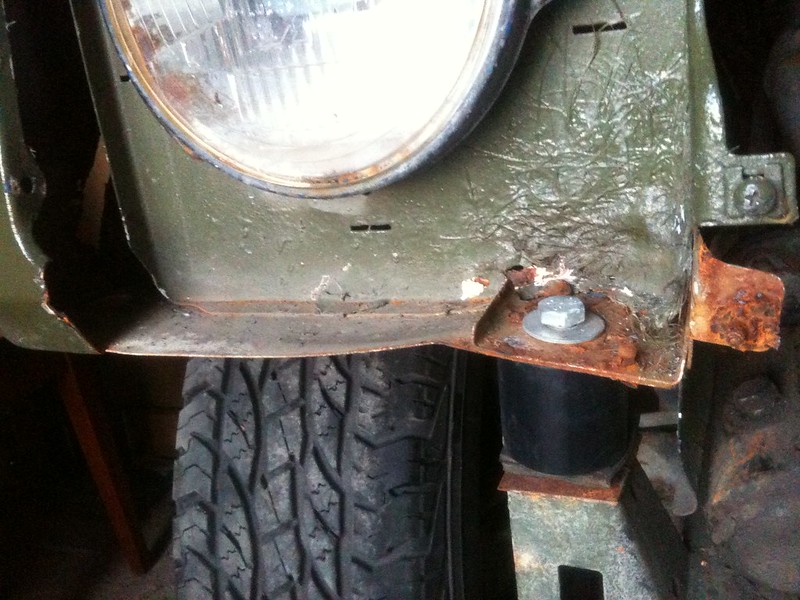
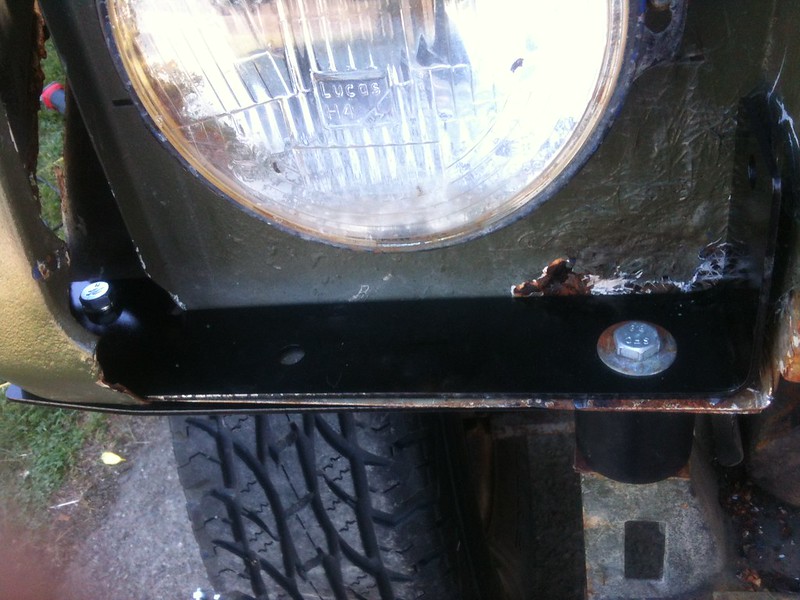
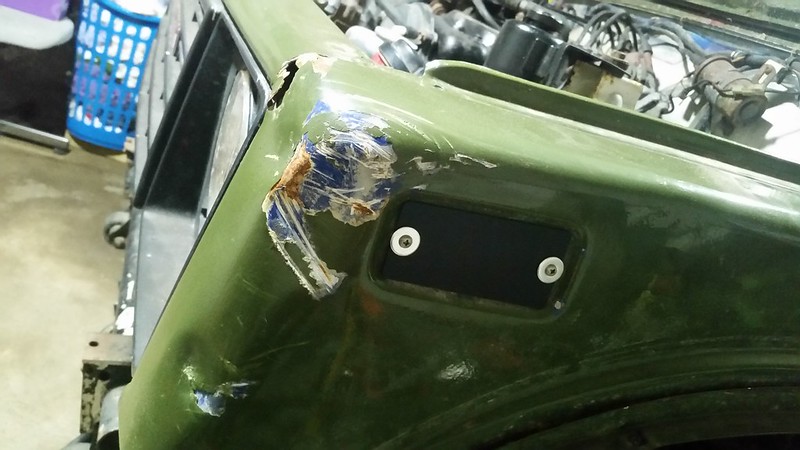
I broke an indicator off last time I was out, so I blanked both indicators off too, just to keep everything nice and out of the way.
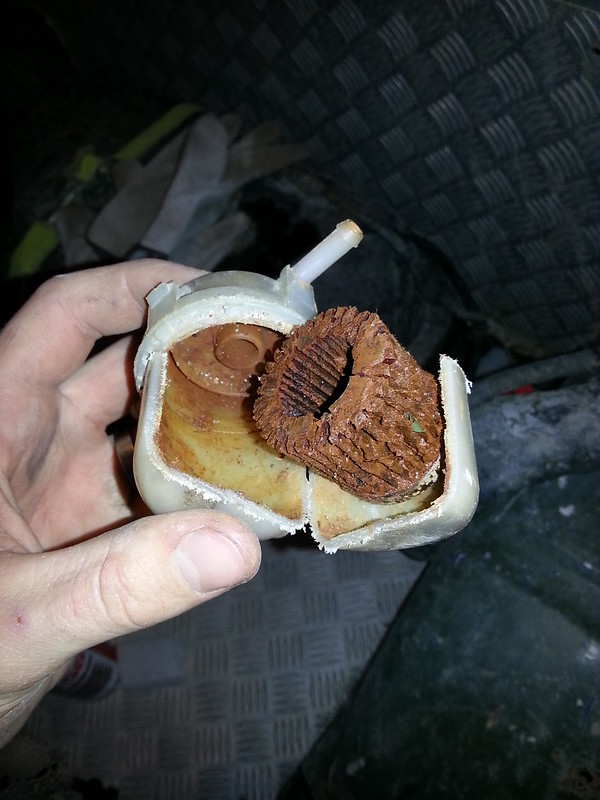
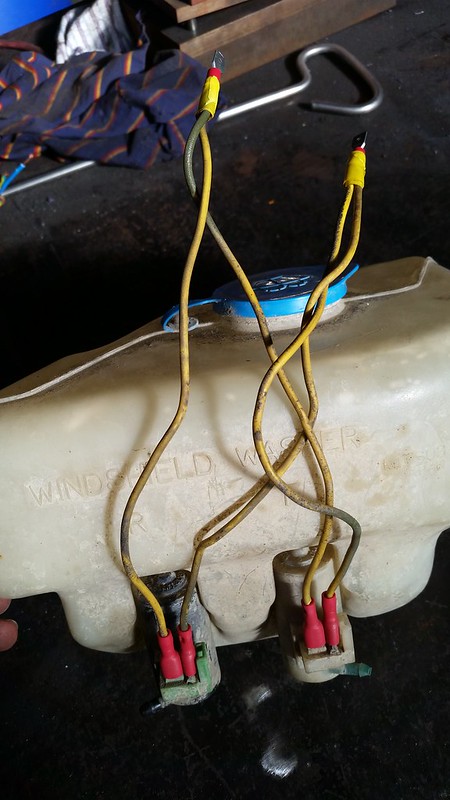
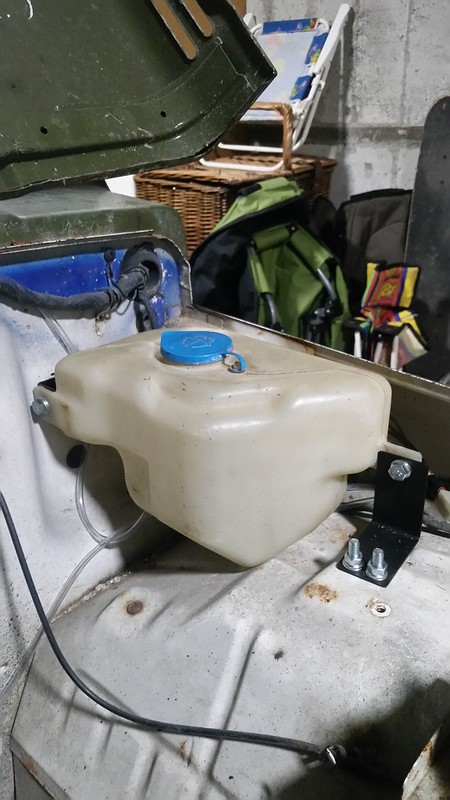
My next brainchild was installing a window washer. Rusty never had one, so I planned to use one off the Vitara I wrecked. This has two pumps – one for the windscreen and one for the back window. I’m going to use both for the windscreen. So first I wired up the plugs with flash crimp on connectors, etc to suit the single plug
And then made up some small brackets and mounted it close to the factory location. I’m presuming it is anyway haha.
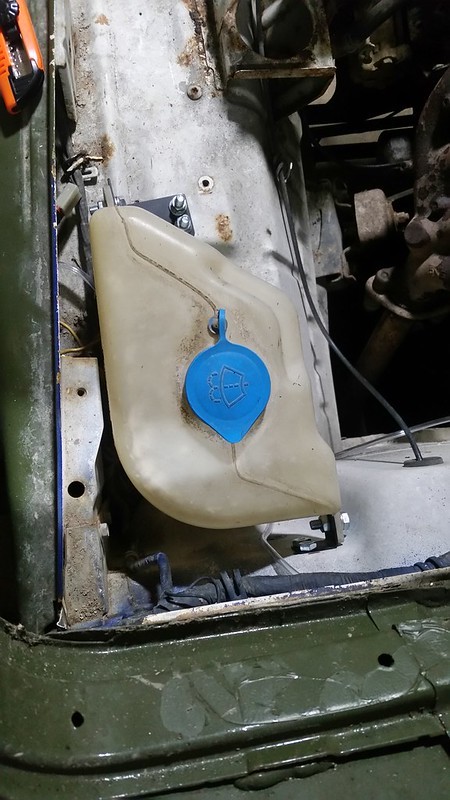
This is yet to be completed. I have made my own squirters (one from each pump) and ran new tubing up through the windscreen drain gutter. I’ll get pics next time. The squirters need tidying up, painting and mounting yet.
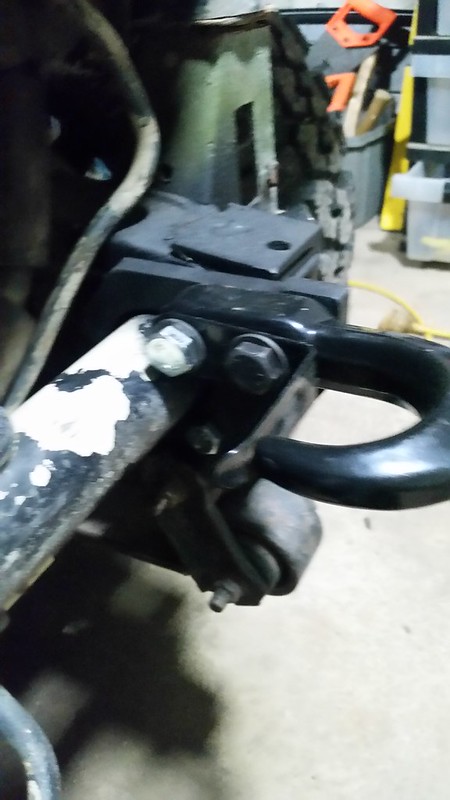
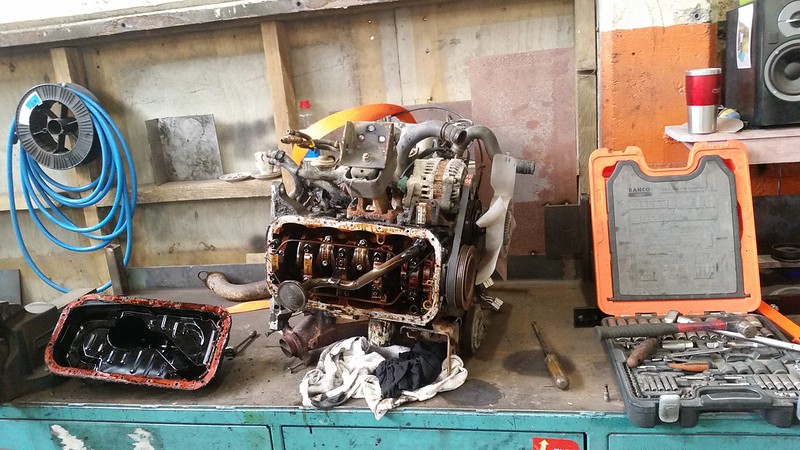
Next on the list is to have another look at the exhaust, a front tow hook and some mud!
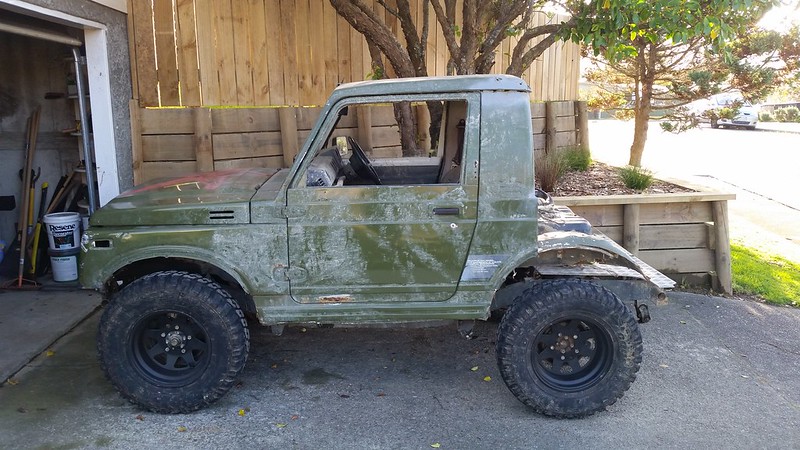
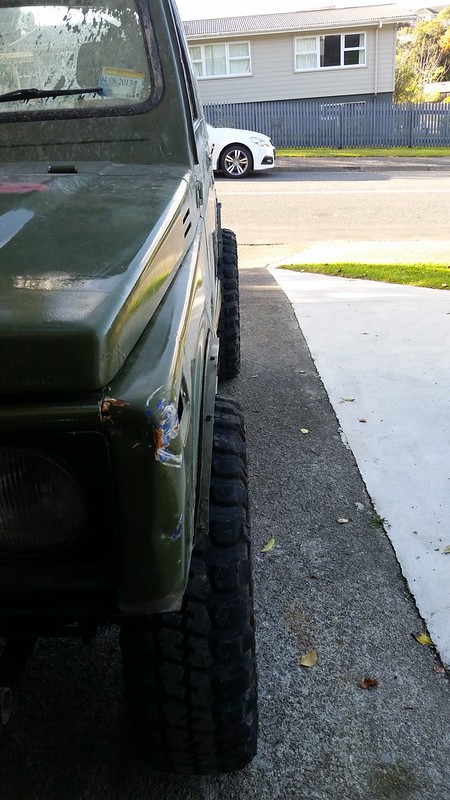
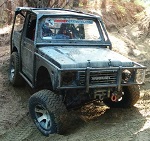
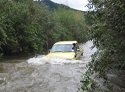
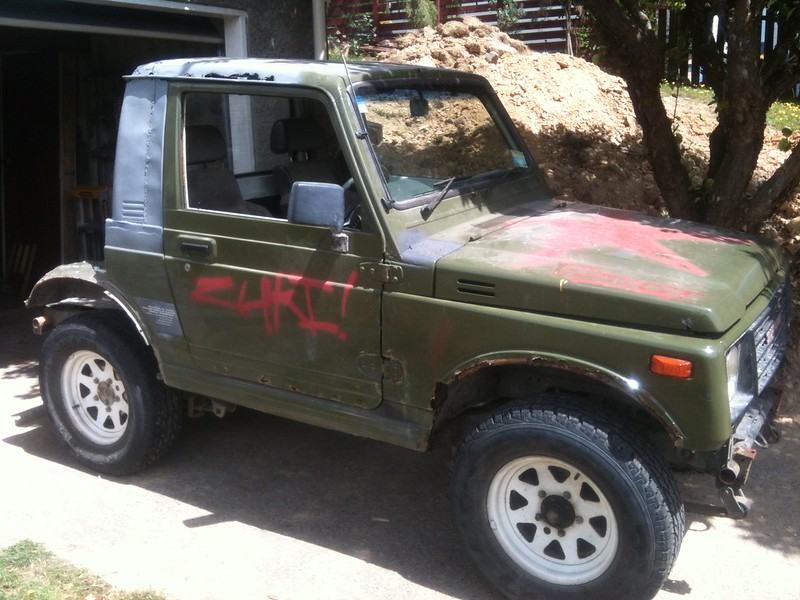
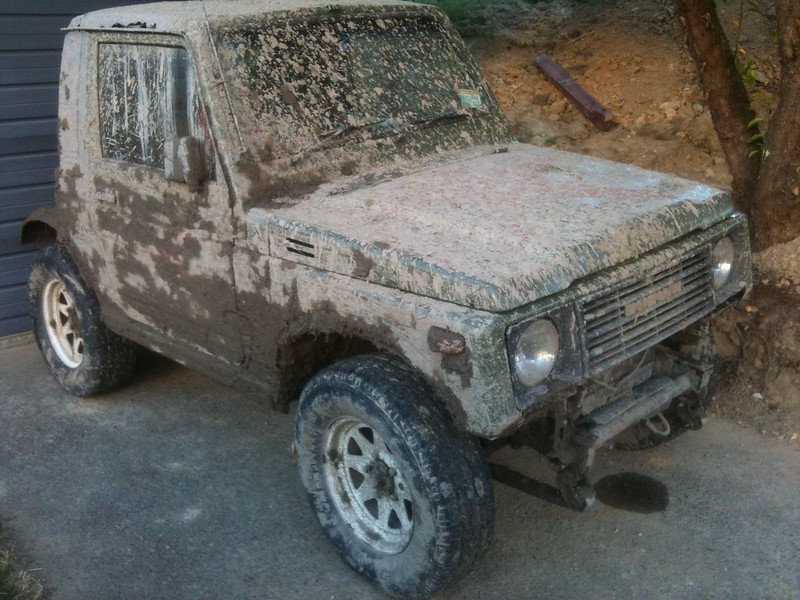
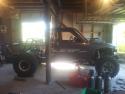
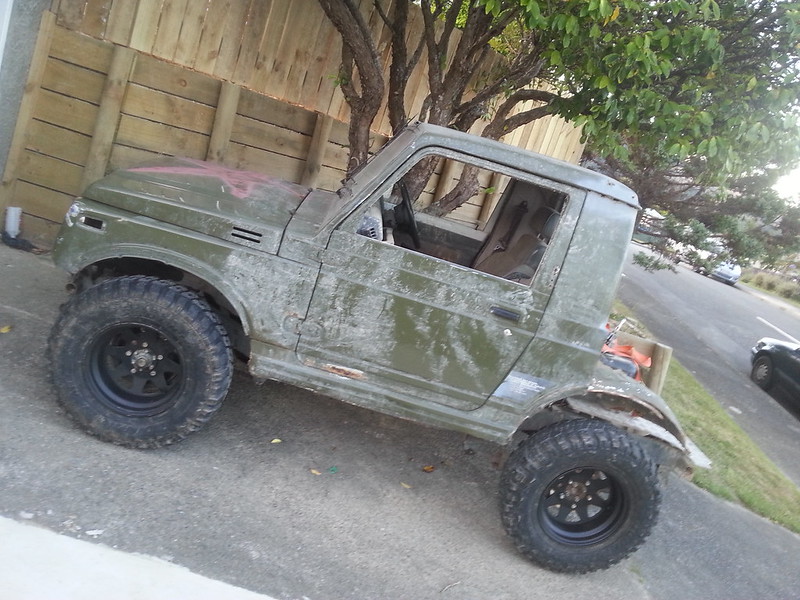
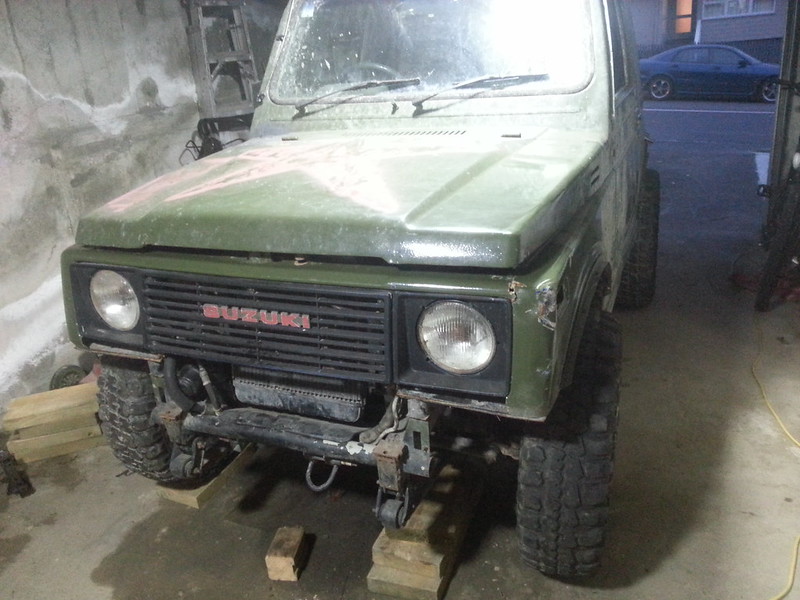
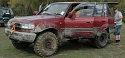
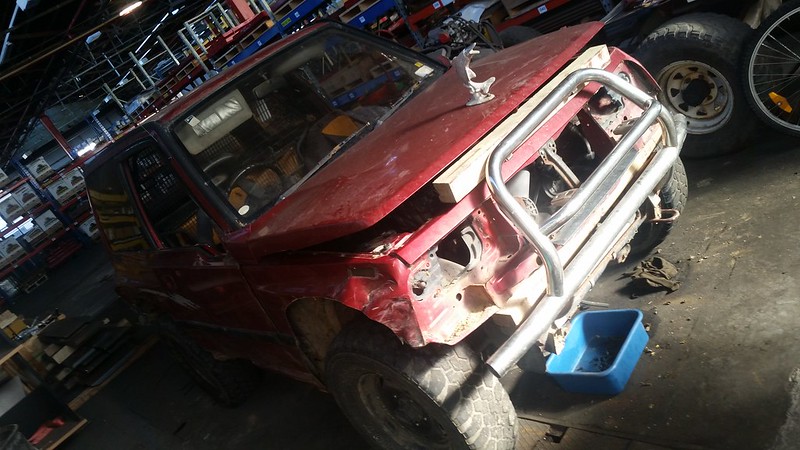
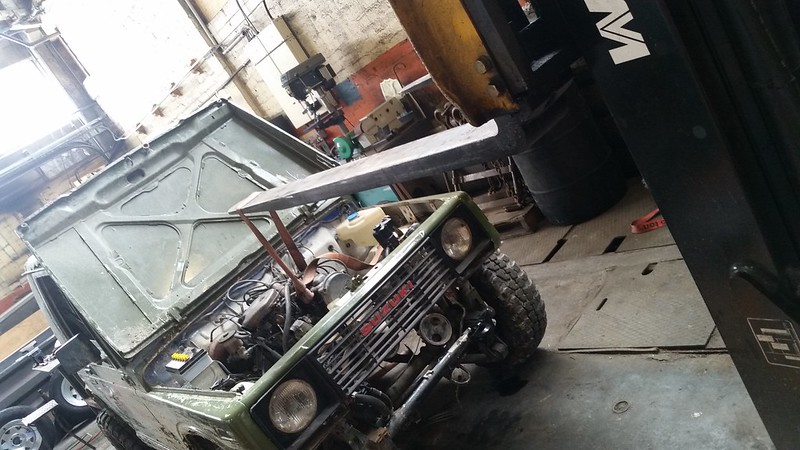
And some poser shots to finish with