
The following is a step by step guide based on how i fitted an Airflow Snorkle to my 80 Series Landcruiser.
I have fitted several Airflow snorkles before (including another 80 Series a few years ago), and i must commend Airflow for FINALLY sorting their shit out and suppling a snorkle kit that fits and works!!!!!
Tools needed:
Marker Pen
Center punch
Cross head and Phillips Screw Driver
1/4" Drive socket set
10mm ring spanner
Drill
76mm Hole saw
8mm drill bit
5mm drill bit
Masking tape
Sissors
Cutting fluid for hole saw
Neutral curing RTV rubber sealant
Vice grips
Round File
Other odds and ends
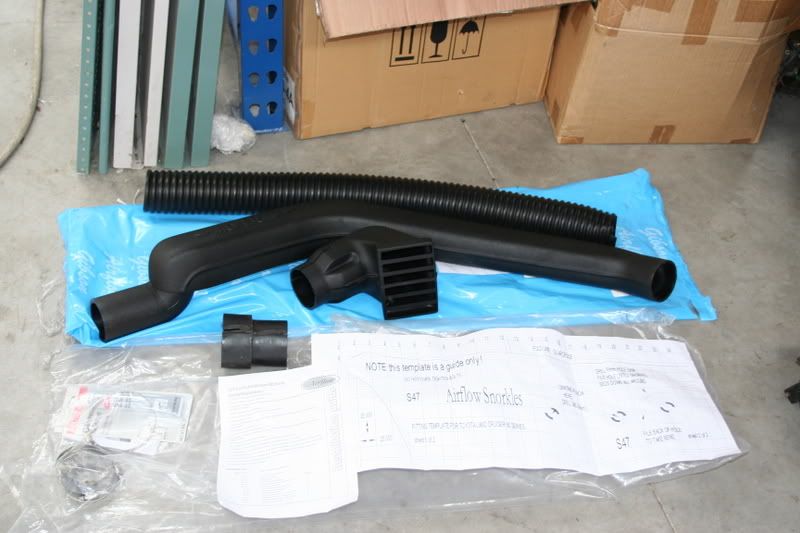
First up, open the packaging and go through the kit and make sure everything has been included.
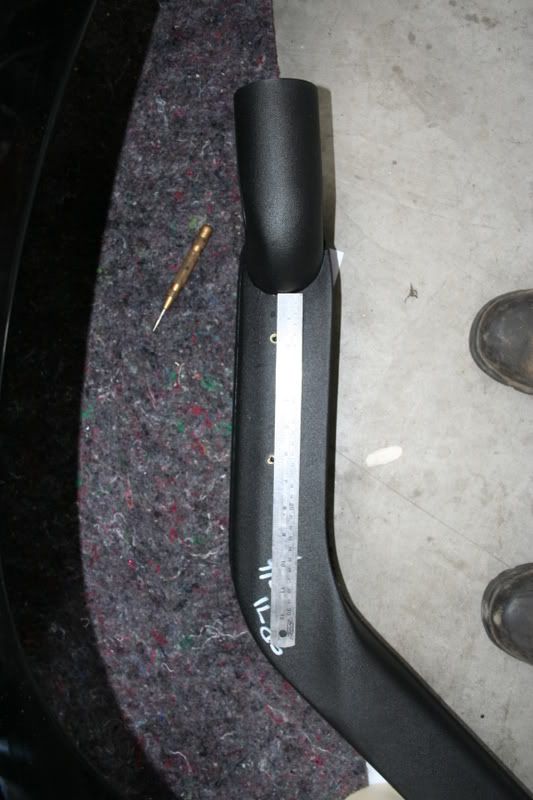
The snorkle fits to the drivers side front guard:
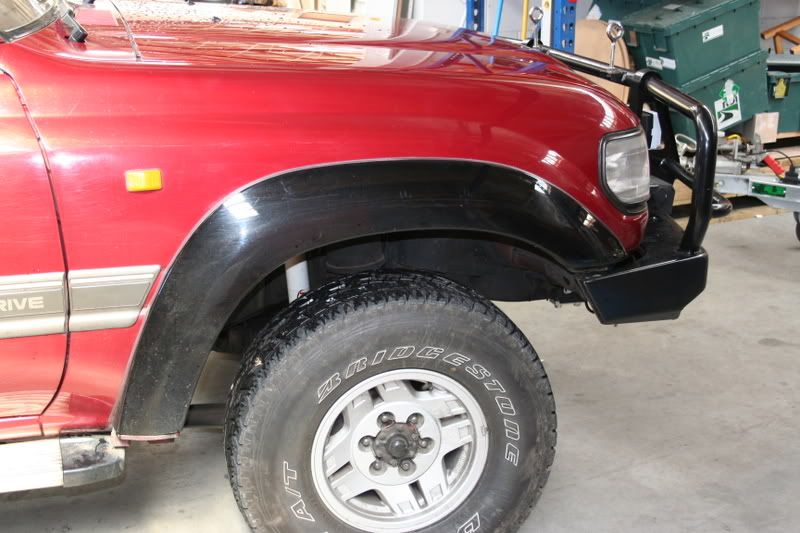
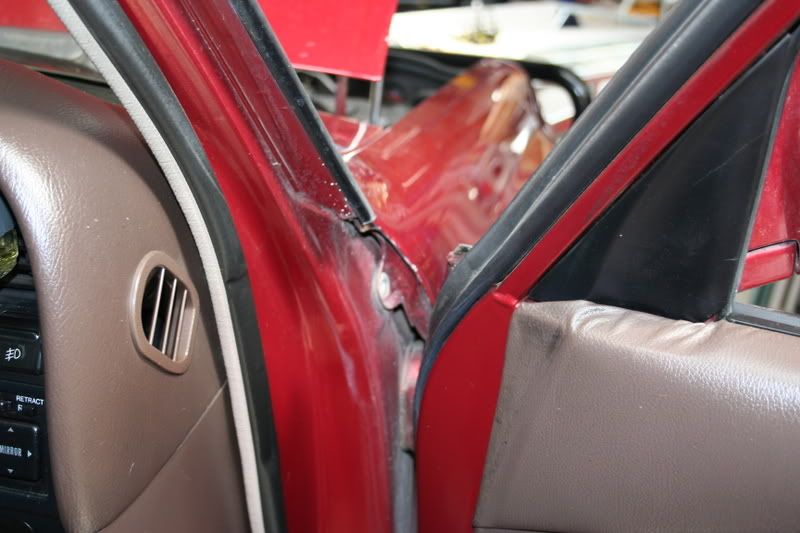
Due to the Landcruiser having a steel inner guard as opposed to a removable plastic inner guard as commonly found on most other 4x4's, the guard needs to be removed fromn the vehicle.
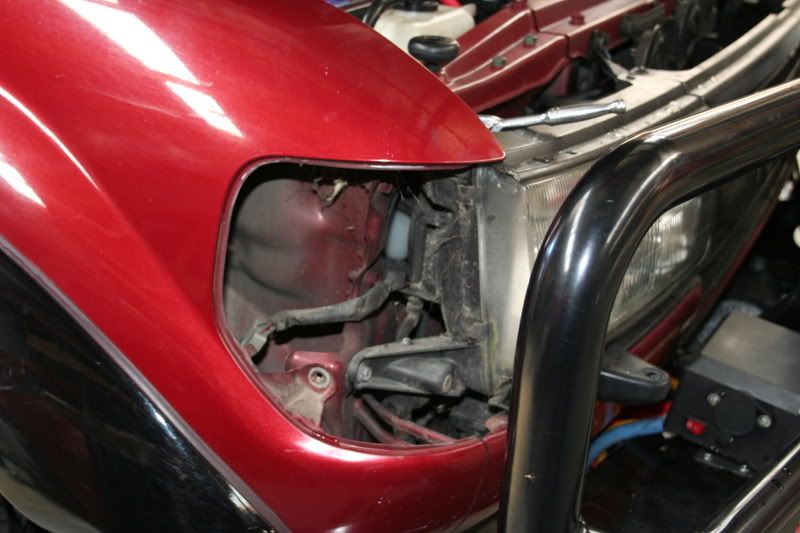
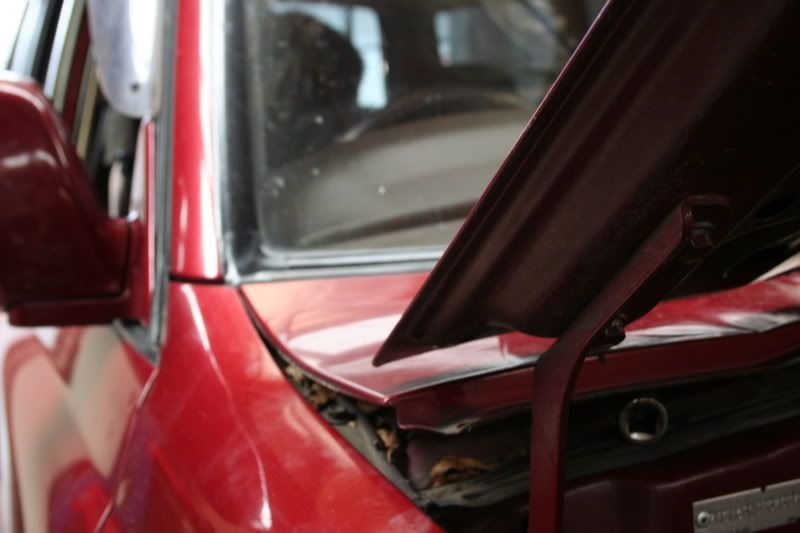
So to get the ball rolling, remove the corner light:
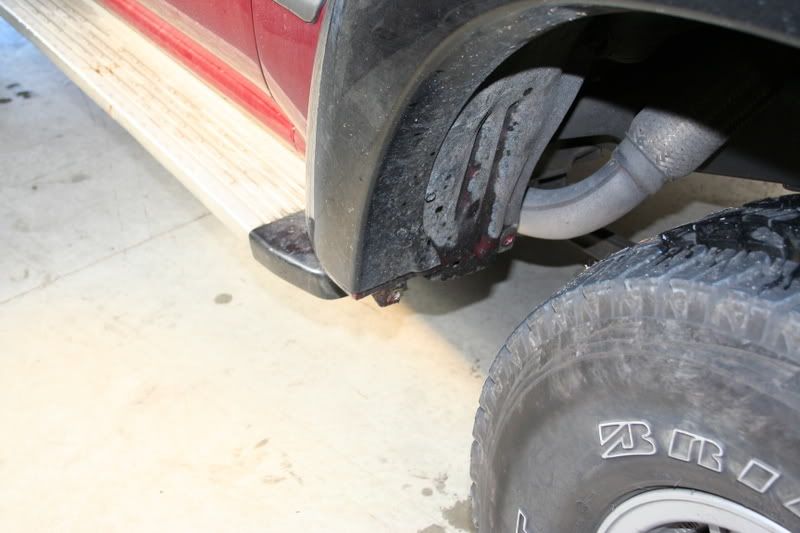
Remove the mud flap:
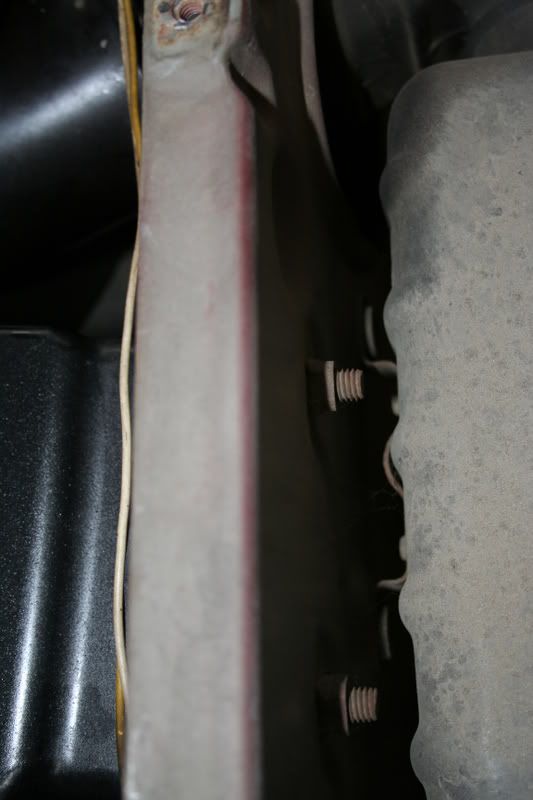
Undo the row of bolts holding the gaurd to inner gaurd:
A coupleof tricky bolts in behind the head light (I used a 1/2" drive air ratchet to get these
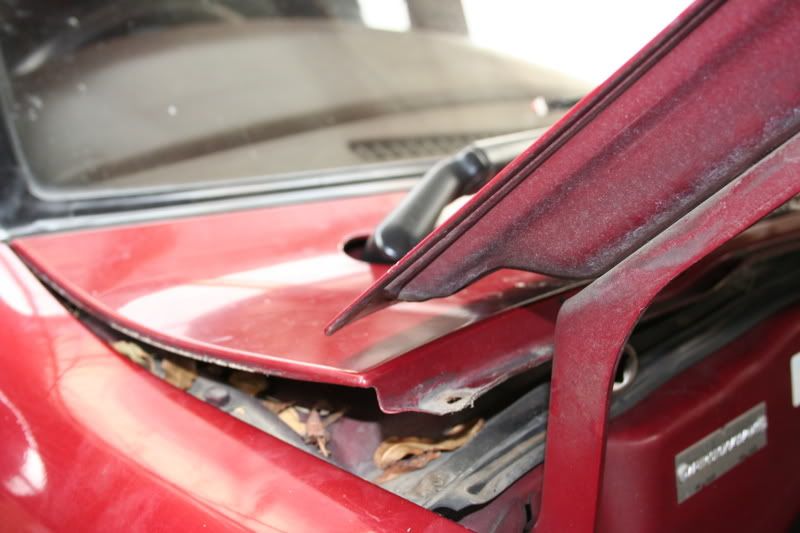
Remove the row of bolts ontop of the gaurd:
Then the one behind the door, easiest to get with the door open
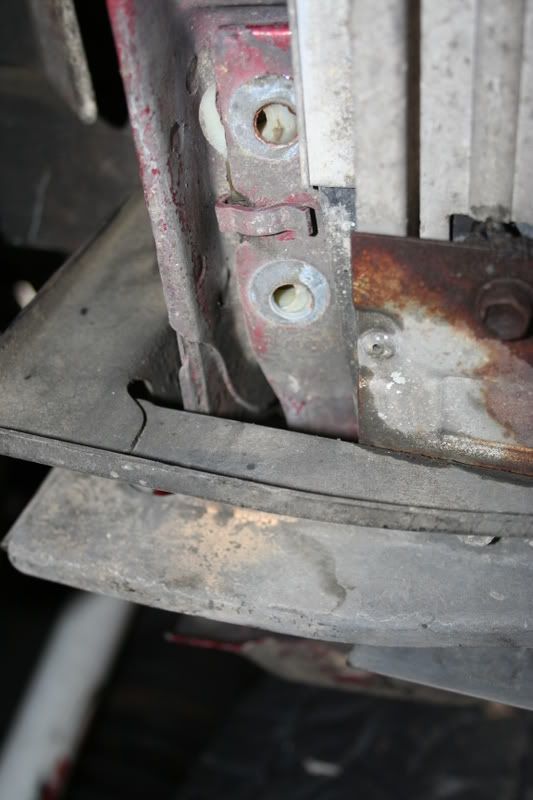
Remove two screws from the vent section infront of the windscreem to get the last sneaky bolt hiding under there:
Slide underneath and get these three bolts. The forward most bolt has a captive nut, and as you expect it broke free and got the vice grip treatment (almost got the angle grinder treatment
A bit of very carefull wiggling and teasing to break the sealant joining the guard to the inner guard, be carefull, you don't want to twist or tweak the guard out of shape. I had to go round the joint with a screw driver and leaver it apart carefully.
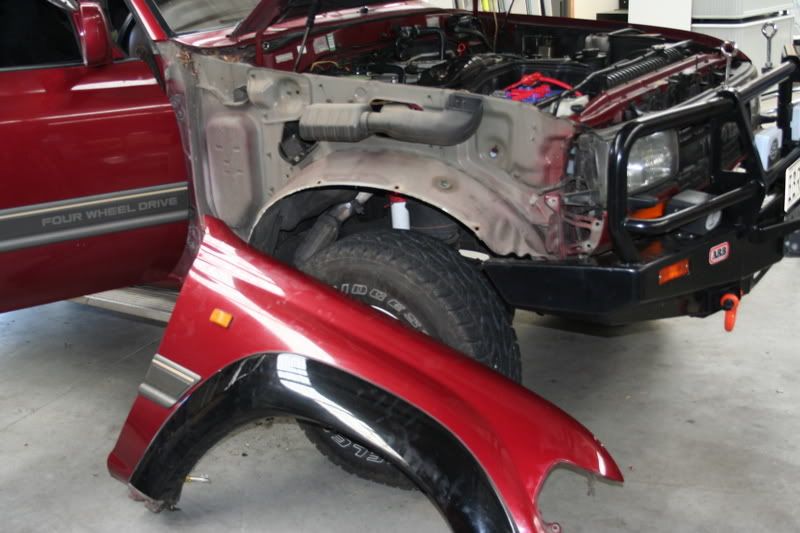
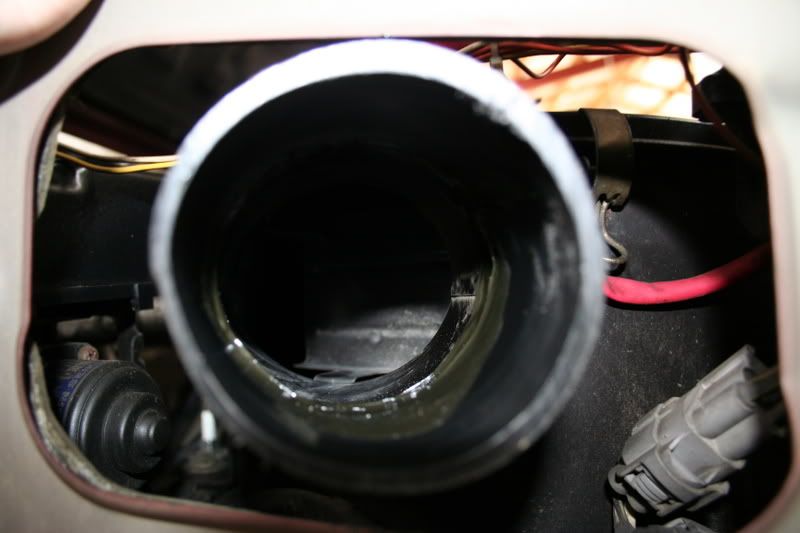
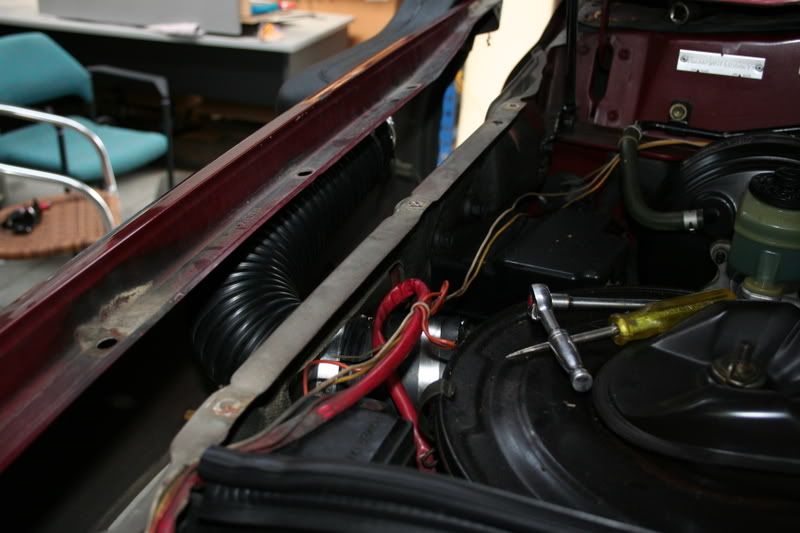
Remove all of the intake ducting that is now exposed
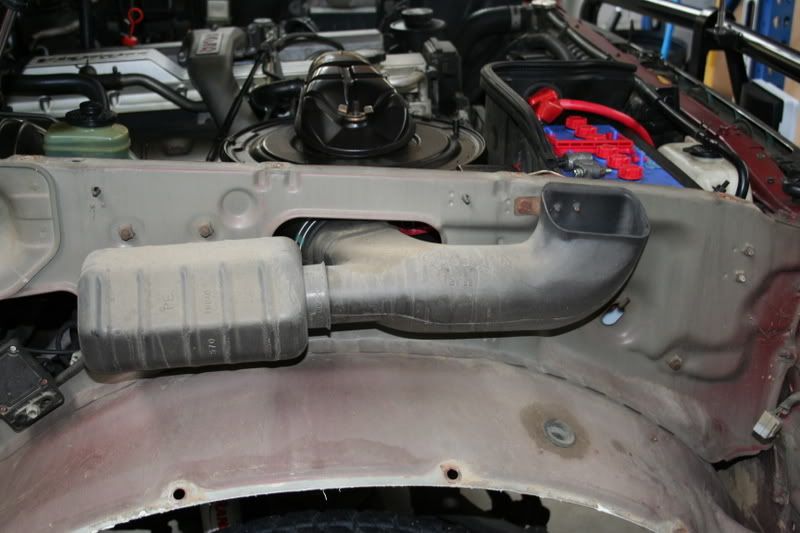
There's a hose clamp onto the airbox:
And a couple of nuts on the engine bay side. To get the rear of the ducting out, you really need to remove the cruise control unit, but considering the snorkle is a perminant fixture, i just got a bit of metal fatigue action going and broke the bracket off
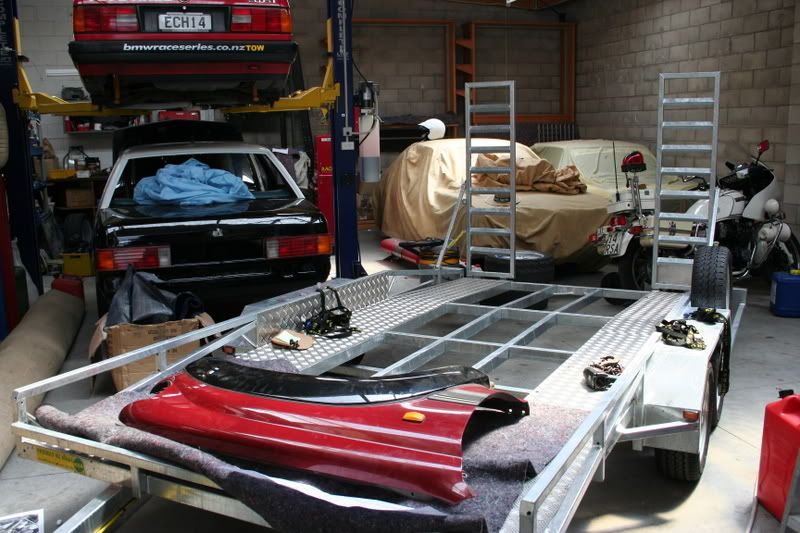
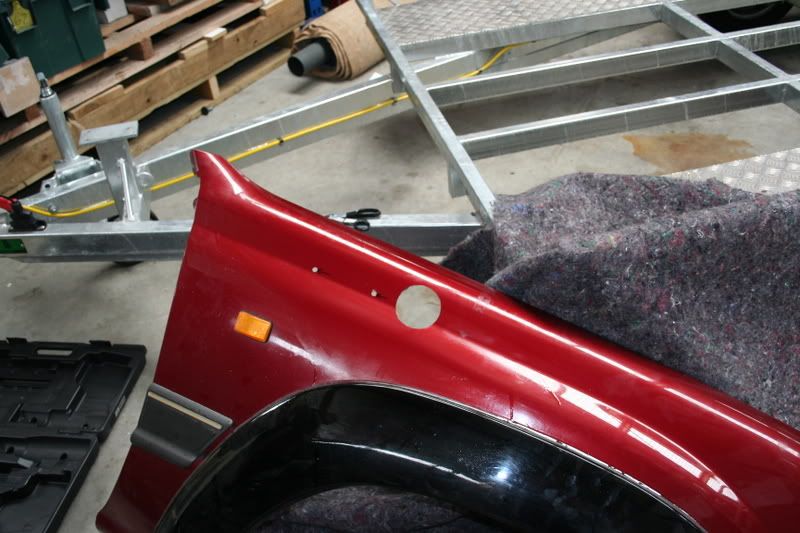
Set the guard down somewhere safe and cut the template out as per instructions supplied with the kit:
Line the template up on the guard REALLY carefully and tape it there:
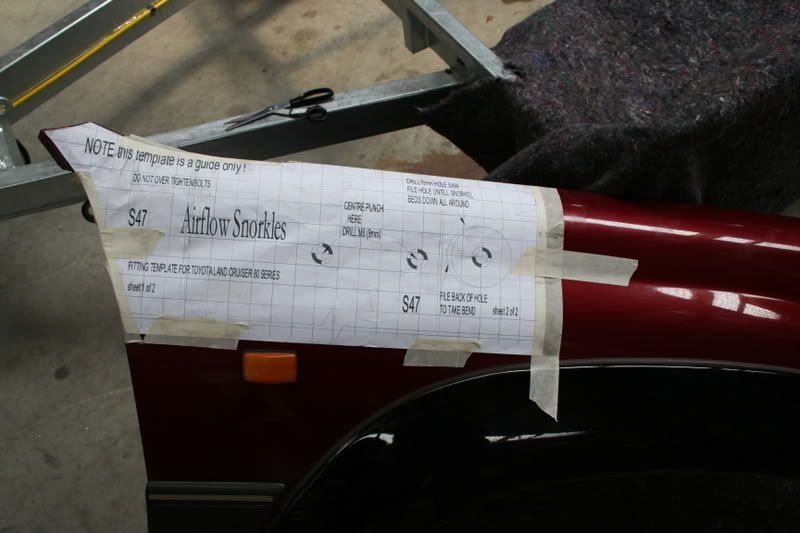
Measure the positions of the holes on the template relative to the mounting holes etc on the snorkle. The template is a guide only, the snorkle can distort during the cooling process as it comes out of the mold, so there is a certain amount of variation expected:
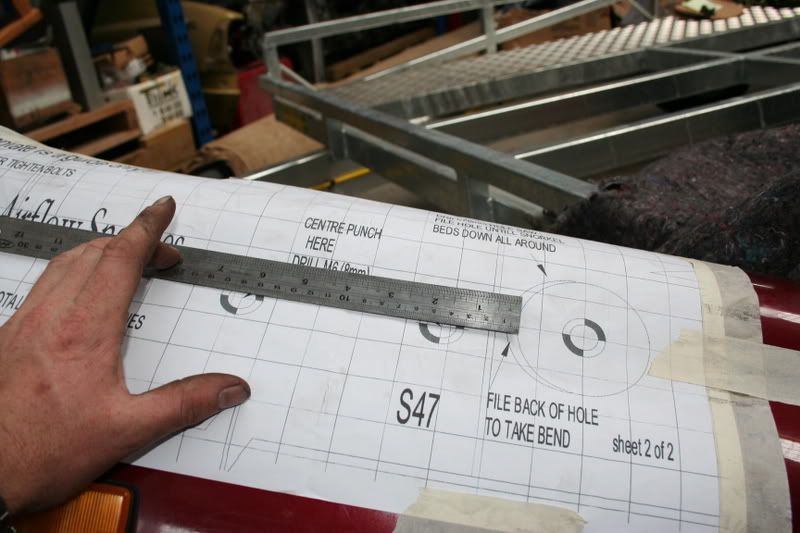
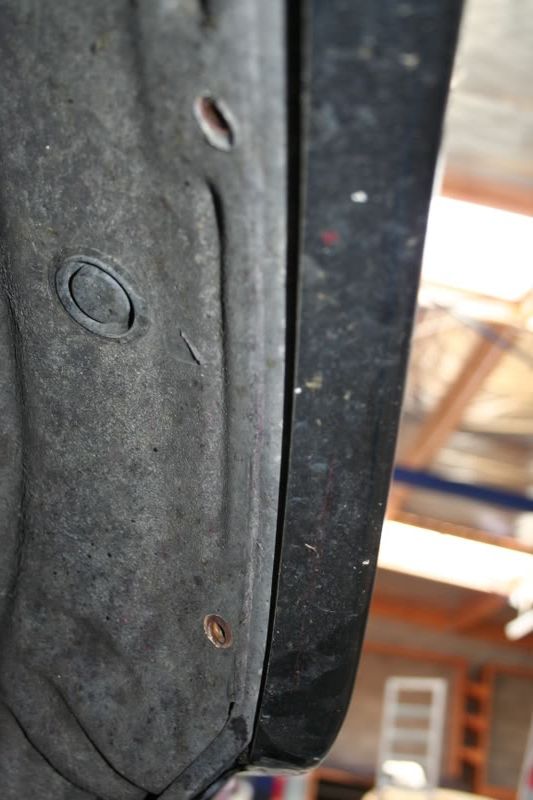
Once your happy, center punch the centers of the holes as shown on the template:
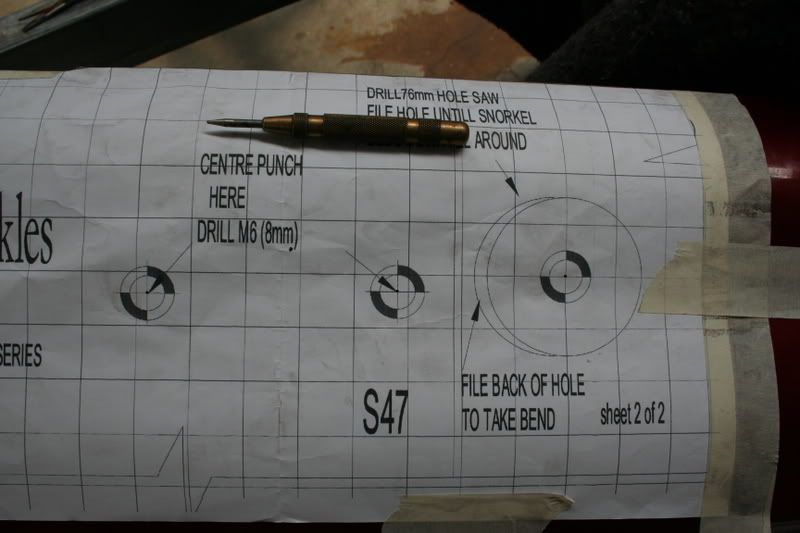
Pull the template off and drill your pilot holes using plenty cutting fluid on the drill bit:
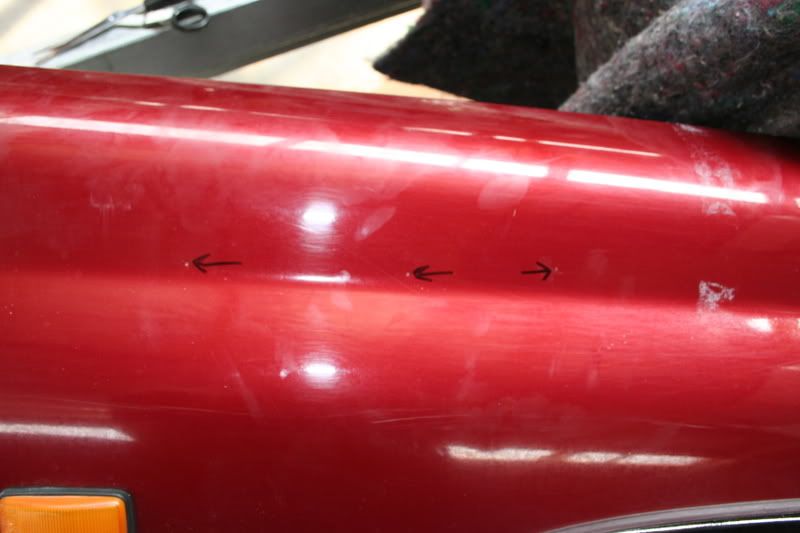
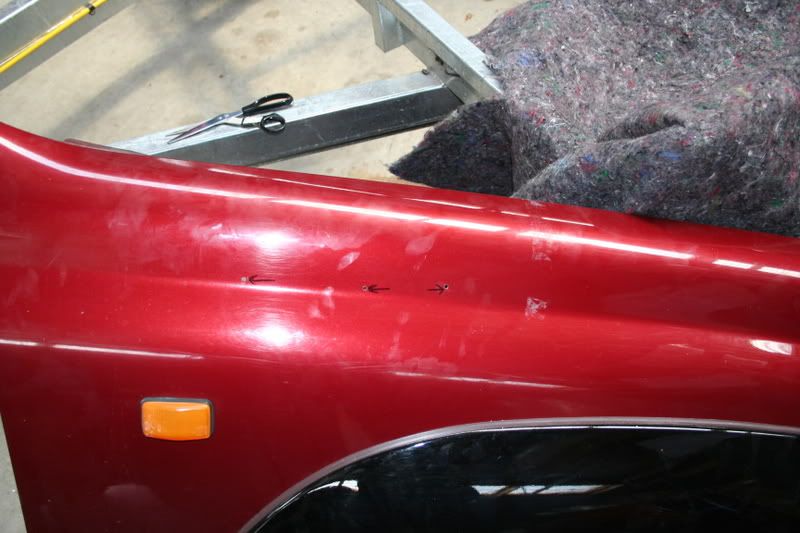
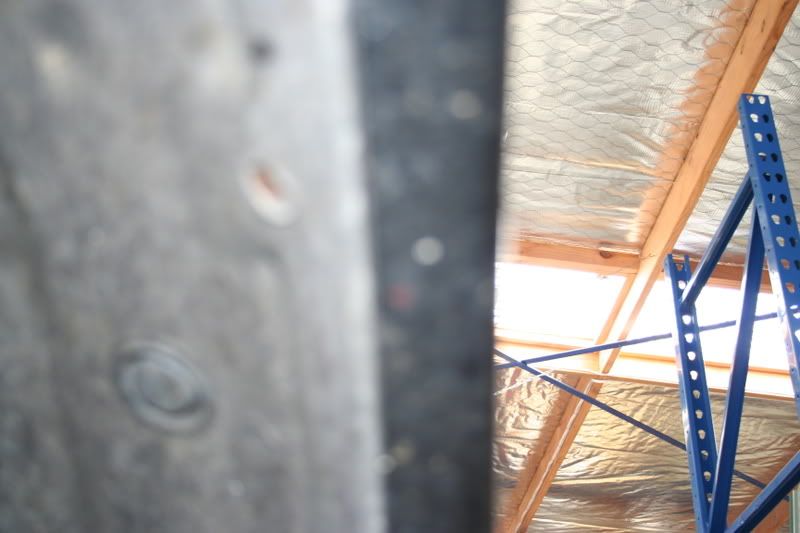
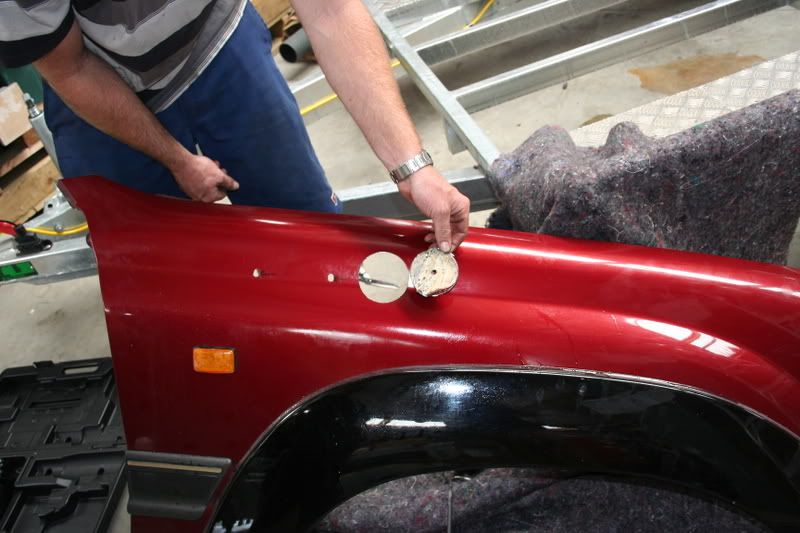
A couple of guys dropped in to say Hi' and i got distracted, so forgot to take a photo of this part. Cover the area you are going to attack with the hole in masking tape, this helps dissapate the heat generated by the saw. Use HEAPS of cutting fluid and go really slowly and take your time.
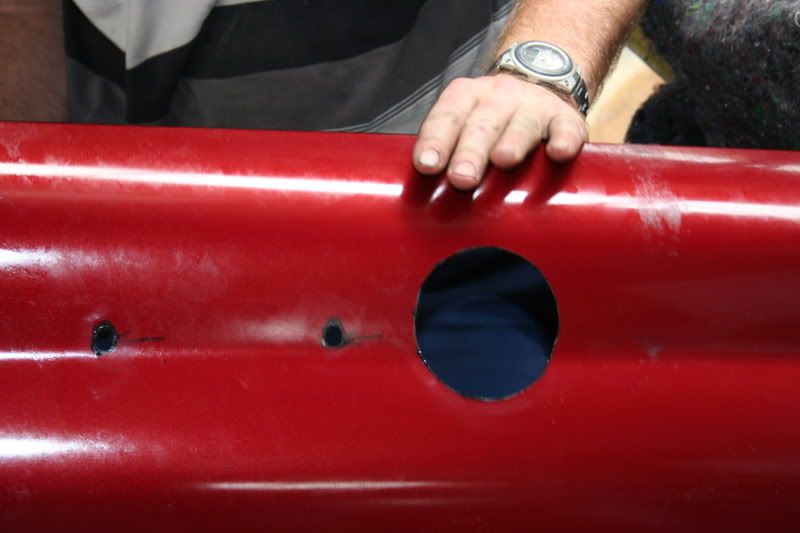
The end result will be something like this:
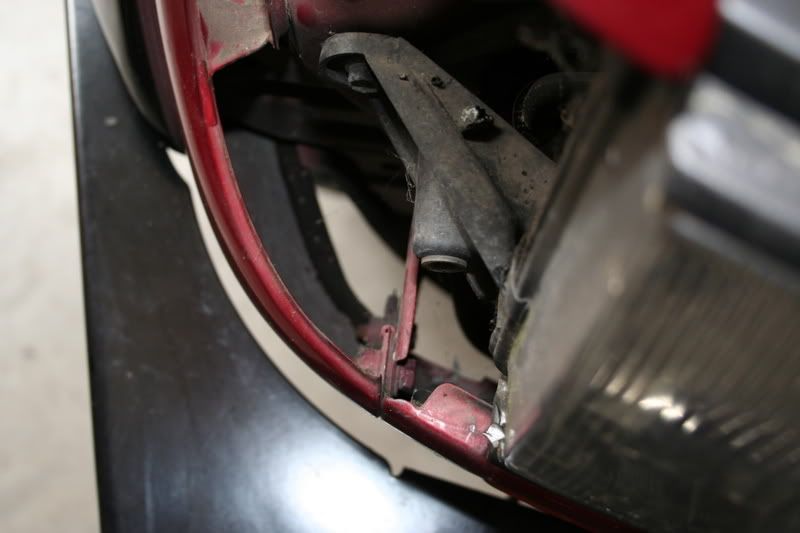
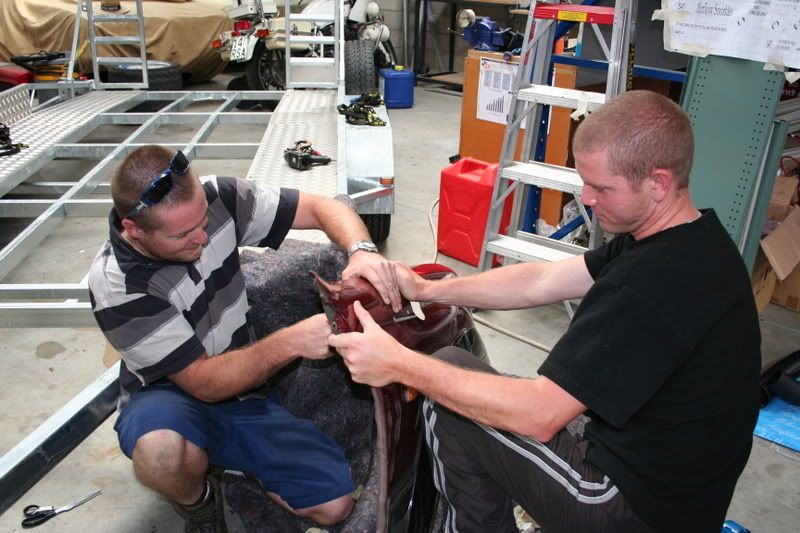
Do a test fit of the snorkle into the guard to check the holes line up. Mine did, but the snorkle wasn't sitting where it felt like it should to i slotted the mounting holes with the round file:
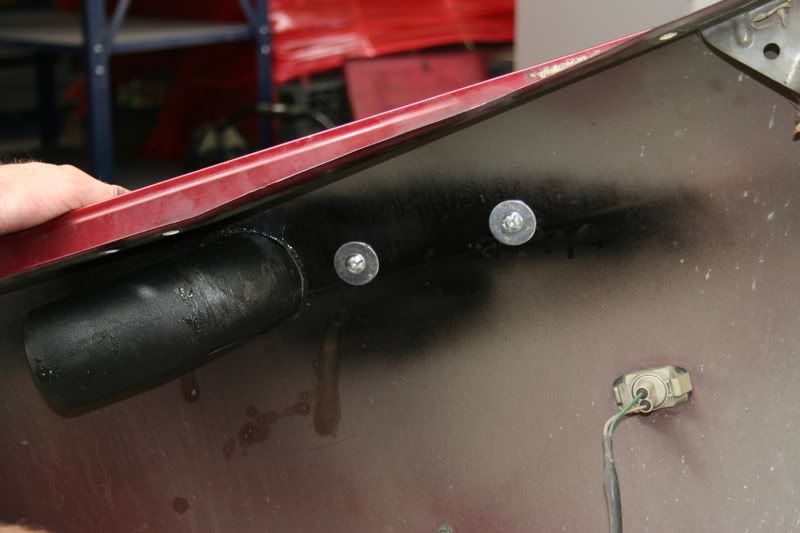
Its important to then make sure you paint the inside of the holes to prevent rust:
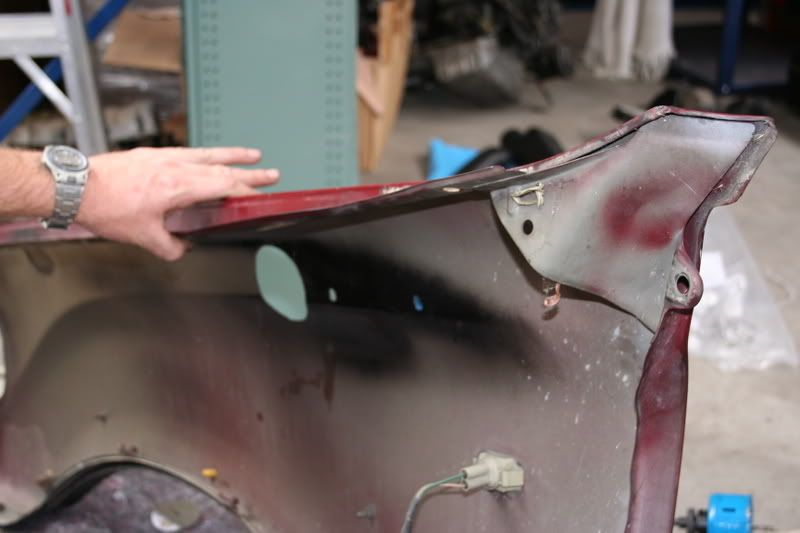
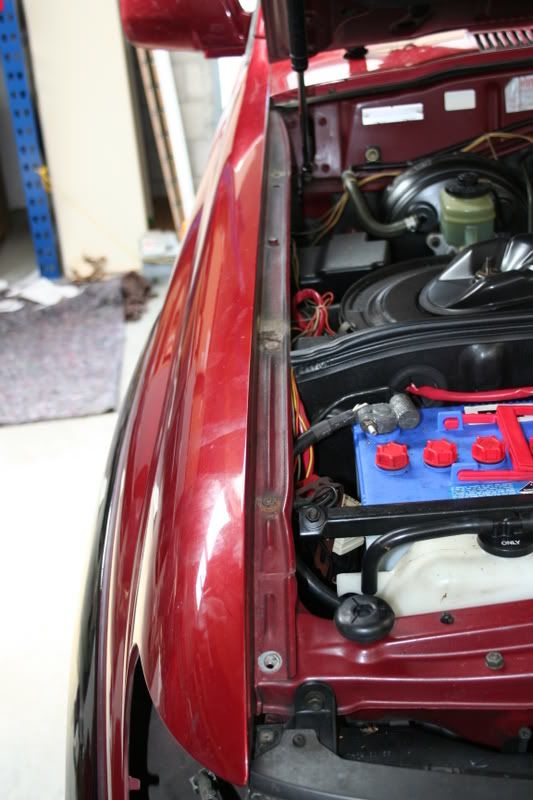
Mount the snorkle to the gaurd in its final position
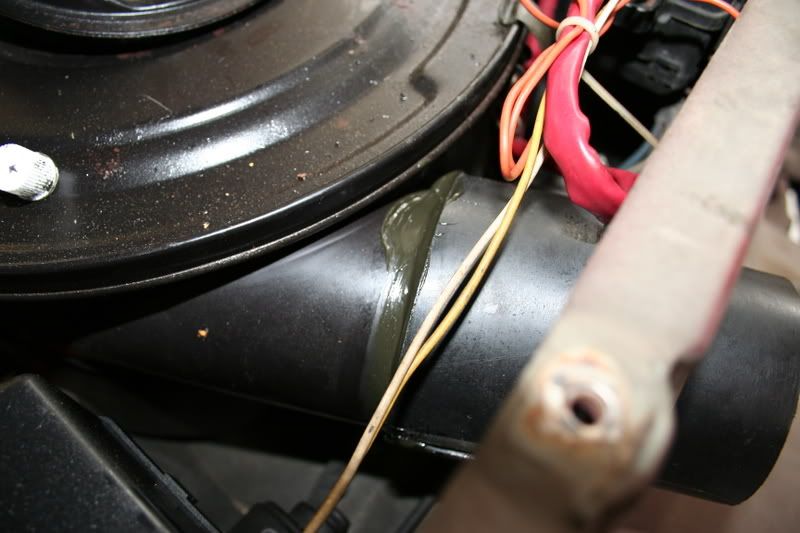
Dose the end up with liberal amounts of sealant
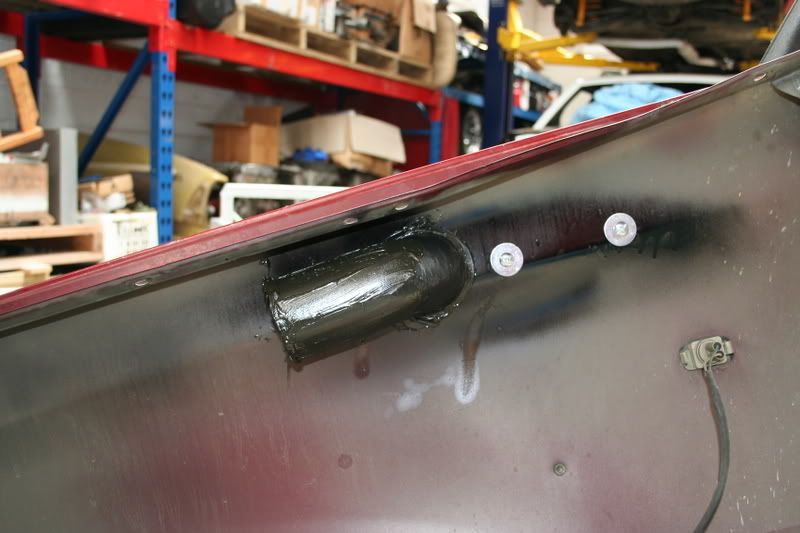
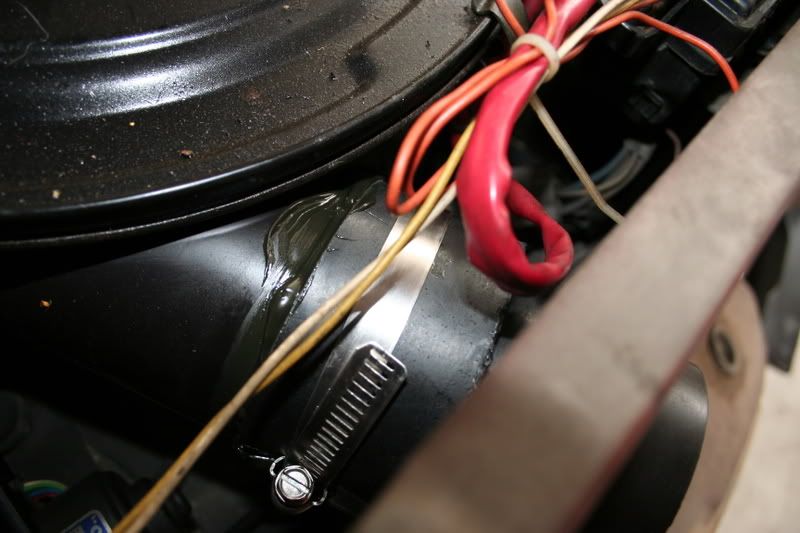
Slip the hose on and clamp it there
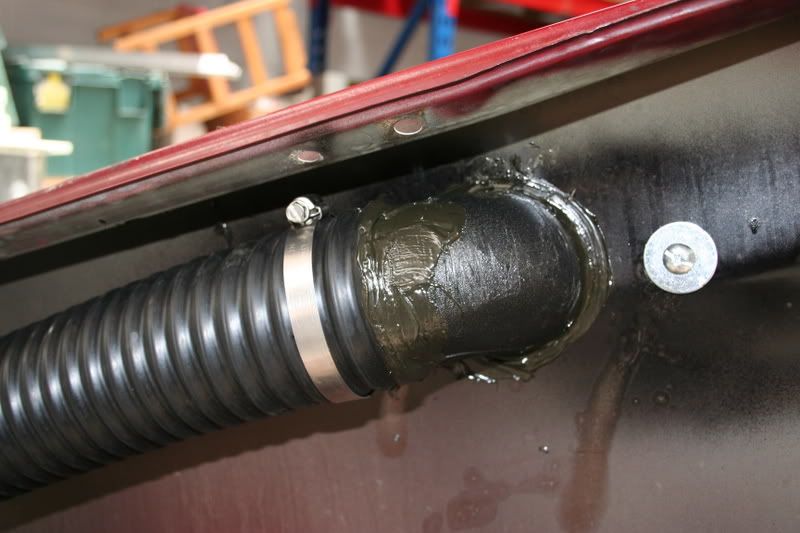
Dose the inlet into the air box with a liberal amount of sealant and to the clamp up tight:
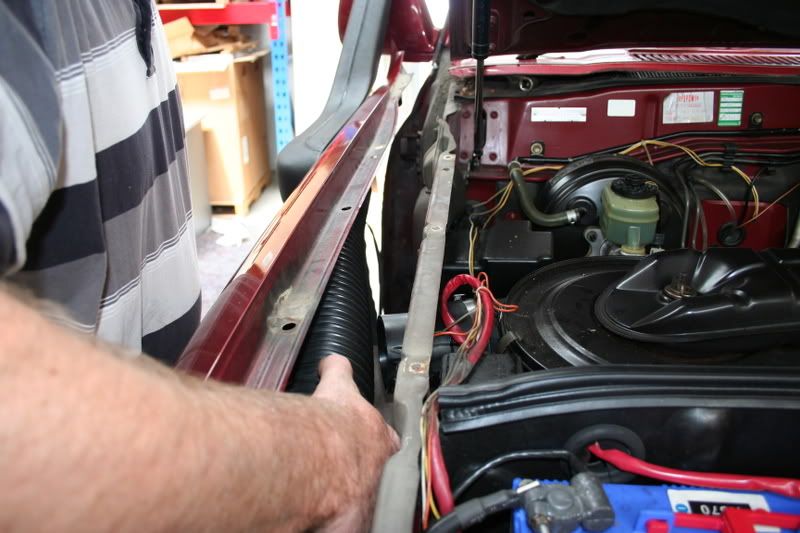
Hold the gaurd up into position and work out the length to trim the hose to:
Tighten the clamps up
Get stuck in and remount the guard
Next up is the A pillar bracket:
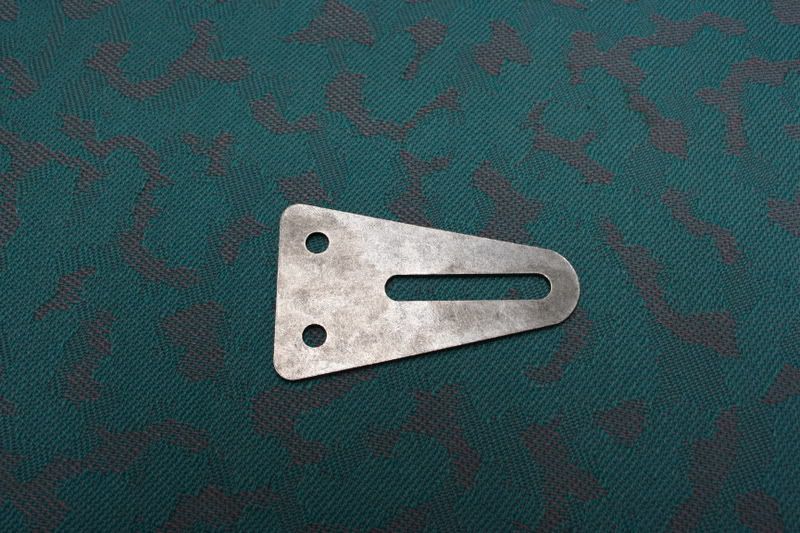
I decided it needed a little tweak to get it to sit nicely
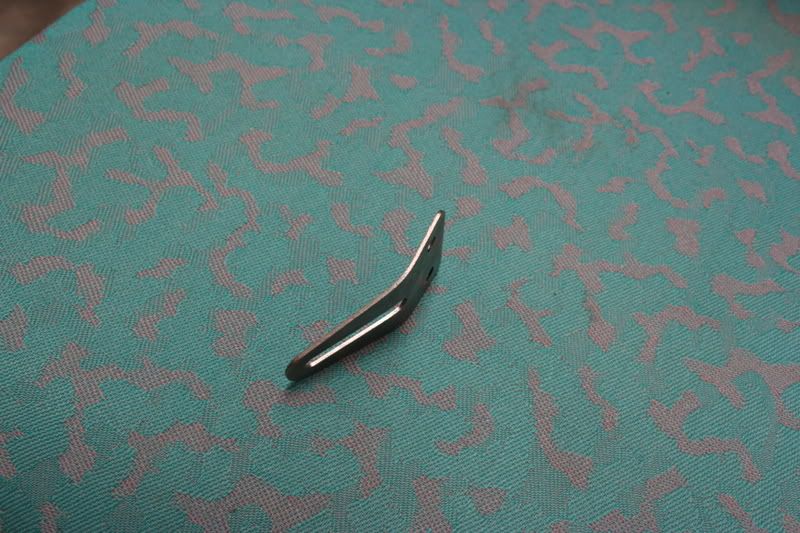
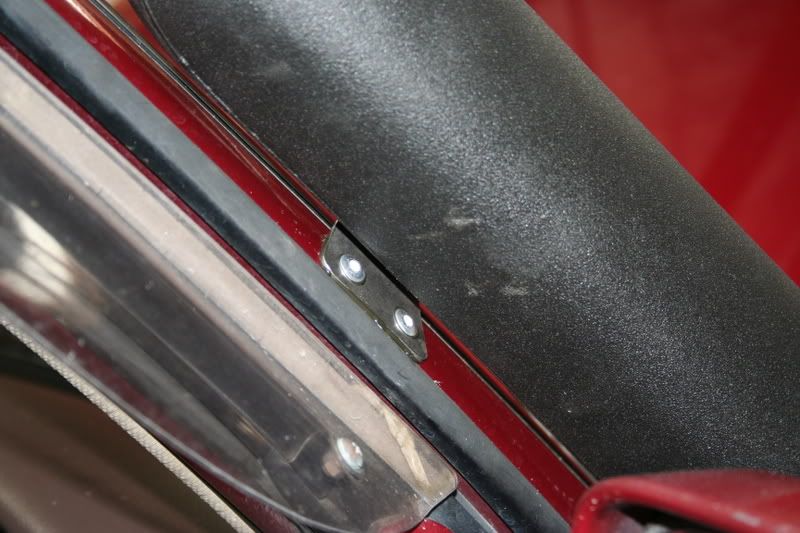
I prefer to rivit the bracket in place rather than use the screws and plastic instert thingies which require you to file the hole out into a square, so use 4.8mm blind rivits. Apply sealant to the back of the bracket and rivit in place:
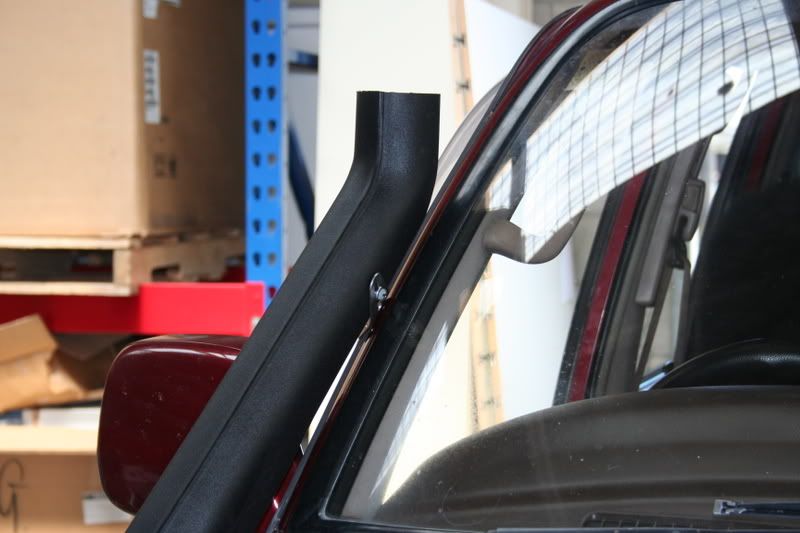
All thats left to do is sit the hat on and clamp it down.
Camera ran out of space, so will update with a finished product photo later