hizuke project

Starting a project or modification? Then post it's progress here and show us some pic's.
User avatar
new2zukes
Hard Yaka
Posts: 761
Joined: Thu Sep 06, 2007 12:00 pm
Location: kerikeri northland

Re: hizuke project

Post by new2zukes »

well didnt do much work today, but got a bit of welding done. heres the pics of progress as pics save me writing an essay.
Image
Image
Image
Image
User avatar
new2zukes
Hard Yaka
Posts: 761
Joined: Thu Sep 06, 2007 12:00 pm
Location: kerikeri northland

Re: hizuke project

Post by new2zukes »

got my extractors and painted the front bars now they look nice n shiney:)
Image
Image
User avatar
new2zukes
Hard Yaka
Posts: 761
Joined: Thu Sep 06, 2007 12:00 pm
Location: kerikeri northland

Re: hizuke project

Post by new2zukes »

ok well muffler came today some more rear vitara springs should be here tomorrow. so got in the shed tonight to get the exhaust done looks good and wont hit anything when the motor is running i have left enough space (i hope ) well here are the pics,i would like it better if i could do a nice neat weld but it shud be air tight.
Image
Image
User avatar
new2zukes
Hard Yaka
Posts: 761
Joined: Thu Sep 06, 2007 12:00 pm
Location: kerikeri northland

Re: hizuke project

Post by new2zukes »

ok well didnt get much done today as a m8 decided he wanted me to do a LITTLE welding for him. ended up taking most of the day but ah well.
got the brake lines in place and made a plug things as there is 1 too many outputs on the brake line splitter this shouldnt let go in a hurry. well thats about all.
Image
Image
Image
Image
User avatar
new2zukes
Hard Yaka
Posts: 761
Joined: Thu Sep 06, 2007 12:00 pm
Location: kerikeri northland

Re: hizuke project

Post by new2zukes »

well got a bit done in the last few days, decided i would replace the clutch but this took about 4 hours just to get the gearbox off the motor!!!!!! the reason for this is that the shaft had rusted itself on the clutch plate. well after i had calmed down from swearing and kicking the gearbox i put it back together which was alot smoother than the coming out.i have no pics of this as i was too busy cursing at it.
stripped everything not welded to the chassis off ready for the final welds and paint.
Image
Image
Image
i also made a nice n strong front tow hook mount, the mount was glowing red hot at the end of welding so it somehow tells me its not going to give way in a hurry. thats about all for today there wont be too much happening next week as i have to go back to work on monday:( but i supose ive had a long enough holiday already:) although i spent most of my time working on our house anyways so not really holiday as such. well shud have a bit of an update tomorrow nite.
User avatar
flyingbrick
Hard Yaka
Posts: 1725
Joined: Sun Jan 18, 2009 7:36 pm
Location: Hamilton/Auckland

Re: hizuke project

Post by flyingbrick »

Looks cool dude..wish i had the space and a welder to crank shit like that.

Please cut all the square edges off all those brackets and the spring perches tho :mrgreen: Will look 100% more professional.
phone Ross Bolus (secretary of the BOP club) He'll save you.
User avatar
new2zukes
Hard Yaka
Posts: 761
Joined: Thu Sep 06, 2007 12:00 pm
Location: kerikeri northland

Re: hizuke project

Post by new2zukes »

il take the grinder to it some time next week i think im trying not to do too much grinding in the shed due to the fire risk and as its bone dry up here it wouldnt take much for it to go up in smoke. and also its got alot of dry wood laying around due to me n me dad being joiners.
User avatar
new2zukes
Hard Yaka
Posts: 761
Joined: Thu Sep 06, 2007 12:00 pm
Location: kerikeri northland

Re: hizuke project

Post by new2zukes »

well got a little done today but spent most of the day getting me tools ready for work. painted the rear diff and welded a few more brackets up.
Image
Image
User avatar
new2zukes
Hard Yaka
Posts: 761
Joined: Thu Sep 06, 2007 12:00 pm
Location: kerikeri northland

Re: hizuke project

Post by new2zukes »

well got a few more things painted,
Image
Image
User avatar
new2zukes
Hard Yaka
Posts: 761
Joined: Thu Sep 06, 2007 12:00 pm
Location: kerikeri northland

Re: hizuke project

Post by new2zukes »

well got a little done this week as usual pics are better than words most are a little rough due to using the arc but will mig them later.
Image
Image
Image
rounded courners.
Image
got my beadlock rims back from the engineers now need to tidy them up a bit.
User avatar
Dr_PC
Hard Yaka
Posts: 797
Joined: Thu Feb 13, 2003 12:00 pm
Location: Moerewa Bay of Islands
Contact:

Re: hizuke project

Post by Dr_PC »

Good progress still being made. Keep it up and as you say A little bit each day or week and it does happen
User avatar
new2zukes
Hard Yaka
Posts: 761
Joined: Thu Sep 06, 2007 12:00 pm
Location: kerikeri northland

Re: hizuke project

Post by new2zukes »

well got some paint on tonight, wasnt the best time to sprey it but ah well, most of the paint went onto me mums plants (opps) but they were out so they dont know yet. i used about 750ml primer and 750ml top coat for just one coat. will finish off the painting tomorrow. then time to start on the beadlocks.
Image
Image
i tryed to get black but they didnt do black in the paint i was getting. but atleast noone will know i have mud on my truck now :lol: well i got the long weekend to finish it off will have chassis diffs back together by monday i hope as long as i can get my tires on the rims. and that will be a bit of a mission.
can anyone tell me the best way to get tires onto beadlocks? do you start off from inside edge or where the beadlock ring is welded too. thanks any help would be apreciated.

martin
User avatar
Dr_PC
Hard Yaka
Posts: 797
Joined: Thu Feb 13, 2003 12:00 pm
Location: Moerewa Bay of Islands
Contact:

Re: hizuke project

Post by Dr_PC »

new2zukes wrote:.
can anyone tell me the best way to get tires onto beadlocks? do you start off from inside edge or where the beadlock ring is welded too. thanks any help would be apreciated. martin


Lay the back of the rim on the ground place the tyre oin the rim, with a bit of a jiggle it should go on sometimes need to give the edge a bit of a helping hand with a rubber hammer. Fit the tube place the beadlock on and tighten the capscrews evenly at 90 degress, bit like doing a head gasket. Get them down then start getting pissed of as you go round about 5 times pulling them down until tight
User avatar
new2zukes
Hard Yaka
Posts: 761
Joined: Thu Sep 06, 2007 12:00 pm
Location: kerikeri northland

Re: hizuke project

Post by new2zukes »

awsome thanks dan im sure you could almost do them in your sleep hehehe. do you have much trouble with your beadlocks getting punctures as i have seen a few times you got some punctures or just flatties.
User avatar
new2zukes
Hard Yaka
Posts: 761
Joined: Thu Sep 06, 2007 12:00 pm
Location: kerikeri northland

Re: hizuke project

Post by new2zukes »

well got my beadlocks on took me 2 hours to put the first one on then 1 hour each for the rest, broke the allen key a few times but just welded it back on end result is this.
Image
then put the truck back together, still need to do a few things more then need to sort the body and cage out ( a little welding and then the paint job)
Image
Image
Image
also forgot to paint the d shafts so splashed a bit of paint on them tonight.
Image
more tomorrow
User avatar
new2zukes
Hard Yaka
Posts: 761
Joined: Thu Sep 06, 2007 12:00 pm
Location: kerikeri northland

Re: hizuke project

Post by new2zukes »

well its slowly taking place, i would have got more done but i ran out of gas for me welder and i remembered the shops are shut due to waitangi day. but got a little painting done. so here is where im up 2.
Image
strengthened the sills with some 80x80 6mm angle shouldnt dent them in a hurry.
Image
got the bonnet and the doors painted and got the roll cage on so its out of the way.
Image
Image
well i need to sort my other truck out tomorrow as something is seriously wrong with the charging system the battery or the winch motor is stuffed, dont quite no which one it is yet hopefully its just the battery.
User avatar
WACKO
Pyro
Posts: 990
Joined: Sat Feb 11, 2006 12:00 pm
Location: Lower Hutt

Re: hizuke project

Post by WACKO »

good work man. not long now.

i love looking back at the first page of these types of builds. the vehicles always end up completly differant to the original idea.

big ups to you
:mrgreen:
User avatar
new2zukes
Hard Yaka
Posts: 761
Joined: Thu Sep 06, 2007 12:00 pm
Location: kerikeri northland

Re: hizuke project

Post by new2zukes »

well got a bit more done in the last week, got it all painted and put back together now its just the last odd fiddley bits to go then its all go.pics will show you more of what i done.
Image
Image
Image
Image
Image
oh and i forgot to say i replaced the oil in motor gearbox transfer case and both diffs, cost me a small fortune but its worth it as i dont know when the last oil change was.
User avatar
new2zukes
Hard Yaka
Posts: 761
Joined: Thu Sep 06, 2007 12:00 pm
Location: kerikeri northland

Re: hizuke project

Post by new2zukes »

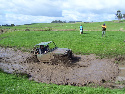
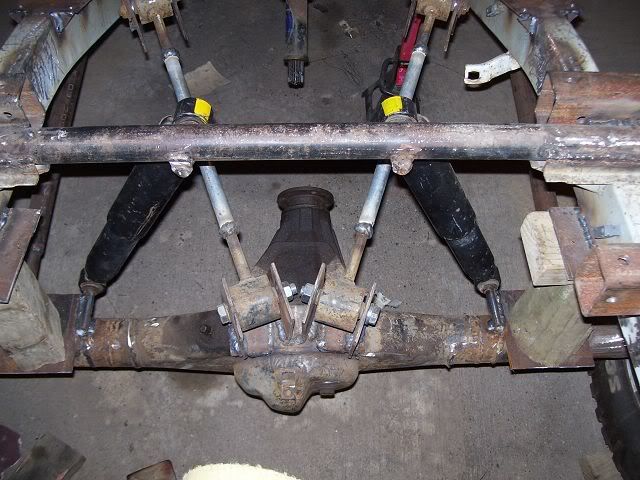
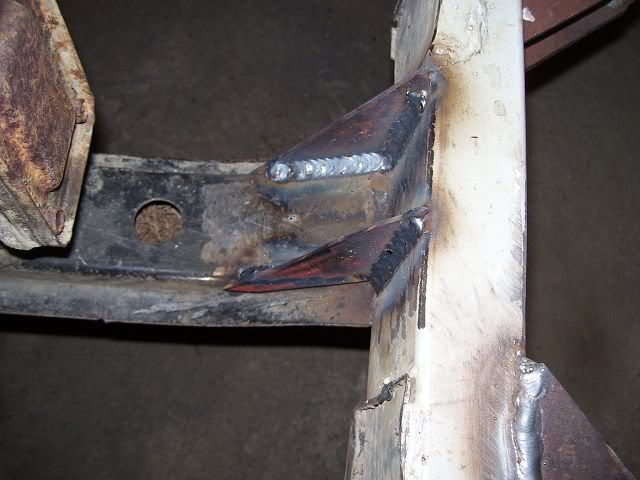
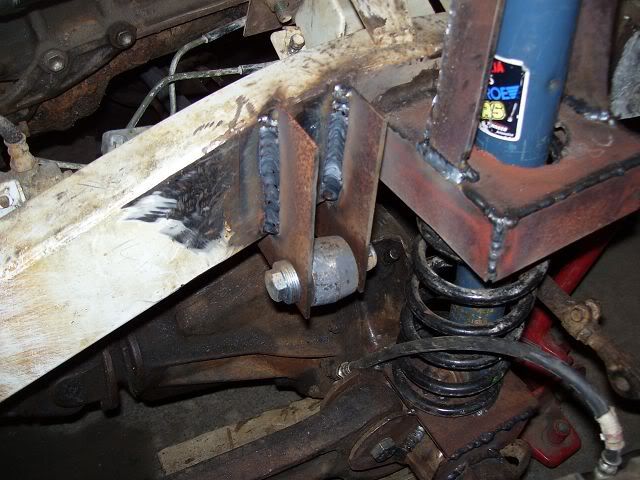
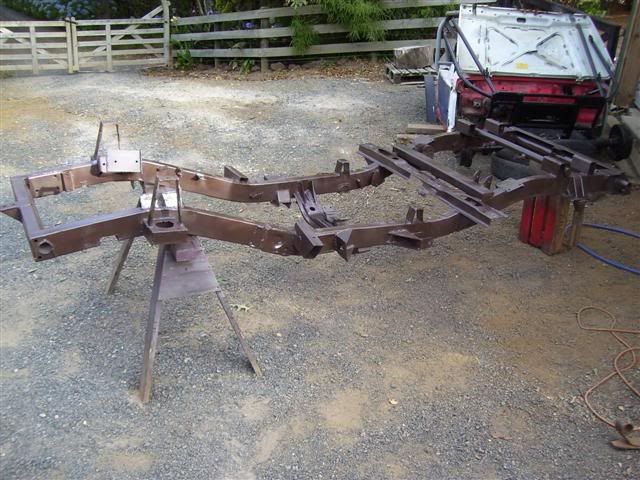
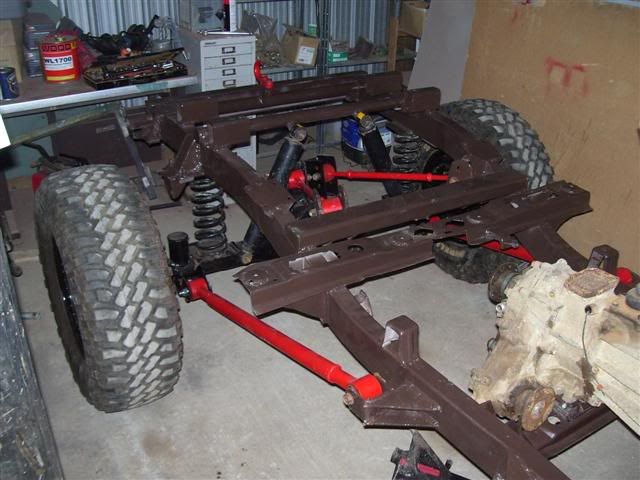
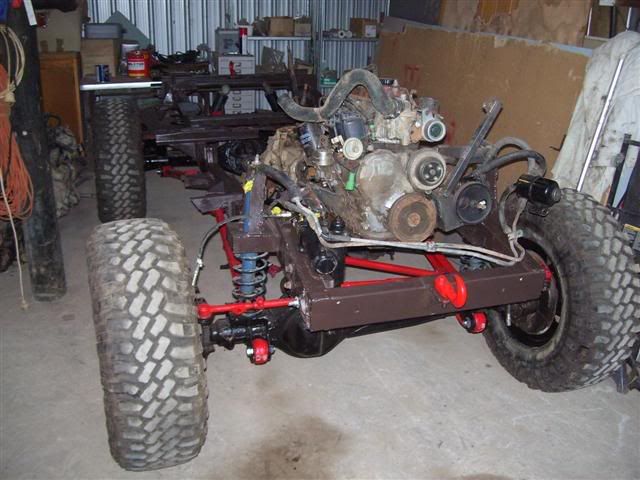
well been a while since i posted so here is an update.
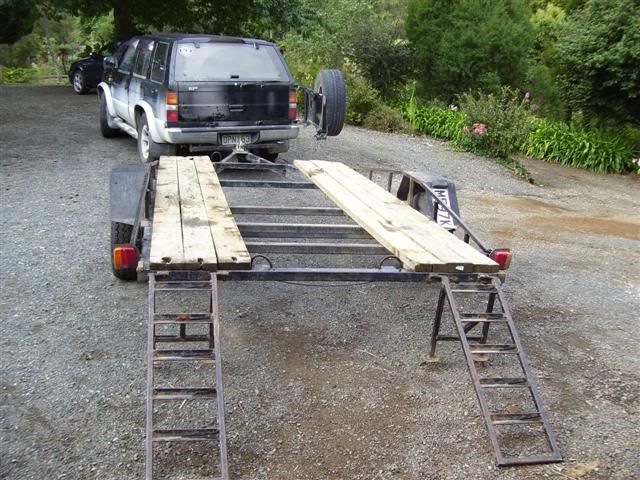
had to take the truck to my lpg expert but the dam truck didnt fit on the trailer as the back is a bit wider than the front. so modidied it to fit, just moved the rails out to the side a bit. and welded on some tie down points made out of a bit of re bar.
Image
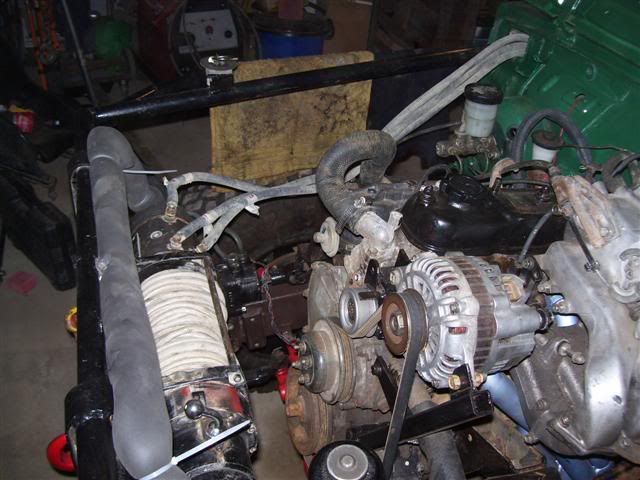
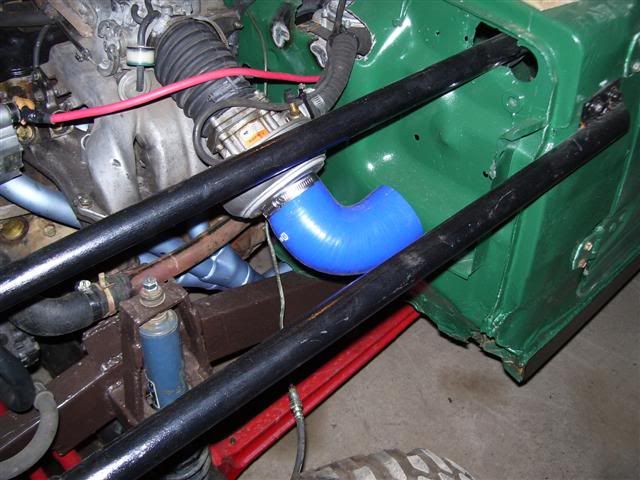
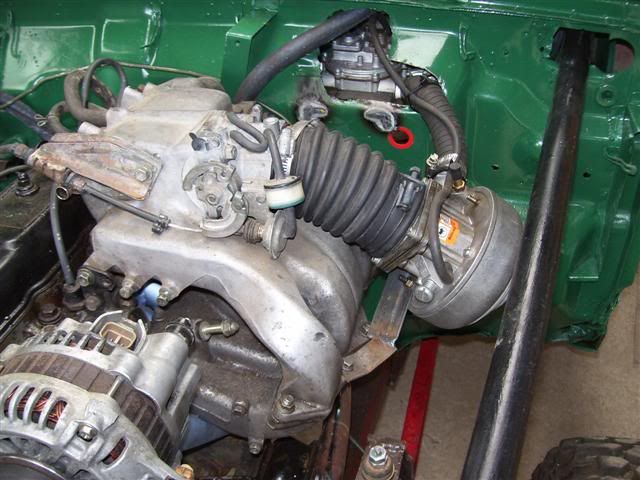
lpg is all plumbed up and ready to go and i filled up the tank for the first time, mixer mounted on an angle due to it hitting the bonnet, i will get a rightangle silicone hose to pipe it threw the firewall.
Image
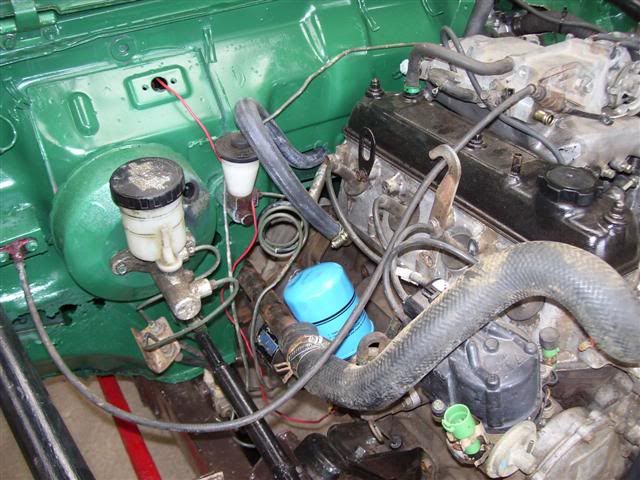
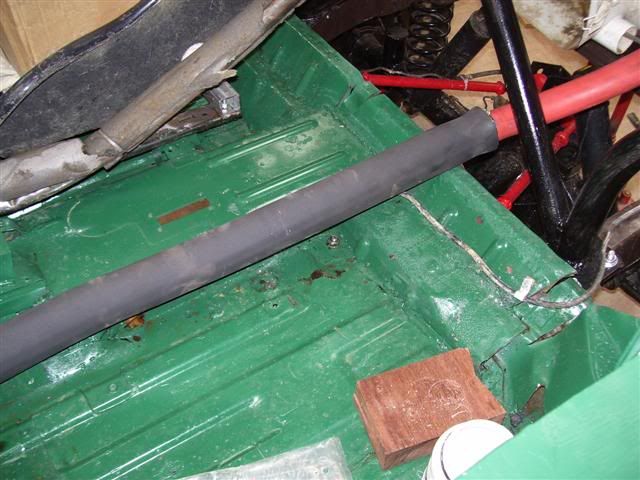
made a longer brake line for the clutch and put a few coils in there instead of a flexy as the truck is solid mounted anyway. also made a longer brake line to the left side front brake as this was not suitable to run under the motor sump as all zuke lines do, so it went around the top of the firewall.
Image
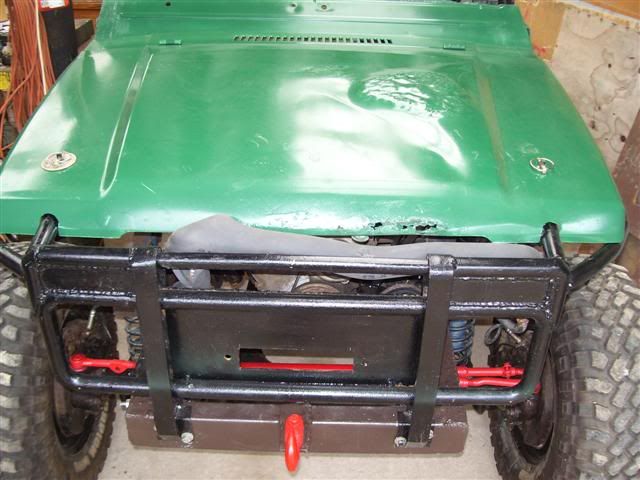
got myself some bonet catches.
Image
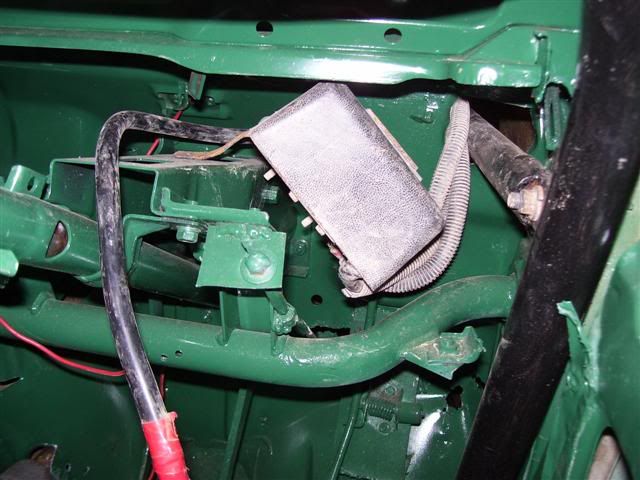
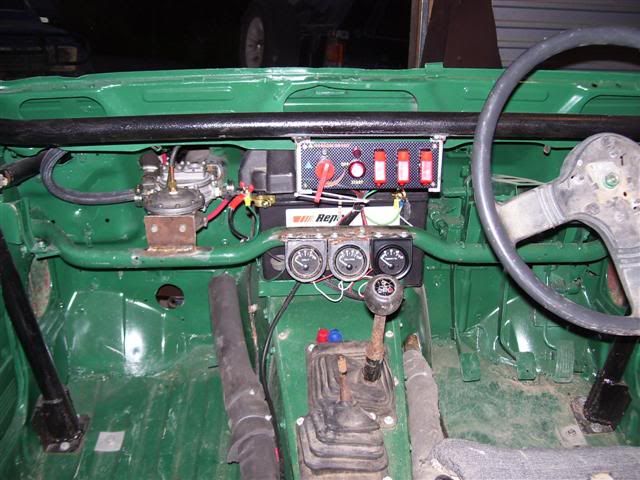
here is the lpg solonoid and regulator all mounted out the mud inside the cab, i will be putting a shield around them and around the battery to stop any accidents happening.
Image
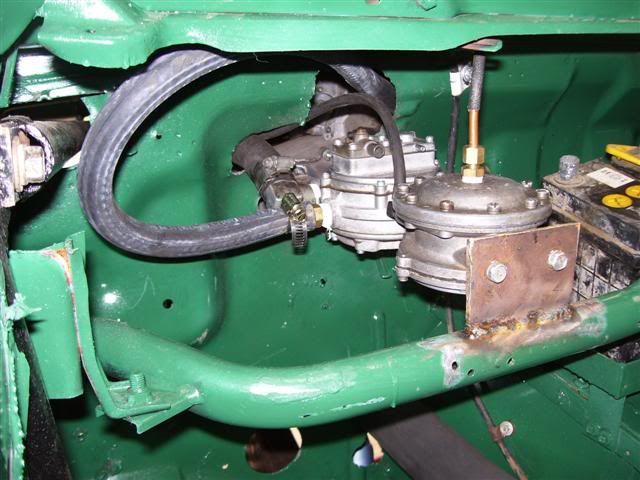
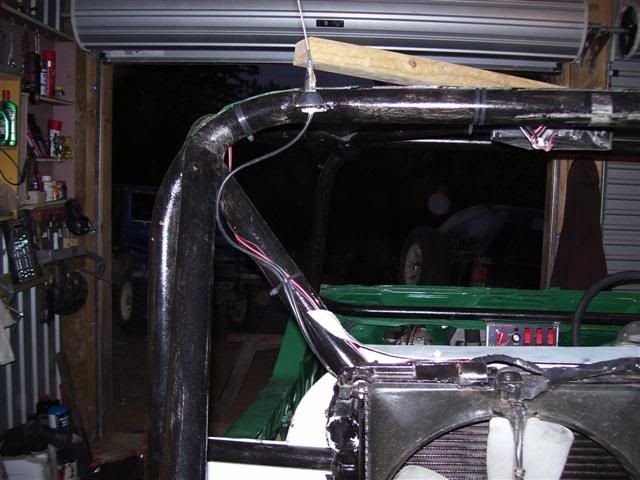
put some lips on the end of the water pipes so the hoses dont slip off and put some insulation tubeing over them to stop any possible burns happening. done the passenger side but am waiting to put the back on the cab before it put the drivers side pipes on. also sucured the lpg line to body.
Image
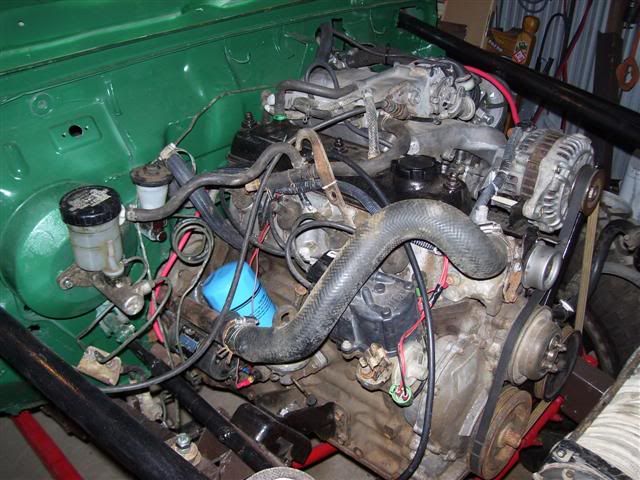
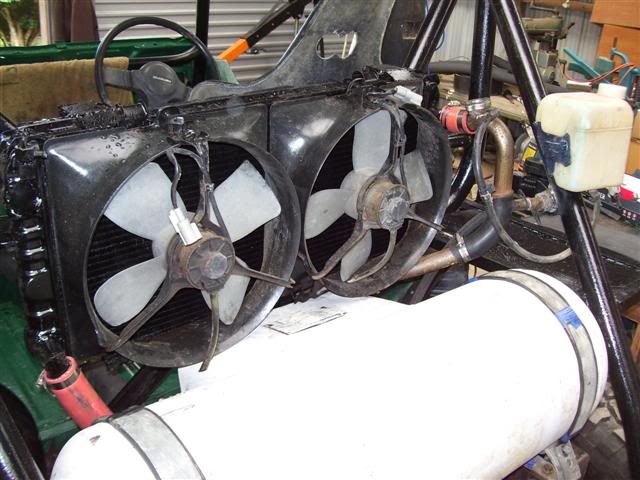
mounted water overflow bottle for radiator, is almost a perfect fit. also re mounted the water pump side/outlet from the radiator as it was originally on the top but as hot water rises it wouldnt work too well as it would just be pumping hot water to the motor.
Image

i have also ordered a switch panel that has inbuilt fuses to 3 toggle switchs and a starter button. also it has a isolator switch so i can cut off all the power to the truck.
User avatar
J_Dub
Hard Yaka
Posts: 1673
Joined: Fri Oct 24, 2008 10:02 am
Location: Pukekohe

Re: hizuke project

Post by J_Dub »

have you fired engine up yet? have you replaced some of the l.p.g parts? looks like your almost ready to get it diiirty 8)
User avatar
new2zukes
Hard Yaka
Posts: 761
Joined: Thu Sep 06, 2007 12:00 pm
Location: kerikeri northland

Re: hizuke project

Post by new2zukes »

hey yep replace all parts as a m8 of mine found a brand new imco set for fuel injection for $150 which was a steal as they are about $1000 new and the regulator i got off you needed a bit of work, needed stripping cleaning and new seals but i have spares now. nope not fired it up yet need to get electrics sorted then il fire it up as i dont want to get tempted to hoon around before its finished. i wanted to get it ready for our club champs this weekend but its not guna happen, too much stuff too do in such a small amount of time.
User avatar
new2zukes
Hard Yaka
Posts: 761
Joined: Thu Sep 06, 2007 12:00 pm
Location: kerikeri northland

Re: hizuke project

Post by new2zukes »

well better update sundays progeress.
pulled winch off my other truck and stripped it down regreesed and got it working better. stuffed around trying to work out how the electrics work, think i have it now.
Image
Image
Image
this is where the solonoids will be mounted, nice n out of the way of the mud and the cables are long enough to reach without buying more.
Image
mounted guages will be oil pressure guage and volt meter beside the temp guage but they are still on my other truck so will put them on at the last minute.
User avatar
UBZ
Hard Yaka
Posts: 1647
Joined: Sat Aug 19, 2006 12:00 pm
Location: Twizel

Re: hizuke project

Post by UBZ »

:twisted: looking real close Martin to being out on the trial again, so much for just putting some Hilux diffs under the zuk ah. :roll:

Are you planing on changing the battery to a sealed unit? not a nice place to have battery acid floating around in a roll over.

new2zukes wrote: Image
LR110 ..... LJ50 project :roll:
Chris.
User avatar
new2zukes
Hard Yaka
Posts: 761
Joined: Thu Sep 06, 2007 12:00 pm
Location: kerikeri northland

Re: hizuke project

Post by new2zukes »

hey will be putting a marine battery in and putting a cover over the top of the battery that battery in the pic is just one ive been using to get on and off the trailer.
User avatar
new2zukes
Hard Yaka
Posts: 761
Joined: Thu Sep 06, 2007 12:00 pm
Location: kerikeri northland

Re: hizuke project

Post by new2zukes »

well finished the electrics this weekend and did a few other little bits n bobs.
Image
back to protect me from the radiator only tacked in place for the meantime. as i have a problem with the lpg, i tryed turning it on and getting the engine started up but there was a leak in both ends of the line so need to go back to the guy that did it and see what hes guna do about it as id like to get it finished and running by saturday for a little play then sunday for club champs.
Image
here is the switch pannel all switches are fused and can be shut off completely with the isolator switch. i also have a isolator switch to shut off power the truck on the negative terminal.
also wired up my guages one is brand new the others are off my other truck.
Image
Image
put aireal on and hooked it up to the uhf radio mounted to the roof to keep out of the mud when it decides to rain again.
Image
wiring and vacum pipes all plumbed up.
Image
right angle silicon hose ready for piping and pod filter.

the next problem i have to sort out is the brakes, i bled the rear brakes fine but the front ones arnt getting any fluid i pulled the hose off at the master cylinder but no fluid coming out. could this be that the needle inside is not long enough? or could it be a stuffed master cylinder. it has been sitting with no fluid in it for about 2 years. might have to price up a new one or find a cheap on from somewhere, there is no play in the pedle so the pin is pushing on the plunger from as soon as you push the pedle. if someone can help me a little here that would be great. thanks.
User avatar
Fakey
Hard Yaka
Posts: 1159
Joined: Mon Sep 21, 2009 8:48 pm
Location: Townsville Nth QLD

Re: hizuke project

Post by Fakey »

You need a small ammount of freeplay between the pedal an master cyl pushrod or the master will pump up an lock the brakes on. You may need to bleed the master by itself before you put the lines on :wink:
Didn't barbie drive a jeep??
User avatar
new2zukes
Hard Yaka
Posts: 761
Joined: Thu Sep 06, 2007 12:00 pm
Location: kerikeri northland

Re: hizuke project

Post by new2zukes »

how do you bleed the master cylinder? i know about the little bit of play in the push rod but i can adjust that when i can get it working hehehe. thanks for reply anyway
User avatar
Fakey
Hard Yaka
Posts: 1159
Joined: Mon Sep 21, 2009 8:48 pm
Location: Townsville Nth QLD

Re: hizuke project

Post by Fakey »

Best way Ive found (with new ones anyway) is to put it in a vice, fill the reservoir, hold the outlets closed with your fingers an push the pushrod by hand an just bleed it as you normally would by letting you fingers off the outlets with the pushrod fully in, then block them when you let the rod out.
If that doesnt work ya might have to try another cylinder.

Keep up the good work, youve been makin good progress cant wait to see pics and or vidos of it running :mrgreen:
Didn't barbie drive a jeep??
User avatar
new2zukes
Hard Yaka
Posts: 761
Joined: Thu Sep 06, 2007 12:00 pm
Location: kerikeri northland

Re: hizuke project

Post by new2zukes »

ye shud be going soon lpg leak i spoke to the guy hu did the lpg and he said just tighten the conections up a bit more. but still dont know how to wire up the electronic dizzy weather its 2 possitives or 1 neg and 1 positive.
Post Reply

Return to “Projects / Mod's”