LN106 Hilux Build
LN106 Hilux Build
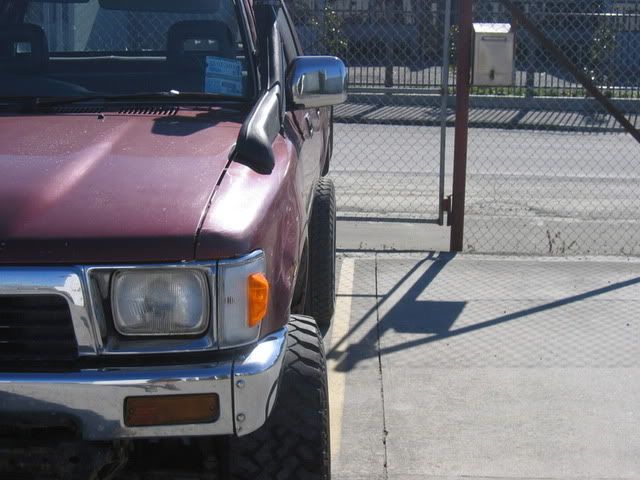
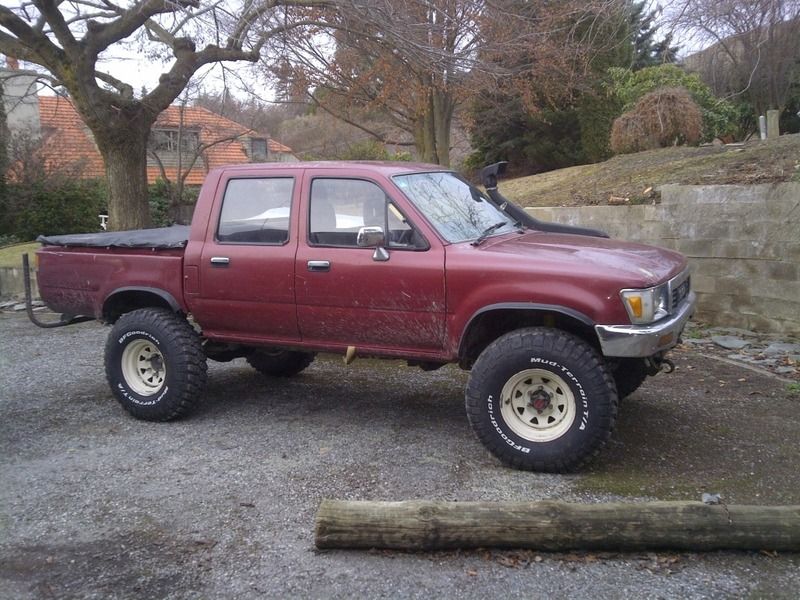
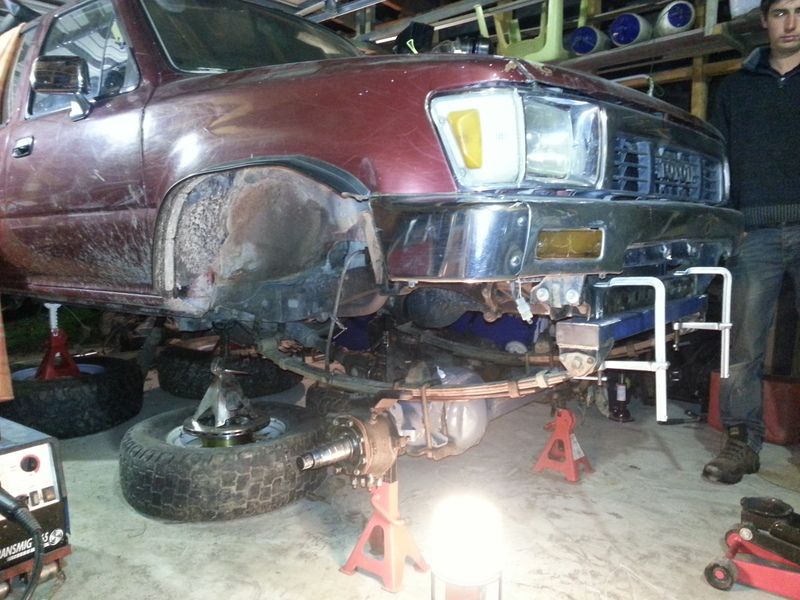
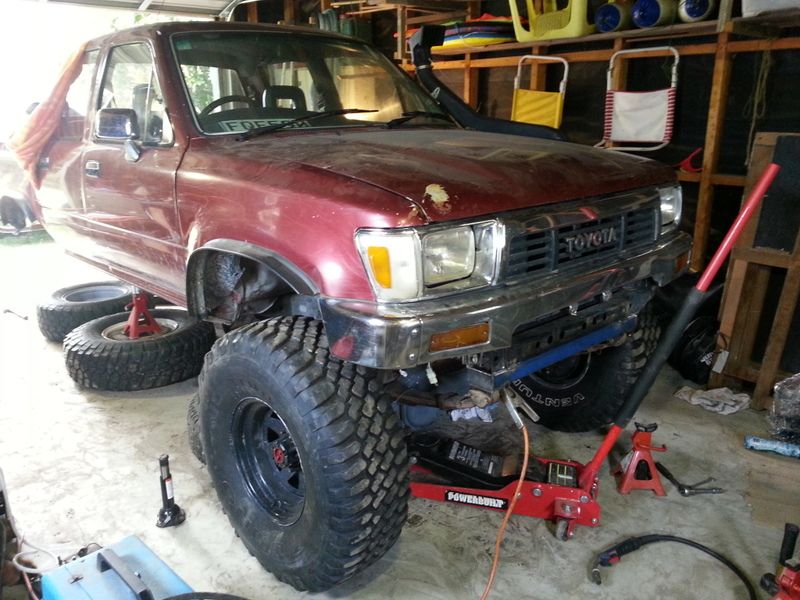
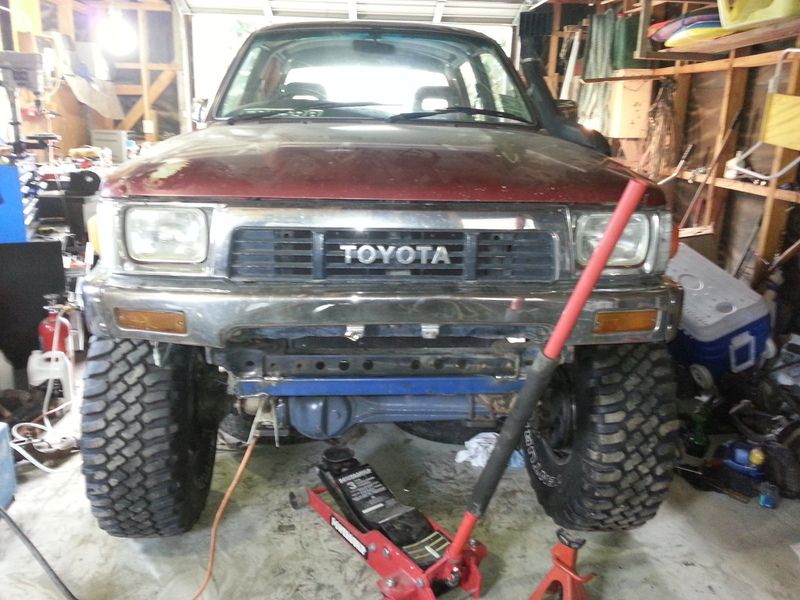
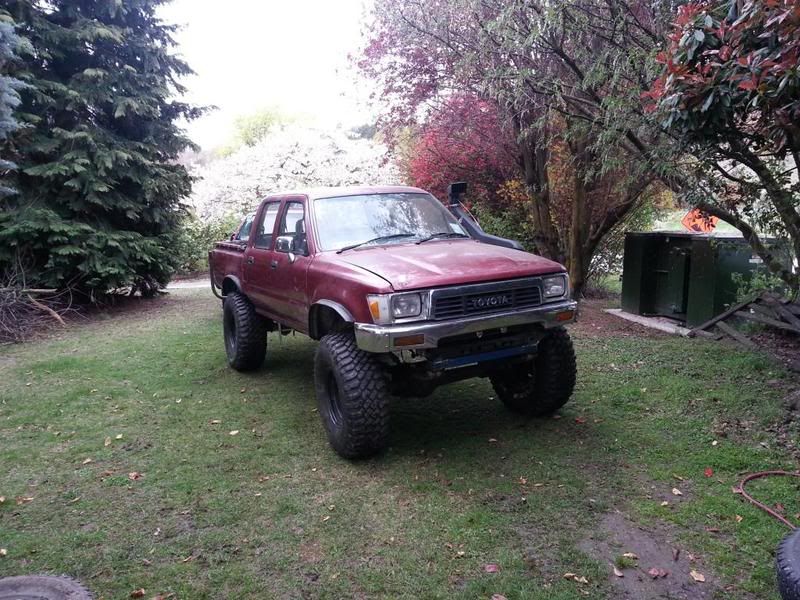
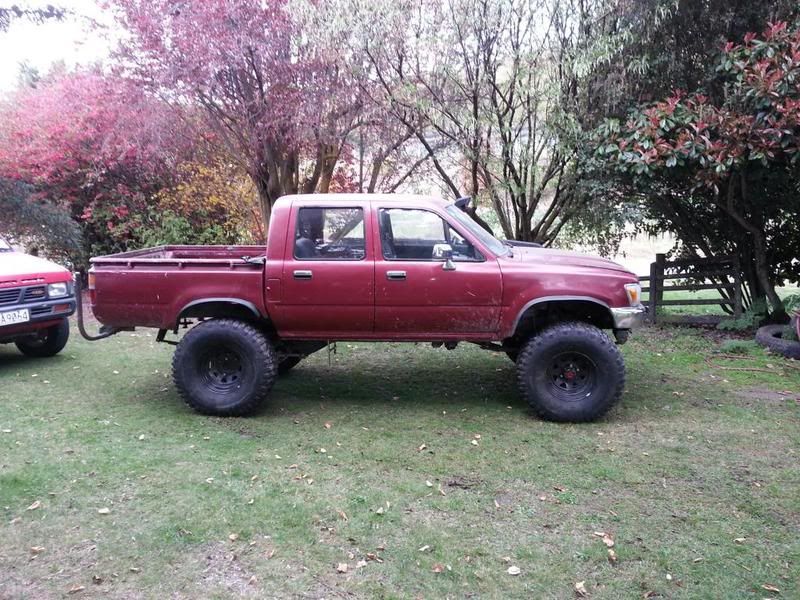
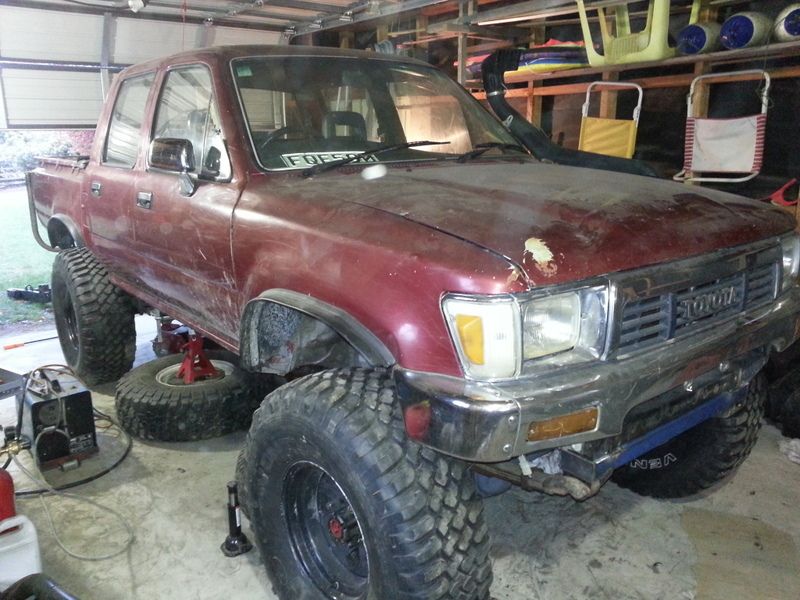
Well my latest truck is a LN106 hilux. It's a bit rough around the edges but mechanically seems in quite good nick.
The plan....
Currently has a 2.8 in it, speedo says about 370000 but I'm sure it's done a bit more! haha however it runs like a clock uses no oil or water and for a 2.8 goes bloody well.
My original plan was to rebuild it mainly because I haven't rebuilt a motor before and wanted to give it a go then I was going to turbo it. However I came across a 5l on trademe which I snapped up and the new plan is to rebuild that and then throw it in with a turbo. This is the next mod I want to work on.
I want to get a locker in the back and put the lsd I have in the front and throw on a winch and some bars but the progress of this will be purely money related and a wee way down the track. In the next 6 months I want to do the things I need to to get it certed.
On the weekend just been I have done and IFS hub swap and wide axle conversion (will put up some details in my next post)
I have some 33inch big horns waiting to go on but I think I will wait until I have the new motor in and enough power to turn them.
At this stage my truck is my daily driver and I do a lot of ks so want it to be good on the road with reasonable off road but seems as its not a dedicated 4wd I think I will keep it a bit modest with 33's and won't go too exciting with the suspension.
Once the 33's are on I will see how bad they rub and start to address that. i am keen on the crossover steering and rears up front to get the axle forward but don't really want the big lift that goes with it so will see how that turns out. I am not keen on doing a body lift on this truck. Might look at modding the inner guards instead? Will see what happpens
Dinner time now ... First mod - IFS hub swap and wide axle conversion to follow...
Last edited by Petemcc on Thu May 05, 2011 9:32 pm, edited 1 time in total.
Re: LN106 Hilux Build
IFS hub swap
For this I followed deranged's post in the tech section
http://www.offroadexpress.co.nz/Forums/viewtopic.php?f=30&t=3543
The idea as most of you know is to gain some extra width.
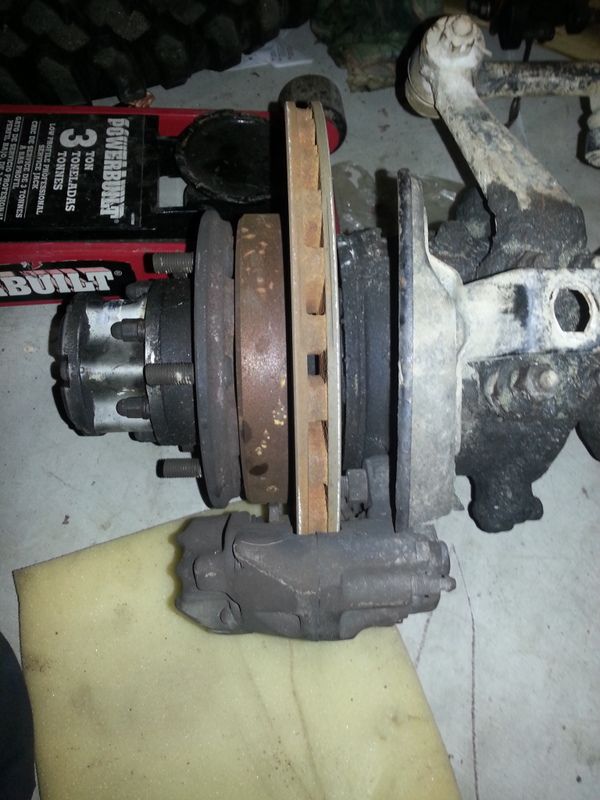
I used the hubs off a ln130 which i had for parts with new ln106 rotors and pads and the original ln106 calipers.
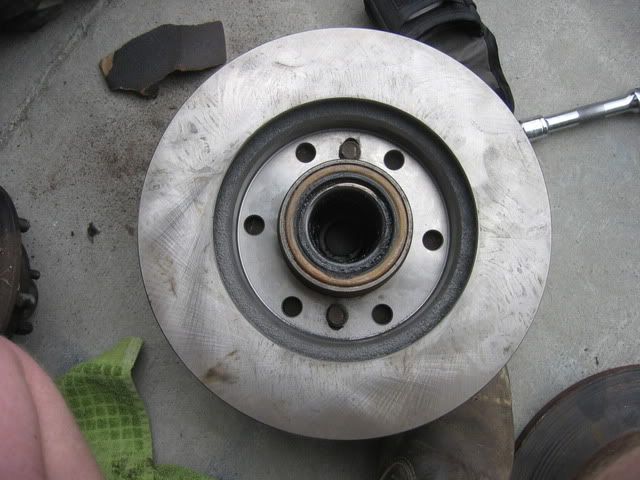
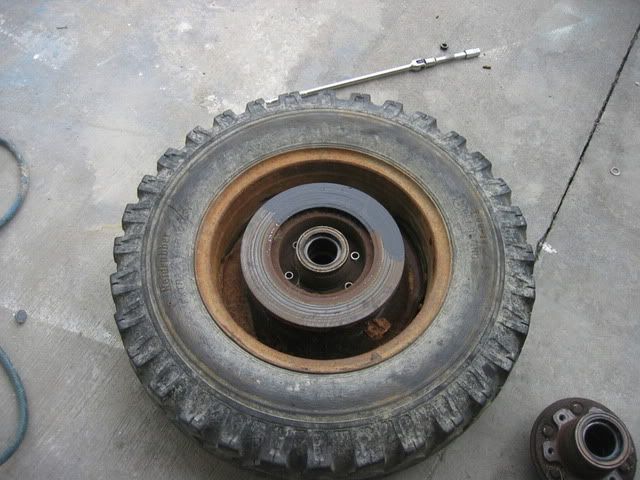
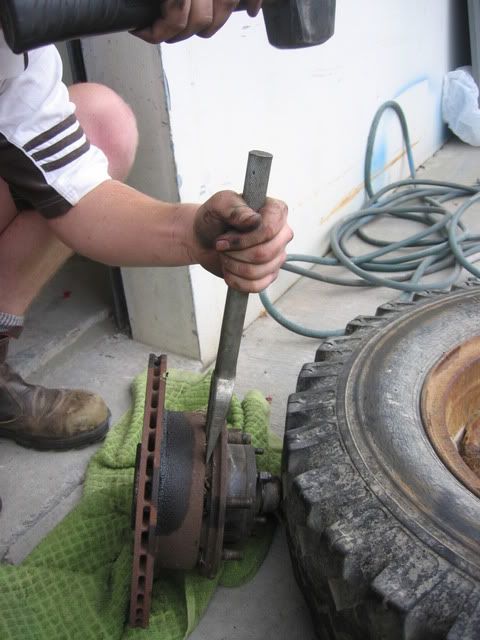
First thing once the hubs where off was to remove the old rotor. I stuck it in my spare wheel to stop it moving and got the bolts undone with a strong arm. I then used my ball joint splitter to separate the disk from the hub.
And a shot of the IFS hub once the disk was off
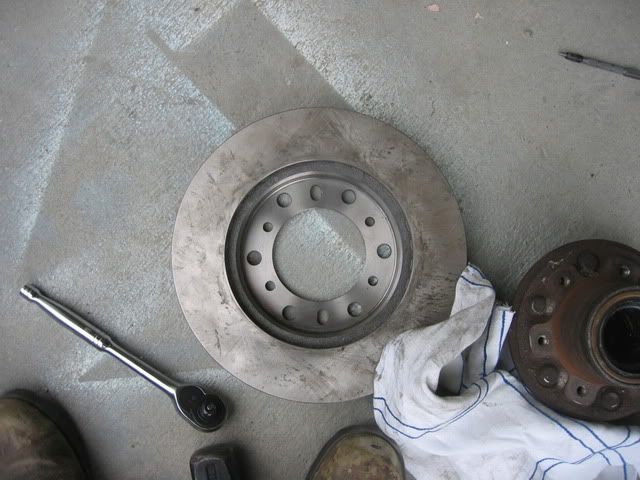
Next was to file out the two mounting holes in the 106 rotor so that it could be mounted to the IFS hub. That took a bit of time but we got there in the end.
Here is the rotor mounted to the hub
Flip it all over and mark out the holes to drill. This was pretty straight forward though I must have been a little out as a few of the holes needed a wee bit of filing to it to all bolt up but bugger all.
Shot of the rotor with the holes drilled
Next came the caliper but I forgot to take any photos of this part! Will try to get some next week.
I didn't have a mill so used a grinder to take off the material and tidied it up with a flat file. EDIT - This was all good until i bled the brakes and found things started to bind a bit. I ended up getting some calipers machined to fit-
I drilled out the holes and used some m12 x 50 fine thread bolts and nuts to hold the caliper on.
I ran out of time on the weekend to finish it all off. All thats left is to repack the wheel bearings, change the inner hub seals, give the calipers a bit of a skim with the file, bolt it up with the new bolts and bleed the brakes. So far the whole mod has taken me about 5 hours.
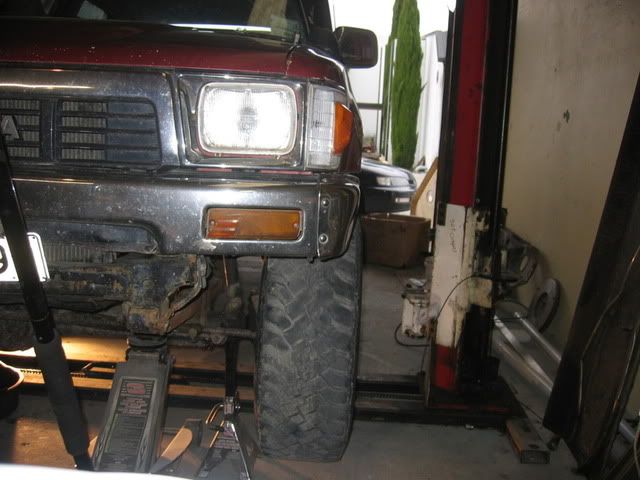
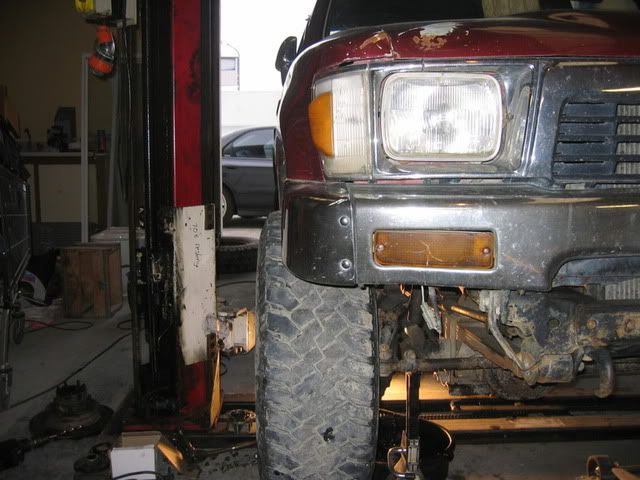
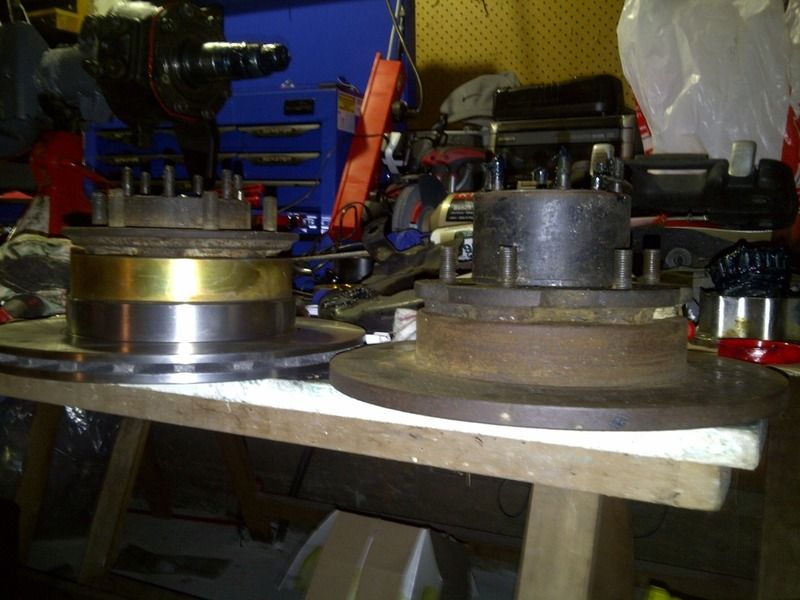
Before....
and after
For this I followed deranged's post in the tech section
http://www.offroadexpress.co.nz/Forums/viewtopic.php?f=30&t=3543
The idea as most of you know is to gain some extra width.
I used the hubs off a ln130 which i had for parts with new ln106 rotors and pads and the original ln106 calipers.
First thing once the hubs where off was to remove the old rotor. I stuck it in my spare wheel to stop it moving and got the bolts undone with a strong arm. I then used my ball joint splitter to separate the disk from the hub.
And a shot of the IFS hub once the disk was off
Next was to file out the two mounting holes in the 106 rotor so that it could be mounted to the IFS hub. That took a bit of time but we got there in the end.
Here is the rotor mounted to the hub
Flip it all over and mark out the holes to drill. This was pretty straight forward though I must have been a little out as a few of the holes needed a wee bit of filing to it to all bolt up but bugger all.
Shot of the rotor with the holes drilled
Next came the caliper but I forgot to take any photos of this part! Will try to get some next week.
I didn't have a mill so used a grinder to take off the material and tidied it up with a flat file. EDIT - This was all good until i bled the brakes and found things started to bind a bit. I ended up getting some calipers machined to fit-
I drilled out the holes and used some m12 x 50 fine thread bolts and nuts to hold the caliper on.
I ran out of time on the weekend to finish it all off. All thats left is to repack the wheel bearings, change the inner hub seals, give the calipers a bit of a skim with the file, bolt it up with the new bolts and bleed the brakes. So far the whole mod has taken me about 5 hours.
Before....
and after
Last edited by Petemcc on Thu May 05, 2011 9:36 pm, edited 1 time in total.
Re: LN106 Hilux Build
nice 1..
Re: LN106 Hilux Build
Wide axle conversion.
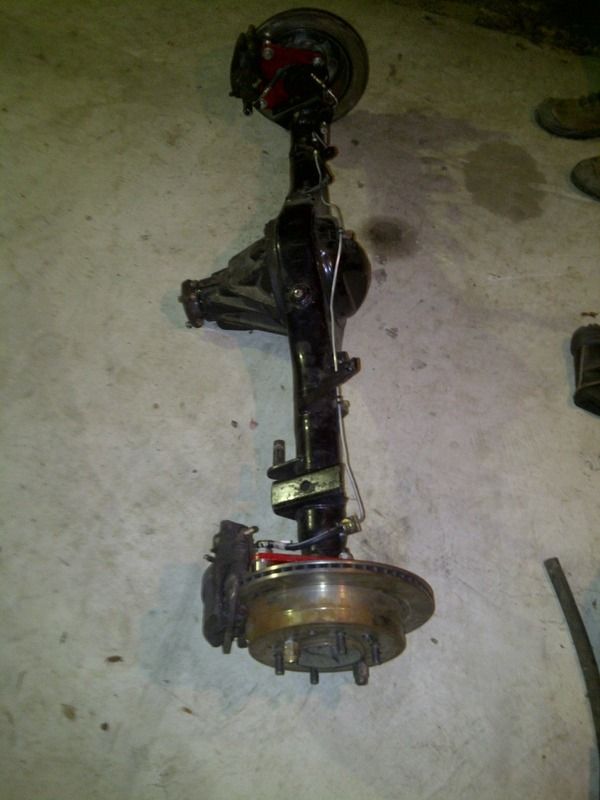
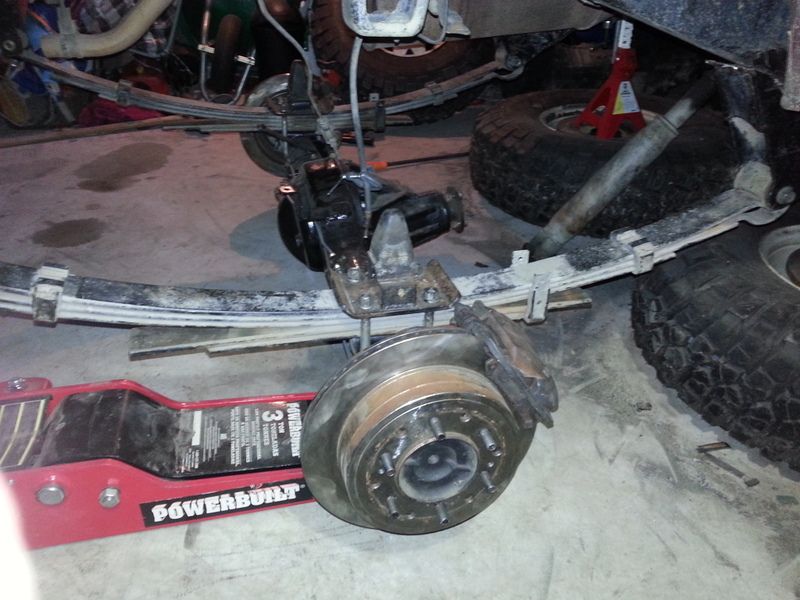
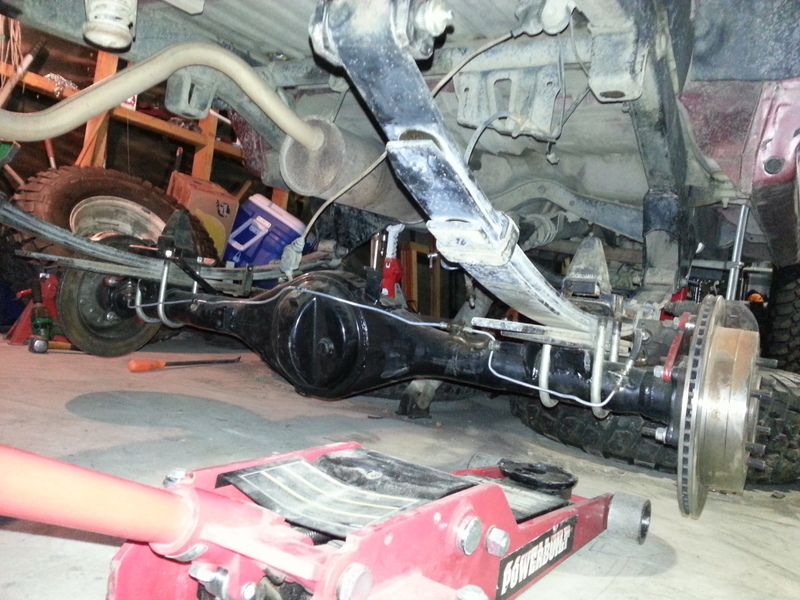
To match the extra width gained with the IFS hubs on the front I picked up a rear axle of an IFS leaf sprung ln61 surf.
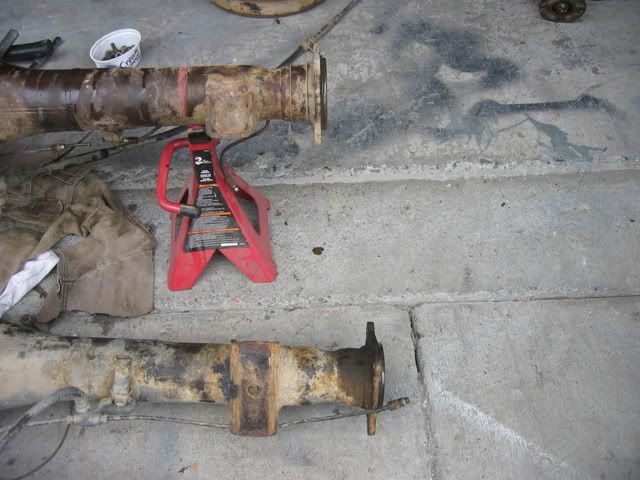
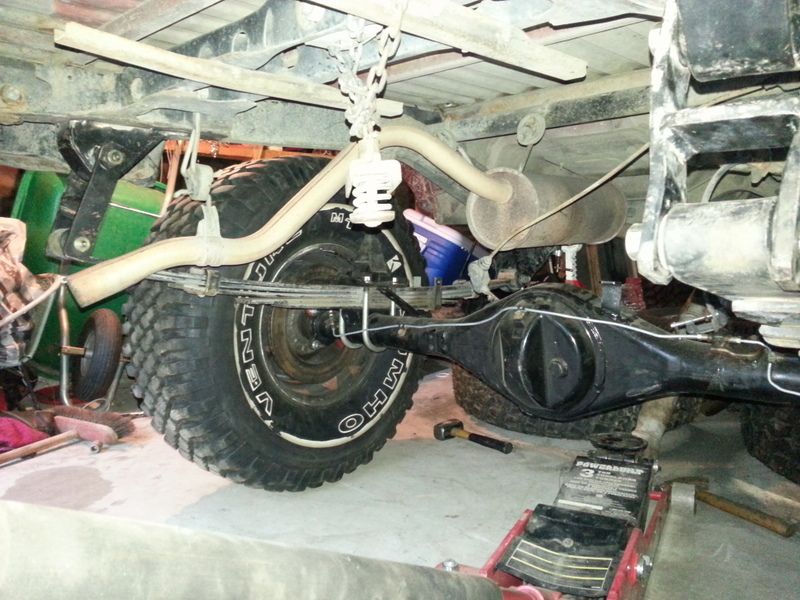
Extra width in the IFS housing
Axles side by side
Most people do a disk brake conversion when they do this but for me that will come a bit later. You will need to get the steel brake lines on the diff and the rear part of the handbrake from the adjuster back. Everything else that bolts onto the diff will just swap over as the distance from the chassis to the diff etc stays the same.
The axles I got came with brakes so I didn't check if the hilux ones where interchangeable but I do know that the hilux drums won't fit as the centre holes are smaller than that on the IFS diff (tried to fit one by accident)
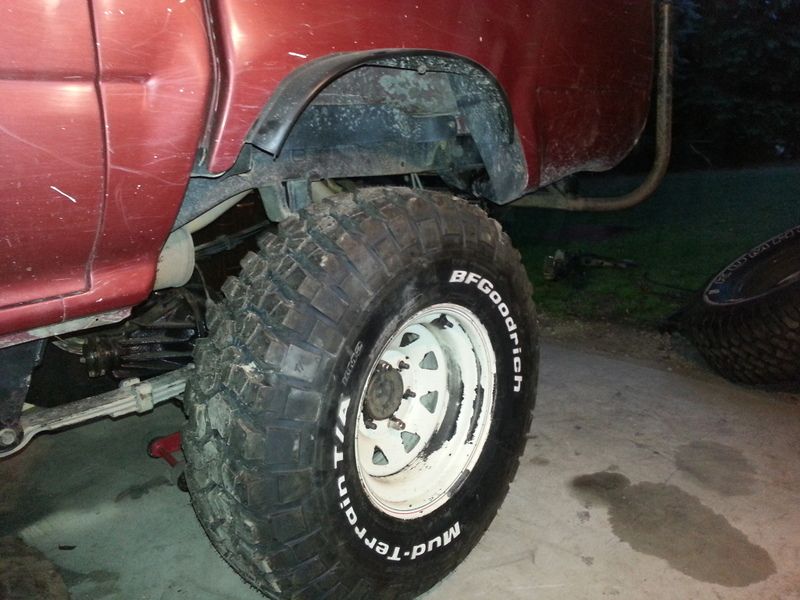
Forgot to get a before shot but this one again shows the finished product. The wheels on the truck are 15x7 with pretty standard
offset and 31x10.5 tyres
This was a pretty straightforward conversion that anyone with a good socket set and some spanners could achieve
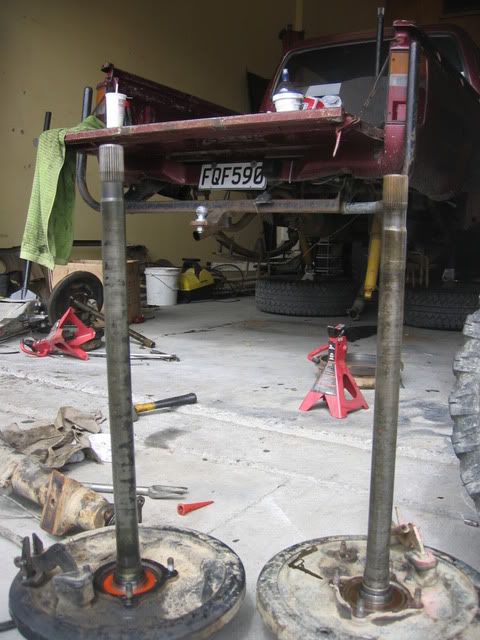
#Drain the diff oil
#Unbolt the - ubolts
- Shocks
-handbrake cable
-brake line onto the diff and roll the diff out from under the truck.
#Unbolt the four bolts holding the axles in and pull them out
#unbolt the diff head and out it comes too.
Then do the complete reverse with the new diff housing and axles and drums.
On my own doing all of this took me about 6 hours
I know the majority of people out there will find some of these lesser details unhelpful but I thought they might be good for people like me who haven't done much of this before and want to give it a go.
The IFS hub swap and wide axle conversion so far haven't been to hard to do. The hardest parts where drilling the holes in the new rotors and I wouldn't have tried it without a drill press. If you are unsure then if you filed out the first two and bolted the rotor the the IFS hubs it would only take someone else 20min to drill them out for you.
The other bit that was a bit of a pain was taking the caliper down. Using a mill would definitely be the best was to do it. If you wanted to play it safe you could pay someone to take 1.5mm off with a mill and then use a flat file to get it down if you get any rub on the rotor.
Cheers,
Pete
Re: LN106 Hilux Build
Time for an update!
Long story short the 5l is in and going well though has not yet been rebuilt. Truck has spent a bit of time on some 31inch kumhos (the good old ones not the new soft ones). Have done a few trips with mates, the last of which involved a small hole on the fuel tank with a bush repair involving some rubber and a big tie down around the chassis rail whick got us home and hasn't leaked in the last 3months!
However the truck hasn't seen the road since that trip and now has the reg on hold waiting for the mods to start. A new job with a company car means that the old girl is no longer required to be a daily driver so some extensive mods are planned.
I bought a heap of parts off jdub, rear diff with disk conversion and 4pinion diff with a lokka in it, rear flipped u bolts, driveshaft disk brake hand brake, crossover steering arms and one of toms front crossmembers.
In the mean time i also picked up a lockright lokka for the front amd some 35inch kumhos.
Caugt up woth tom on the weekend to talk about suspension mods and today bought the dual transfers off tim that have slowly been making thier way around ore garages. Hopefully they will make it into my truck!
The plan......
Get the diffs new brakes, gearbox and transfers under it, whack a turbo on along with a few other bits and bobs then send it up to tom to get the suspension finished off and cert. Sounds easy enogh, will see what happens!
In the mean time i need some parts.....
Gearbox - truck currently has a v6 surf box in it with a chain driven (add) transfer that wont work with the duals so lookng to sell this and find a w or g series box to suit.
Turbo - long term i still want to rebuild the motor and put a nice big turbo on but at this stage i am after a cheap solution so that it says turbo on the cert plate so looking for a complete turbo setup off a 2lt.
Prado steering shaft - putting the ifs box on means a longer sterring shaft is needed and apparently the early prado ones are the go. Anyone got one of there?
Thats enough for now, updates and photos to follow as things progess!
Cheers,
Pete
Re: LN106 Hilux Build
A few pics to keep it interesting
In this shot you can see the tie down holding the rubber on the hole int he fuel tank! Still on the list of things to do....
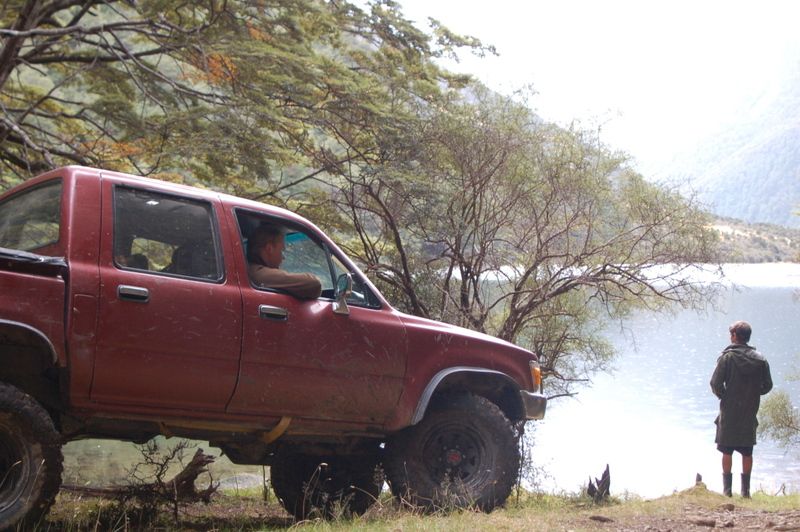
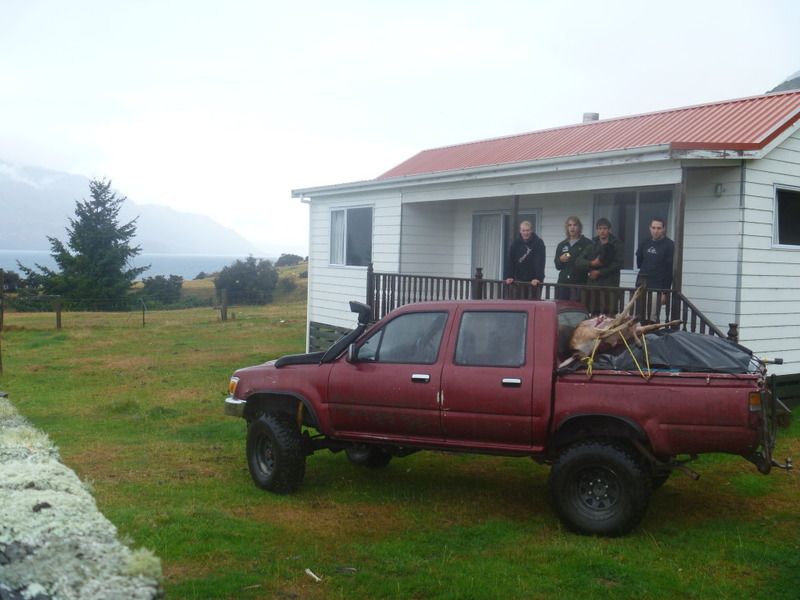
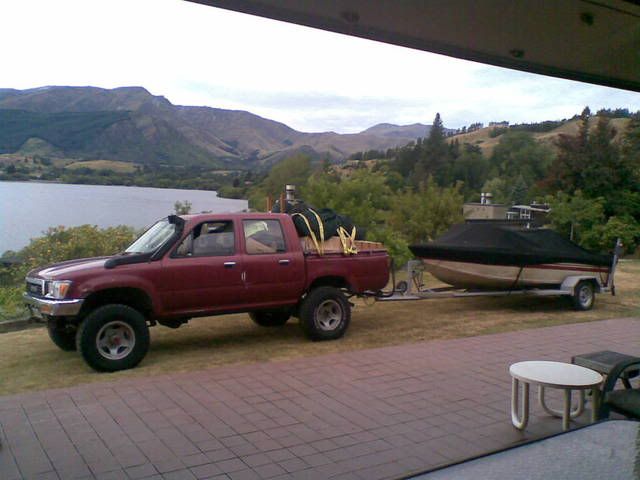
the old girl loaded up after a boys weekend away
And this weekends progess
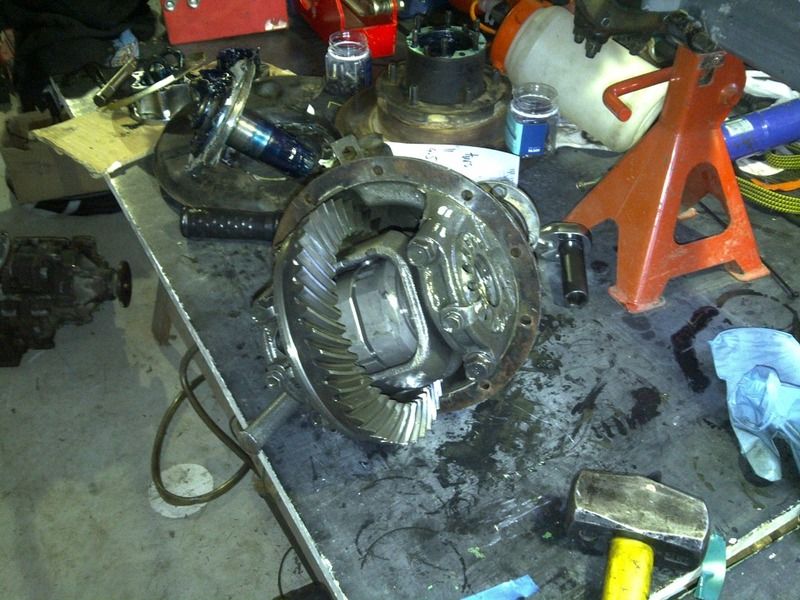
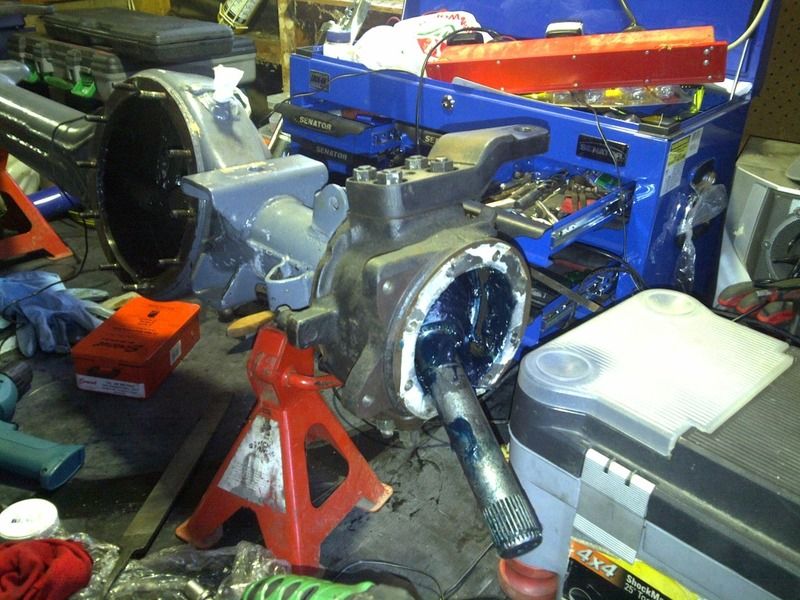
Lokka installed in front diff
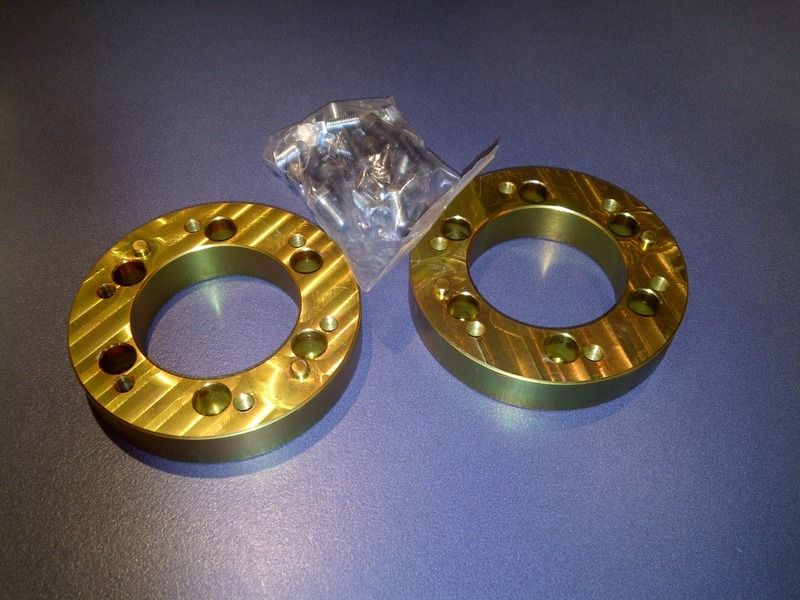
diff all ready for ifs hubs when the spacer turn up this week
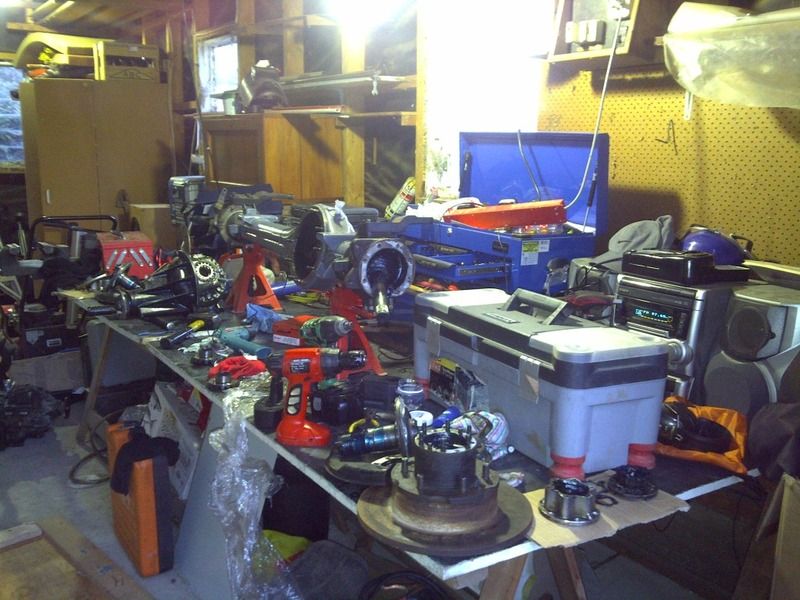
And the busy workbench.... everything in arms reach haha
After pulling the hubs etc off to get the diff out all the nice new gaskets Jdub had installed are now buggered. Rather than buying a new hub kit I have bought some gasket sealant and a small sheet of gasket paper.
My question is do any of the gaskets need to be a certain thickness, Ie RTV only is a no go?
More to come soon
Cheers,
Pete
Re: LN106 Hilux Build
Photos
Finished product of IFS hub swap on old axle. Never got round to putting up a photo of this.
Wide rear end off Jdub, 4pinion with locker MR2 callipers and prado disks. Got a local brake shop to put new solid lines on it and with flexibles to the callipers.
Got the rebuilt front off Jdub and as in previous post installed a locker I had. Got some more IFS hubs off bigstu and some spacers off Muddyhilux.
Decided it was better to put the rebuild diff in and do IFS hub swap then I can just sell my old diffs as a complete wide set (currently on trademe).
Decided to go with spacers this time as its just easier but I still like the idea of having the brake inside the rim like with the method I used on the old axle. Pros and cons I suppose.
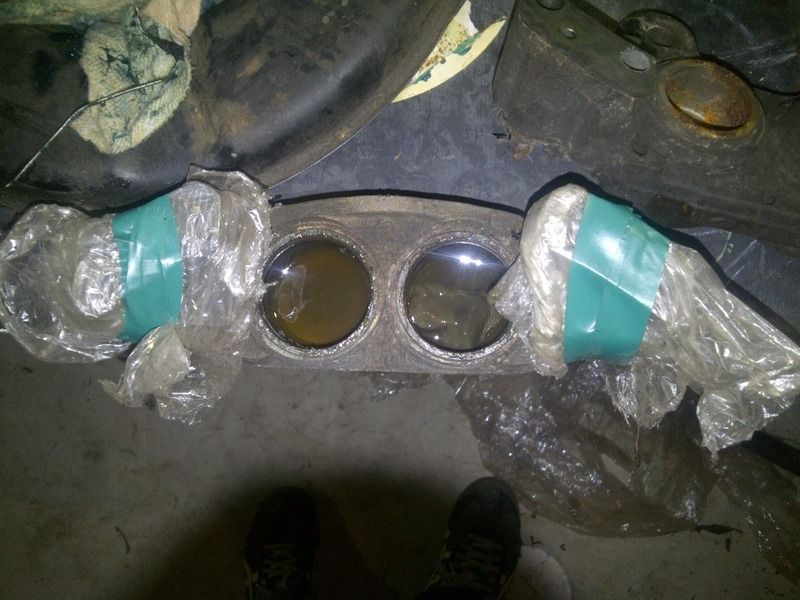
Using LN106 rotors (same as 60 series cruiser) and callipers off a VZN130. These are the s13 models (stamped on them) which have the biggest pistons of the surf callipers. Four all the same at 45mm from memory.
Callipers were a bit scungy but cleaned up nicely and have now been rebuilt (no pics at the mo)
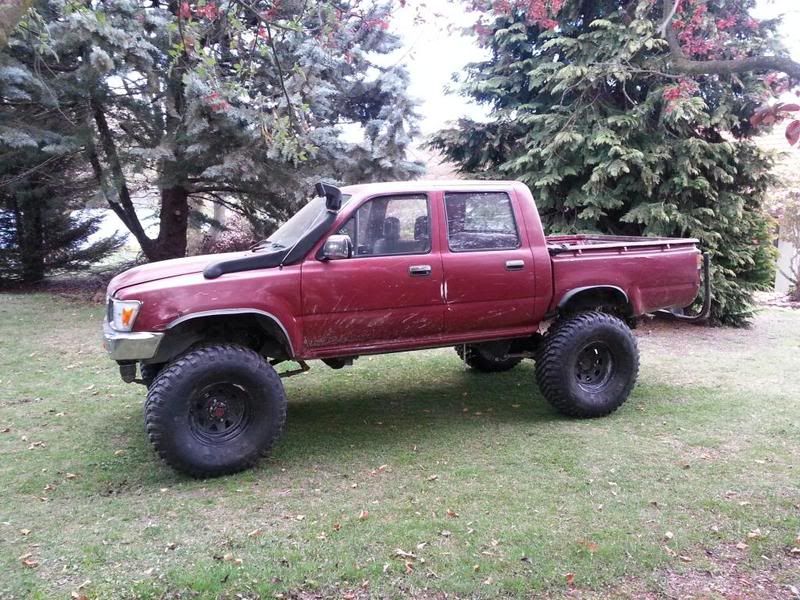
Pic of truck on the 33x10.5 KM2s I plan to get it certed on these and the 35s
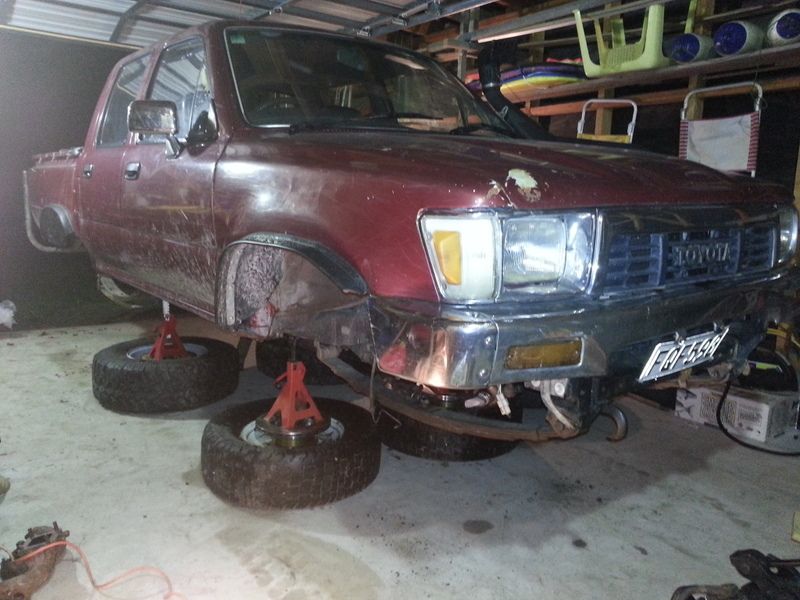
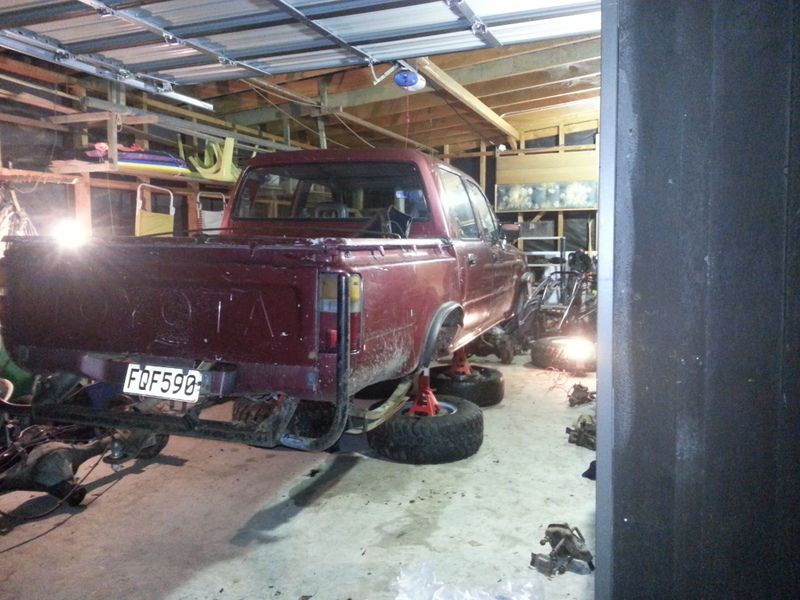
NO DIFFS!
Watch this space....
Re: LN106 Hilux Build
Also won this auction..
http://www.trademe.co.nz/Browse/Listing ... =511971102
Should have enough bits to get it breathing better
http://www.trademe.co.nz/Browse/Listing ... =511971102
Should have enough bits to get it breathing better
Re: LN106 Hilux Build
looking good, wil you still be keeping the leaf spring suspension?
Re: LN106 Hilux Build
Yip will be keeping the leaf springs. Going rears up front with crossover steering and 2005 hilux springs in the back which are longer.
Re: LN106 Hilux Build
Petemcc wrote:Yip will be keeping the leaf springs. Going rears up front with crossover steering and 2005 hilux springs in the back which are longer.
Is that the #N107 springs ?
I have a set here if you are looking for some
- crazyclark31
- Hard Yaka
- Posts: 867
- Joined: Sun Nov 14, 2010 8:13 pm
- Location: invercargill.
Re: LN106 Hilux Build
that shot of you guys with the deer on the back off the hilux is a good spot aye. Stu is a good guy. We have the big house up the top with the big grey shed. Been there near on twenty years
The deer are not as thick on the ground as they used to be due to poachers but still plentiful
Re: LN106 Hilux Build
How much longer are the 05 springs? Ive just scored me another beam axle surf Shame I cant afford your diffs
Re: LN106 Hilux Build
what are you replacing the diffs with??
http://www.trademe.co.nz/motors/car-parts-accessories/toyota/diffs-axles/auction-517189852.htm
Re: LN106 Hilux Build
bigstu wrote:How much longer are the 05 springs? Ive just scored me another beam axle surf Shame I cant afford your diffs
They are about 150mm longer. Will put up some pics in the next few days
Re: LN106 Hilux Build
imsohi wrote:what are you replacing the diffs with??
http://www.trademe.co.nz/motors/car-parts-accessories/toyota/diffs-axles/auction-517189852.htm
Have a bit of a read above. Got another set of diffs off Jdub. Rear end is wide with disks and a 4 pinion diff with locker which is the main reason I bought them. His rebuilt front was was convenient, decided I would throw my spare locker in there so that the truck could sit on its wheels for a bit longer. Also doing it this way I could sell the old diffs as a wide set.
Cheers,
Pete
Re: LN106 Hilux Build
Progresss...
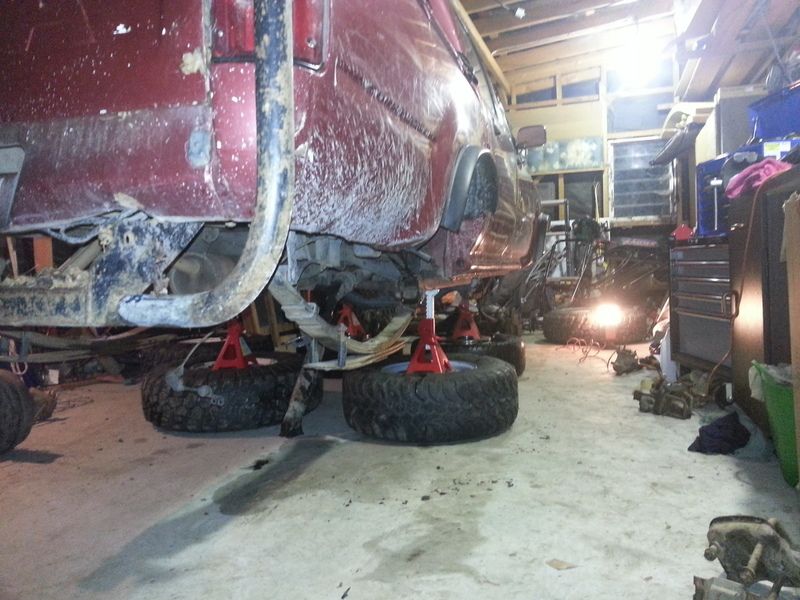
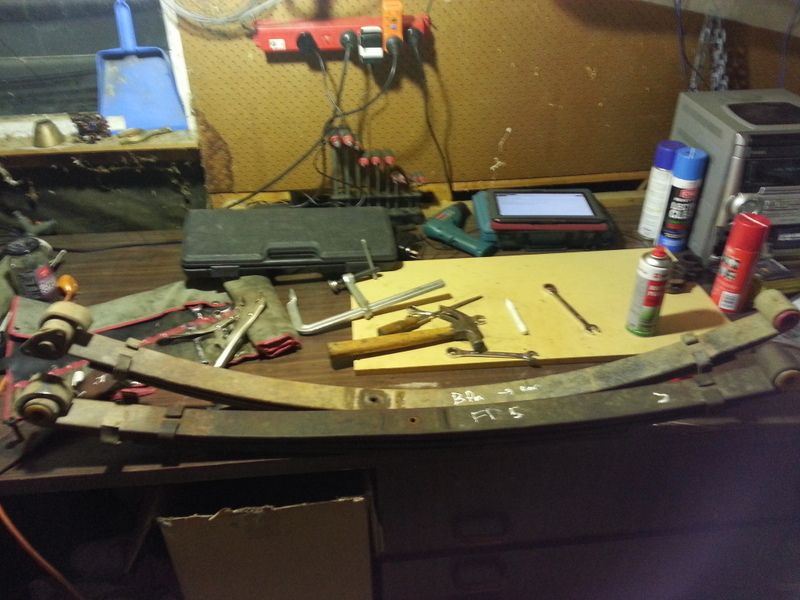
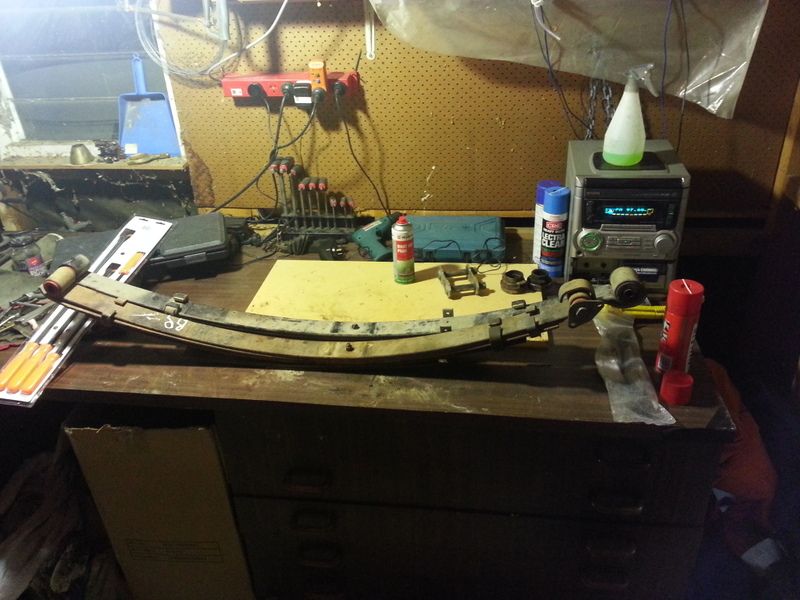
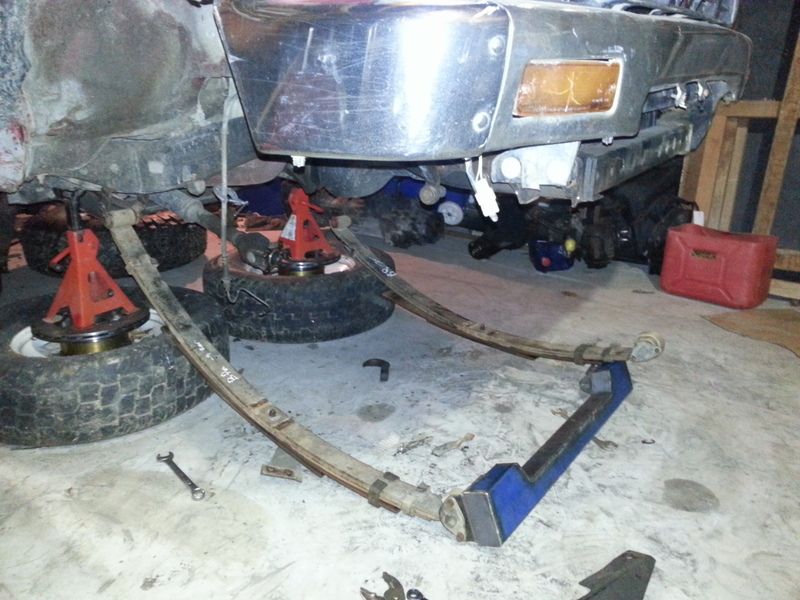
Standard 106 lux rear springs vs front. you can see that the rears move the axle forward approximately 50mm and are also a little longer.
2005 hilux rears next to the 106 ones. About 150mm longer
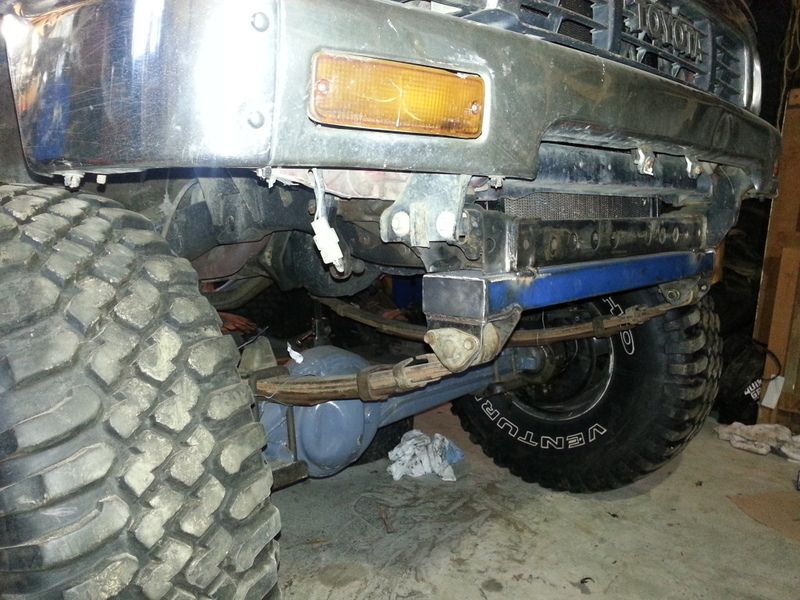
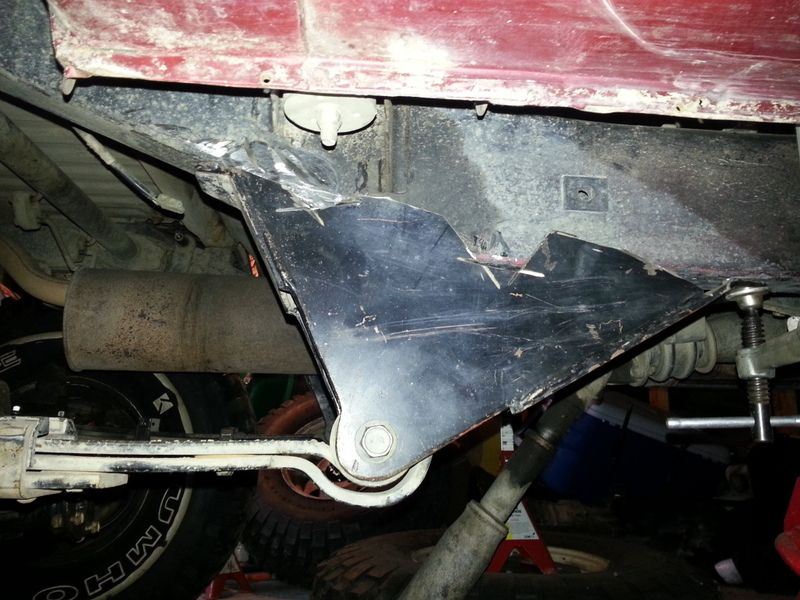
Front crossmember ready to swing up. This was one that Tom made a while ago.
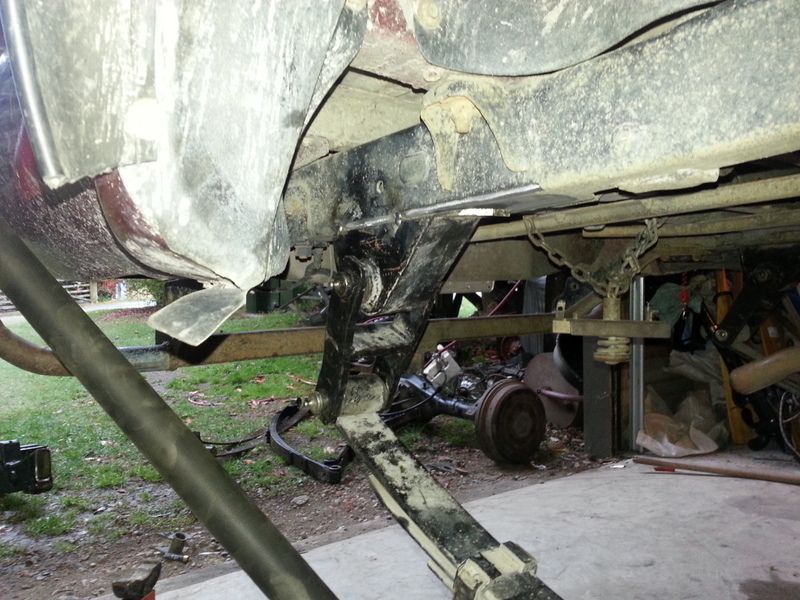
Sitting in place with the weight on the axle to get the shackle angle right before welding in cross member. Was aiming to get the shackle angle about 30deg off vertical but the drivers side was sagging a bit so set it up with the passengers side right and then got the crossmember flush with the original. Also ended up putting it on the wheels to make sure that the axle was sitting level.
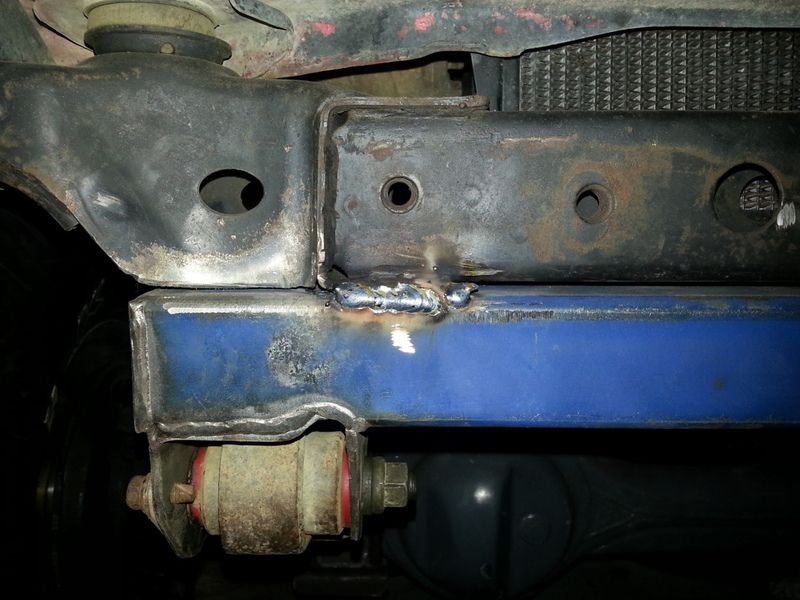
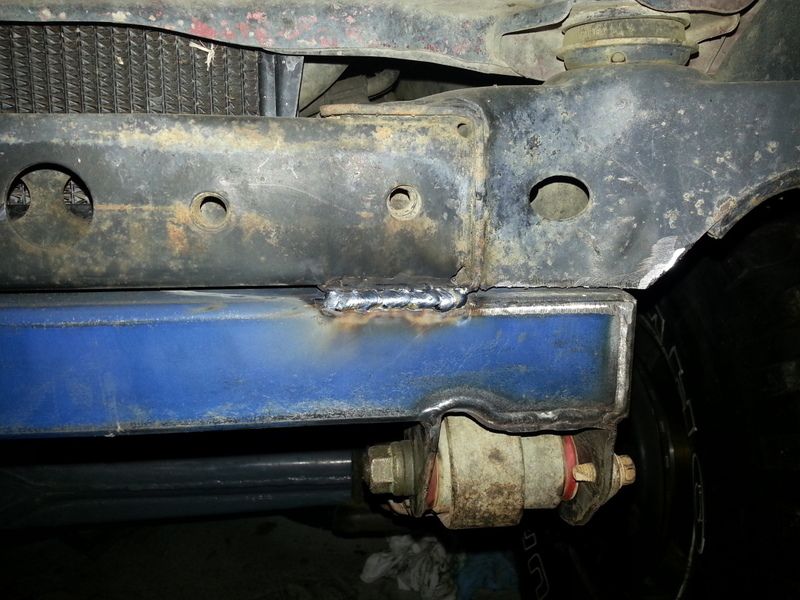
How does my welding look? I have only welded the front side at this stage and still deciding if i should do the rest of the welding myself or get a mate who is ticketed to do it. Looks to have good penetration to me but I haven't done much welding before. Thoughts? I think I might spend a day practising... The only way to get better is to do more!
Temporary 50mm extended shackles...
rear chassis all cleaned up. Man I hate grinding now! spent most of sat doing it. Welding is much more fun.
Rear spring mounts tacked on with longer shackles that I got off tom that were off the red hilux his has just put coil overs in.
Front spring mounts also off the red hilux. I'll be redoing these just sitting there at the moment to get it sitting right.
rear end in
Wheels on! Pretty happy with the height. Seems level at this stage but will wait till I can roll it outside.
and the 33's don't look stupidly small which is good
Rear springs are nice and flat. Shackle angle might be a bit steep? I put the rear spring mount in line with where the old one was and then centred the wheel in the arch by moving the front. Could move the rear mount forward to get a flatter shackle but that would also lower the rear a bit. Will have a bit of a think about it.
Cheers,
Pete
Re: LN106 Hilux Build
Petemcc wrote:How does my welding look? I have only welded the front side at this stage and still deciding if i should do the rest of the welding myself or get a mate who is ticketed to do it. Looks to have good penetration to me but I haven't done much welding before. Thoughts? I think I might spend a day practising... The only way to get better is to do more!
Thought you would have the hang of the welder a bit better than that by now Pete If you compare it to Tom's welding on the cross member which is just below, its not looking the best looking but will probably still hold togeather.
You could just tack everything on like that then get your mate round and it will be flash as.
Trucks looking like its going to be a beast mate
- tomsoffroad
- Flopsie
- Posts: 2445
- Joined: Wed Apr 28, 2004 12:00 pm
- Location: North Canterbury
Re: LN106 Hilux Build
Wicked Pete looking good . Your welding doesnt look too bad What I'd do is find some steel the same thickness to practice on. Set your amps to where you think is about right and then while you are running a bead adjust the wire speed until you get that nice sizzling bacon type sound. However I think the welds you have already done will hold. Obviously what you have already done is just a tack?
Also I'd suggest that you don't use those rear shackle mounts. The bush tube shrunk quite a bit when it was welded and is too tight, hence the reason they were on the scrap pile
Keep up the good work. Shes going to be awesome
Also I'd suggest that you don't use those rear shackle mounts. The bush tube shrunk quite a bit when it was welded and is too tight, hence the reason they were on the scrap pile
Keep up the good work. Shes going to be awesome
Re: LN106 Hilux Build
oldyella wrote:Thought you would have the hang of the welder a bit better than that by now Pete If you compare it to Tom's welding on the cross member which is just below, its not looking the best looking but will probably still hold togeather.
You could just tack everything on like that then get your mate round and it will be flash as.
Trucks looking like its going to be a beast mate
Haha yea I haven't really used it for the last 4 years. I think ill do a bit more practice. I have a spare section of chassis and lots of scraps so will do that this week.
I think I would rather practice than get my mate to do it. Otherwise I may as well not own a welder if I keep getting other people to do the important bits for me. But then again he is always there as a backup.
Will see what it's like by the end of the week haha
Re: LN106 Hilux Build
tomsoffroad wrote:Wicked Pete looking good . Your welding doesnt look too bad What I'd do is find some steel the same thickness to practice on. Set your amps to where you think is about right and then while you are running a bead adjust the wire speed until you get that nice sizzling bacon type sound. However I think the welds you have already done will hold. Obviously what you have already done is just a tack?
Also I'd suggest that you don't use those rear shackle mounts. The bush tube shrunk quite a bit when it was welded and is too tight, hence the reason they were on the scrap pile
Keep up the good work. Shes going to be awesome
Cheers Tom. Yea everything is just tacked on, haven't done any more on the front crossmemeber than what you see in the pics.
Not too sure about those rear shackle mounts. The bushes I have slide in and out pretty easy on them. Might get the callipers out and measure them against my old ones. Will be remaking the shackles though as they are really tight. I couldn't get them on with the bushes in. Had to get some old bushes and trim them down a bit so I could get them on to see how it sat. I think that is why they were so tight before. (after a weekend of grinding i was really keen to see how it looked on the wheels haha).
Will do a bit of measuring and see if everything is sitting where I want it. rear might need to come up a bit yet. then will take all the mounts and shackles off and remake them to suit.
Cheers,
Pete
Re: LN106 Hilux Build
good to see some good progress
Im curious to see how those longer hilux springs work, they should be a lot beter than factory and although maybe not as good as coons, its beter than having to re drill them and all the extras ya have to do with coons
envious much, yep, all that good gear I was suppose to be using
keep it up
Im curious to see how those longer hilux springs work, they should be a lot beter than factory and although maybe not as good as coons, its beter than having to re drill them and all the extras ya have to do with coons
envious much, yep, all that good gear I was suppose to be using
keep it up
Re: LN106 Hilux Build
not much of an update. Have been remaking some for the rear suspension brackets and some shackles over the weekend.
The other day I put the tie rod in so that I could push it in and out of the garage and noticed that it was a bit long. I am assuming it is off an 80 series (Jdub?) and remember seeing in one of deranged's posts that the needed shortening?
If so can anyone tell me how much I should get it shortened by (and rethreaded I assume)
Cheers,
Pete
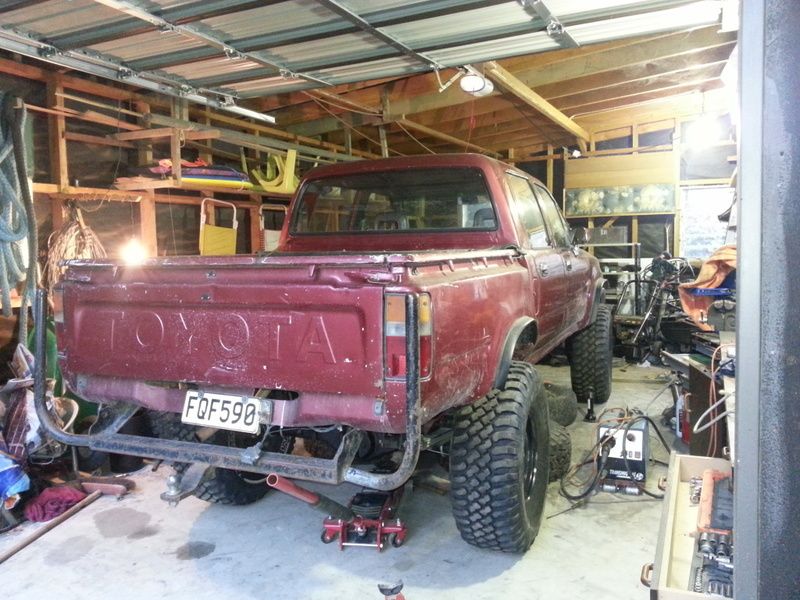
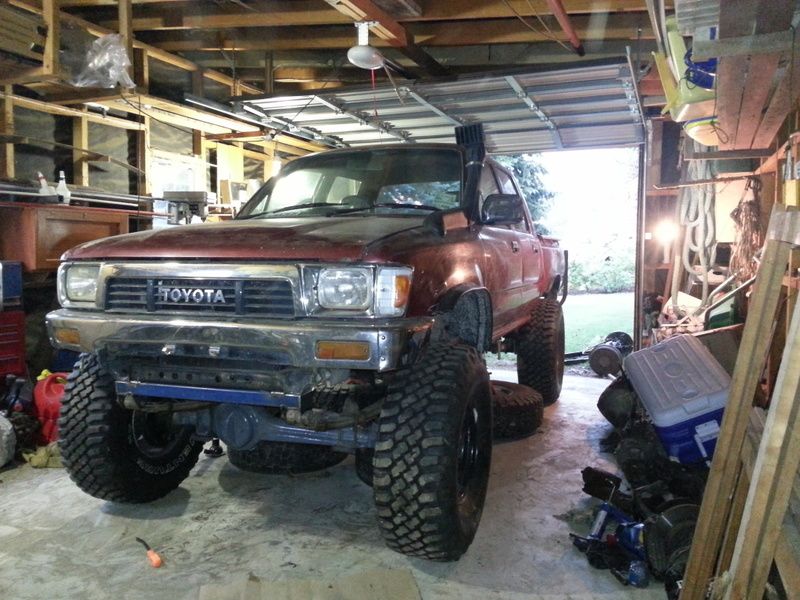
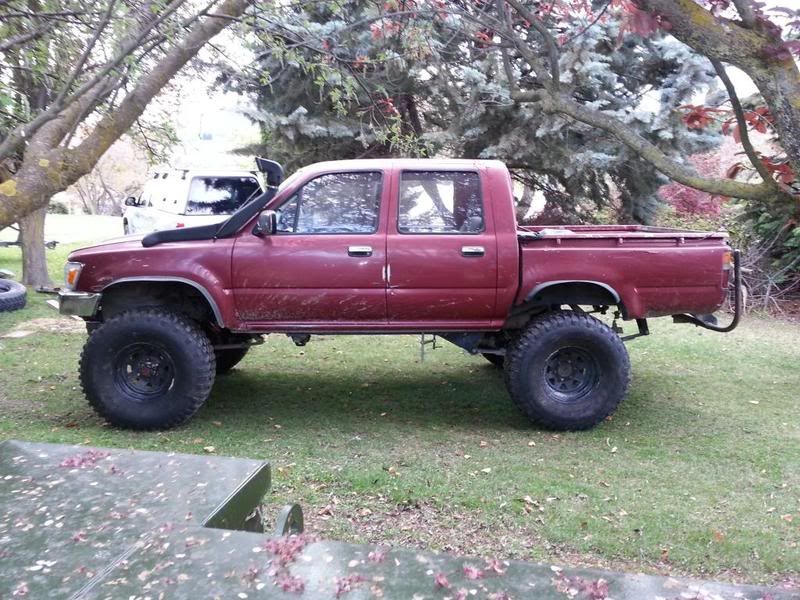
and just to keep it interesting some pics out of the garage. The ground is a bit uneven so height not perfect.
Re: LN106 Hilux Build
very cool.
re the tie rod, best if you ask Suzolla, its a kit he bought in, I know rayndeb bought the same kit, and tomsoffroad installed it so maybe ask them too.
Also 1 thing I will give you a heads up on is the disk brakes, when the rotors and callipers are bolted up you may notice the callipers dont sit dead centre to the rotor, its an observation i made when I had it all mocked up, I think the rotor just touches the callipers, if you find the same, should be as easy as getting the spacers for the calliper brackets turned or milled down a couple mm, or whatever the difference needs to be to get the callipers sitting centre, hope that makes sense, I think when talking to some else about it they recalled it being a common problem with the SNR kits.
Jared
Re: LN106 Hilux Build
Just checking when you say the Tie rod you mean the one that goes between the steering arms. Pretty sure j-dub got one of the heavy duty ones that has the locknuts on the tie rod ends, if so it should be the correct length as it came straight from Trailgear.
Cheers
Tim
Cheers
Tim
Re: LN106 Hilux Build
Yip the one that ties the two hubs together. Had another look at it tonight and I had it in the wrong hole on the passengers side. Fixing that helped a bit and it looks like I now have a little toe in (have the wheels off again so hard to tell)
I have the rod ends screwed in as far as they go. If my eye-ometer is right and it has toe in then It should be fine. But it does still seem a bit long having to have the ends all the way in.
Pretty sure it is the heavy duty one, has big lock nuts on each end. The main rod (without the ends screwed in) is 1050mm long and the drag link I have is 850mm. Is that what they should be?
Cheers,
Pete
Re: LN106 Hilux Build
Well apparently the arms I have are the right length and by the look of it adjusted to its shortest the tie rod should work a charm.
Onwards and upwards!
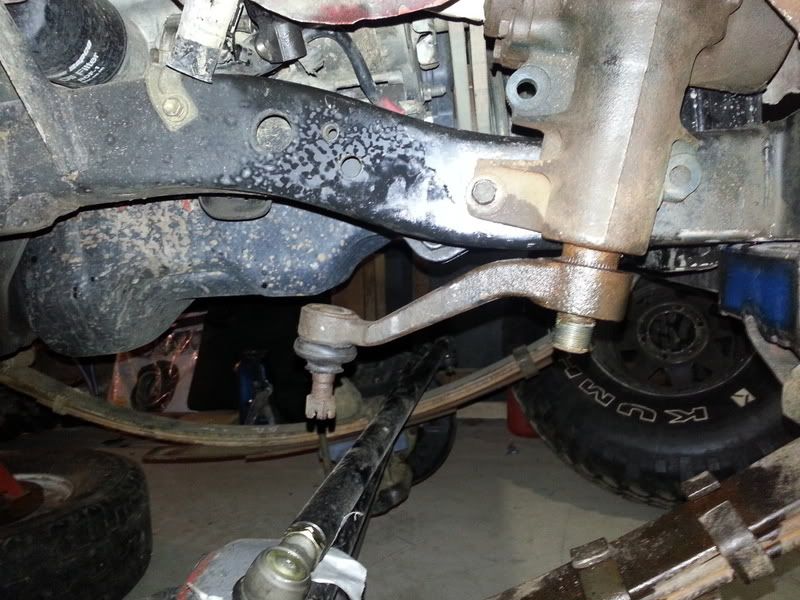
Steering box mounting.... Finally took the old box off today, what a prick the are to get out if you leave the arm on. Was a prick last time I did it a year ago and still a prick today.
Thought I would bolt up the IFS box using one of the old box's mounting points that looked like it was almost in the right spot. How does this look?
To me it could rotate a bit more (clockwise) and possibly go down a bit to compensate where it is close to the chassis at the moment... bit but this would be a prick... it is touching on the body right at the front and I would also have to weld up the old hole and redrill it.
What do people normally do? I have the trail gear dropped arm which is the same shape as the originaly IFS one.
Do you normally use that hole or weld it up and start again? Also would you cut into the body at the front to allow the box to go further forward? It is quite close to the body mount and the horizontal brace that runs along the front.
I am pretty keen to leave it where it is if it would work as it would be waaaay easier. With a bit of hammer work I could probably use this hole and still rotate the box a bit. But then again I would rather do it once and do it right....
Could also possibly leave it where it is and go to the flat arm?
Box mounting
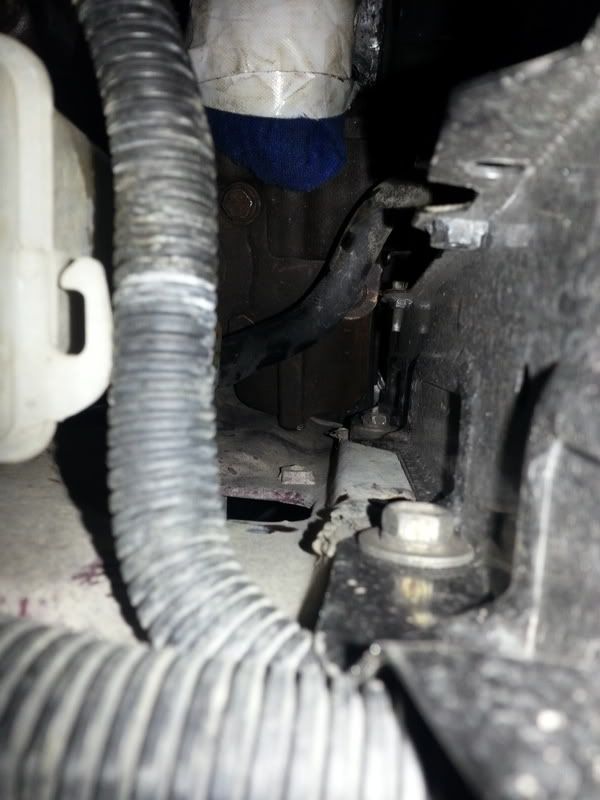
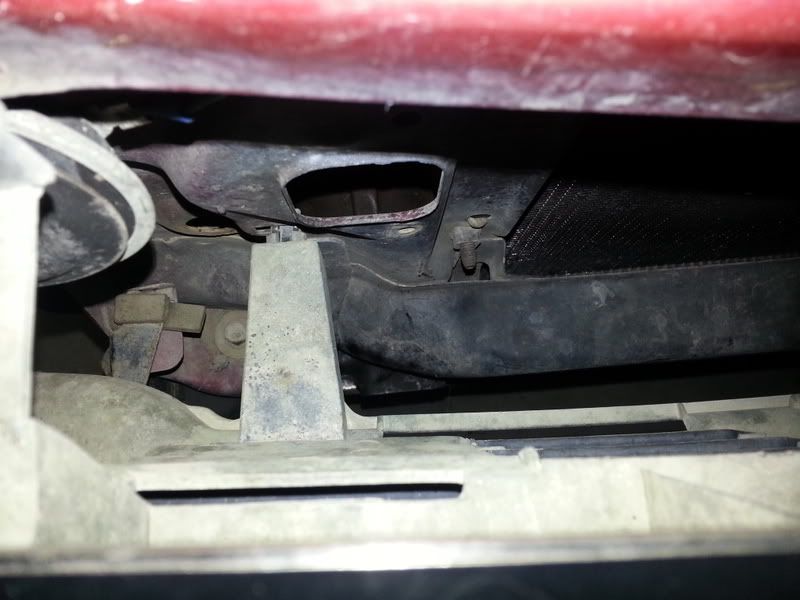
Looking down on the grill showing steering box hitting body.
Showing horizontal brace that I would have to cut into if I was to make way to move the box further forward.
Re: LN106 Hilux Build
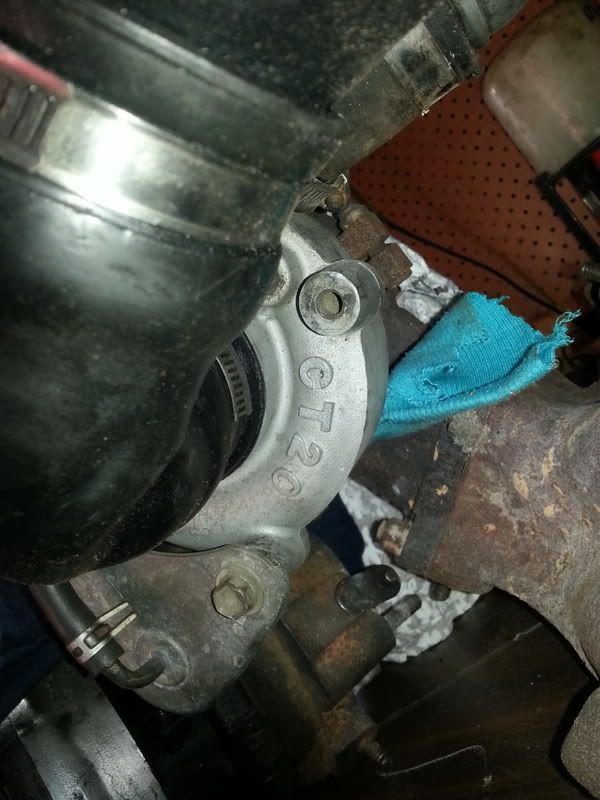
Also, it's turbo time!
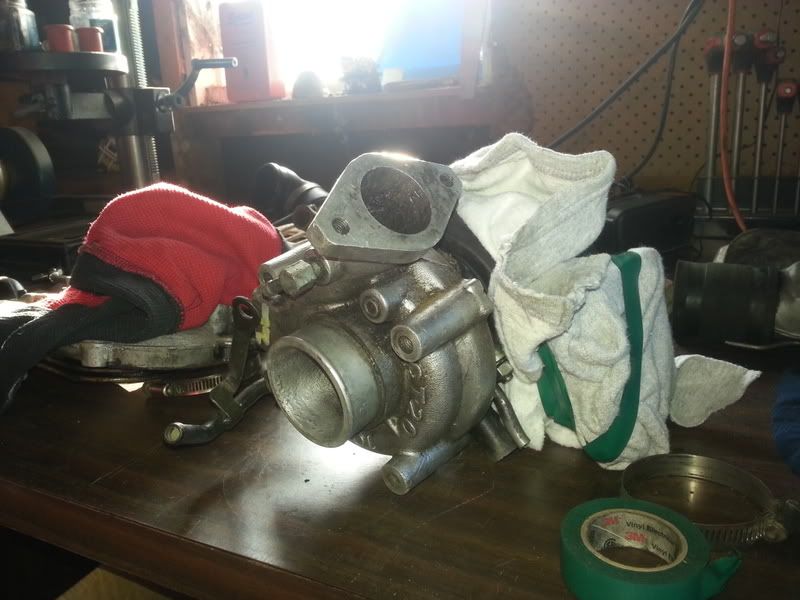
I now have a small pile of turbos and there are two types one that has a more square edged compressor housing and one that is rounded on that edge.
Square edged
Rounded edge. Also has a different flange where the crossover pipe goes on.
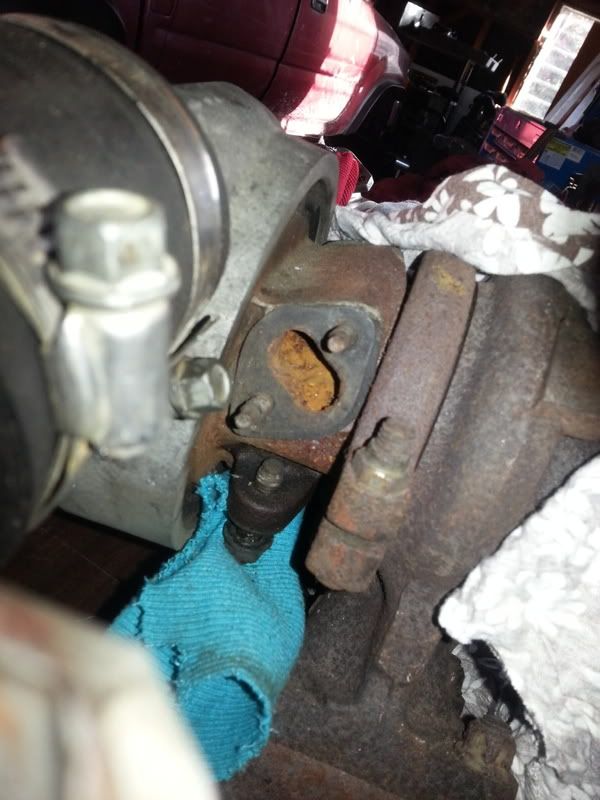
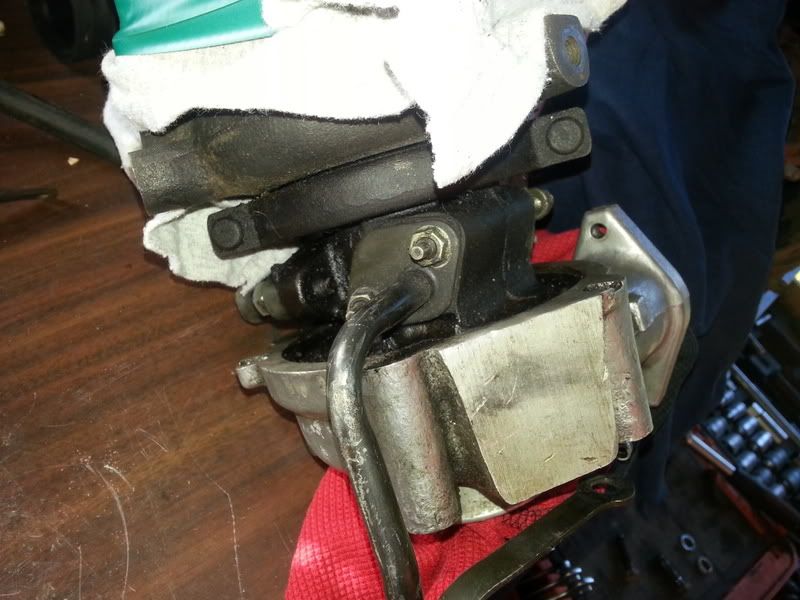
It all seems pretty straight forward just have to work out the water cooling. How does this normally work? The square edged turbos have one intake with two pipes on it and a blanking flange on the other side where as the rounded edged turbo has a single pipe that comes out where the blanking flange is on the other ones.
Single water port.
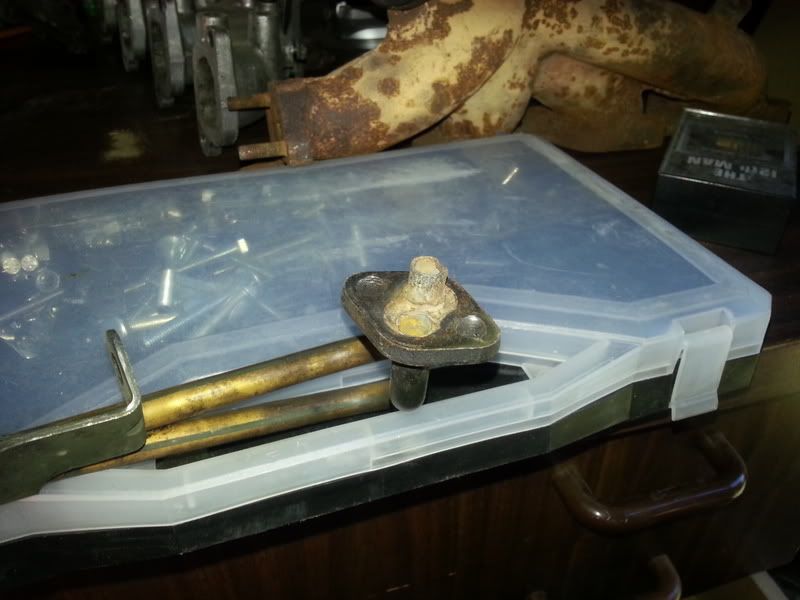
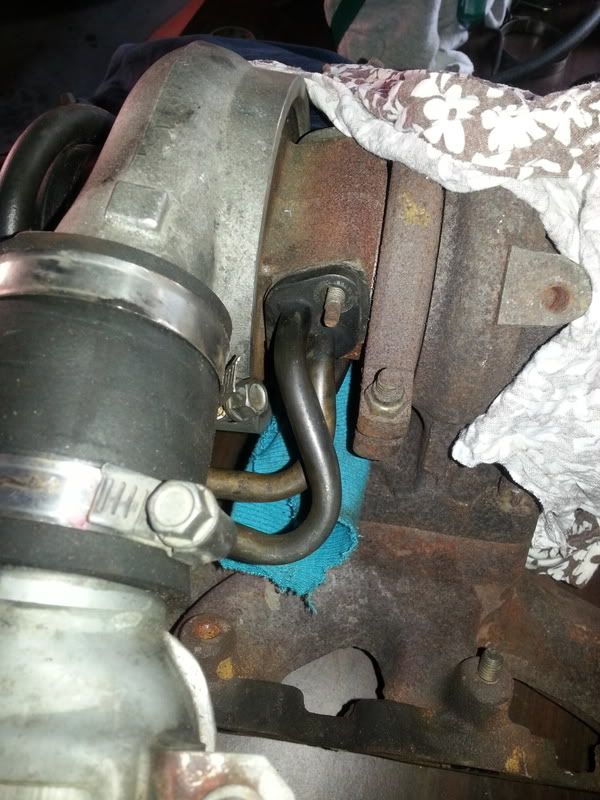
Pipe mount. The two pipes, assume one is water in and one is water out, just go into the same hole.
Water pipes fitted.
Sinlge hose on the rounded edged turbo. On the square edged turbos this is just a blanking plate.
So... how should this go? Any one got any pics?
Cheers,
Pete
- KIWI_TERRANO
- Hard Yaka
- Posts: 1138
- Joined: Tue Feb 17, 2009 5:24 pm
- Location: Kirwee
Re: LN106 Hilux Build
One turbo is a eariler 2lt other is a 2lte mate doesnt have waters connected on his tho... But i can get a pxt maybe tomorrow if need be of another mates 2lte,
What was the reason behind the 05 springs? Curious as lokking at replacement suspension for mine