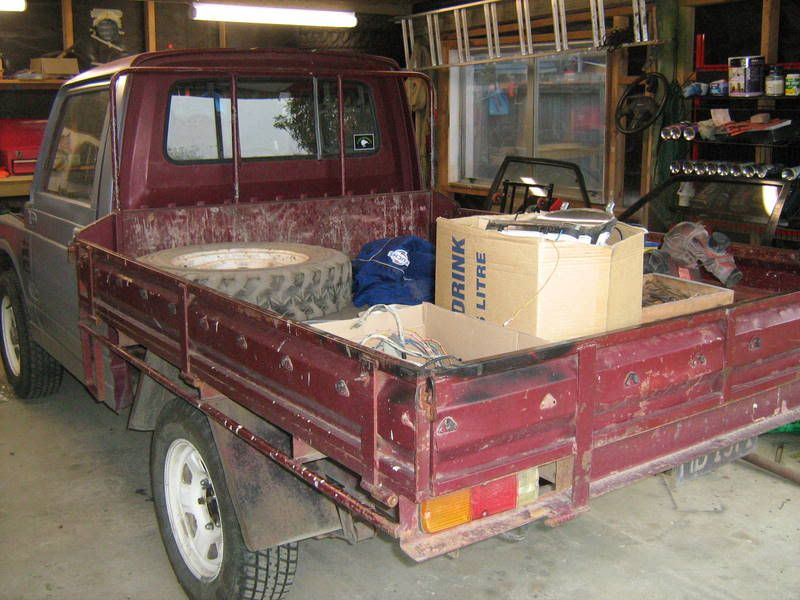
Selling the tyres on the vitara?
Dunno yet.. I may use them on the ute for every day use - They havn't had a lot of use.
Selling the tyres on the vitara?
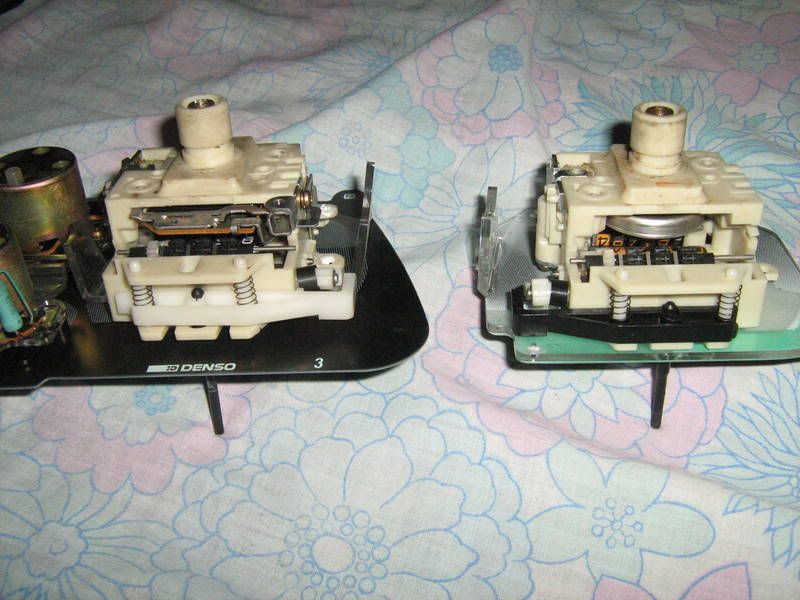
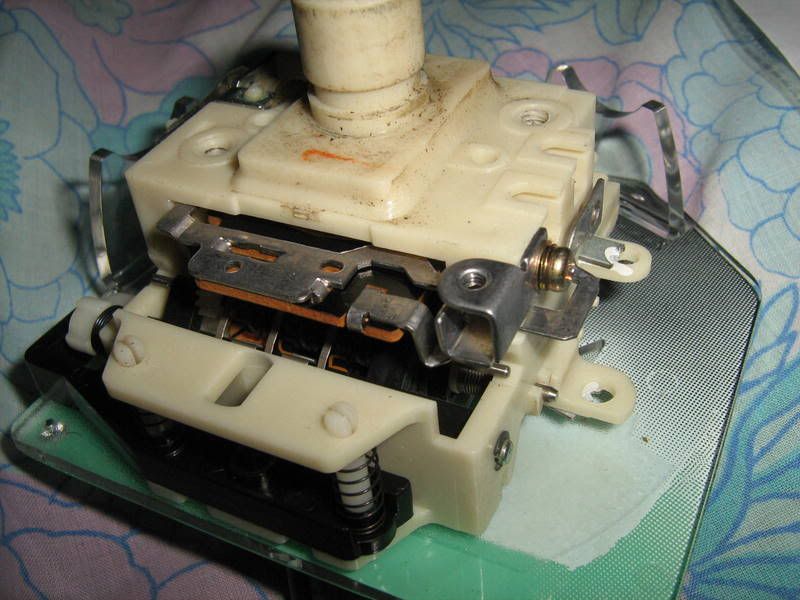
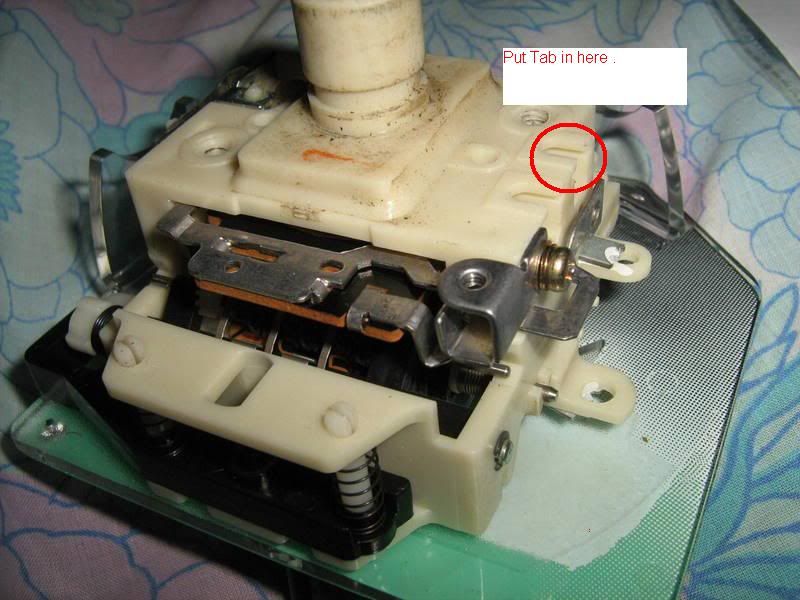
No messy wire to screww to the back of the cluster when fitting .
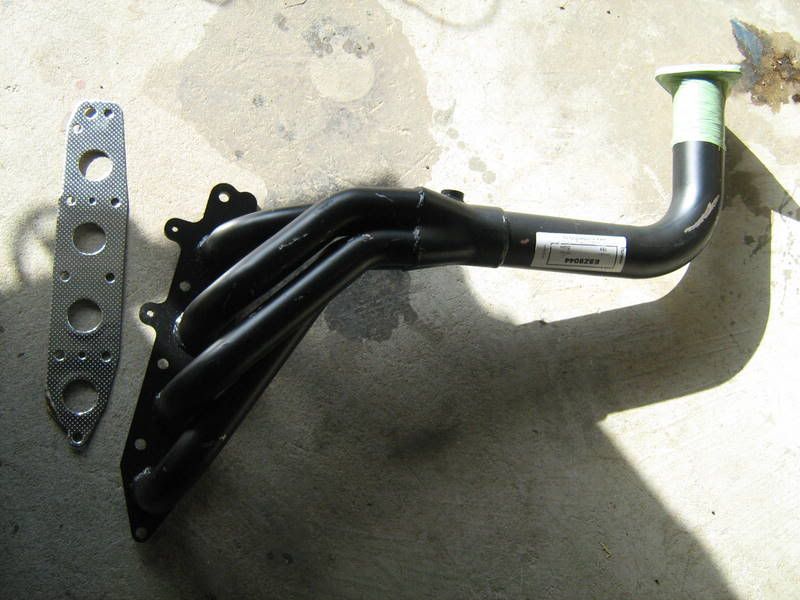
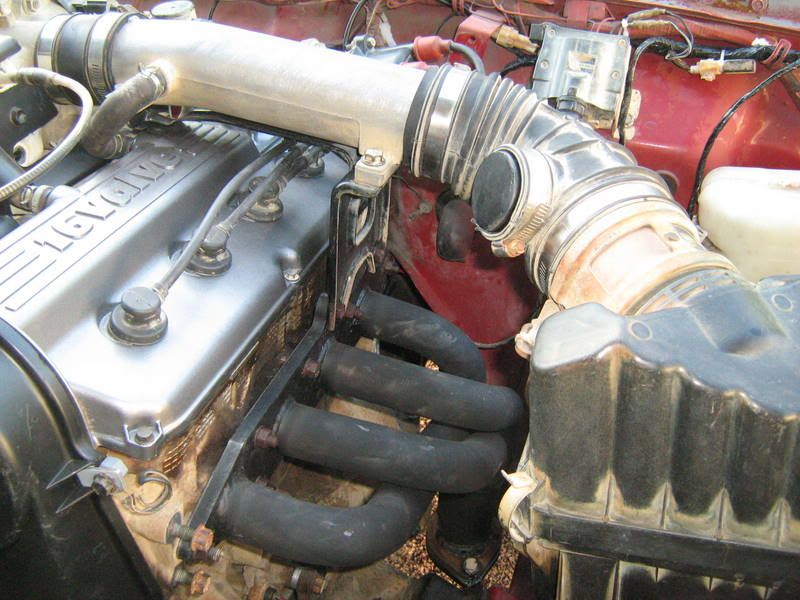
lincooln wrote:Hey scott, Where and how much were the extractors you are fitting?
lilpigzuk wrote:did you have the clay option vitara like mine Scott??
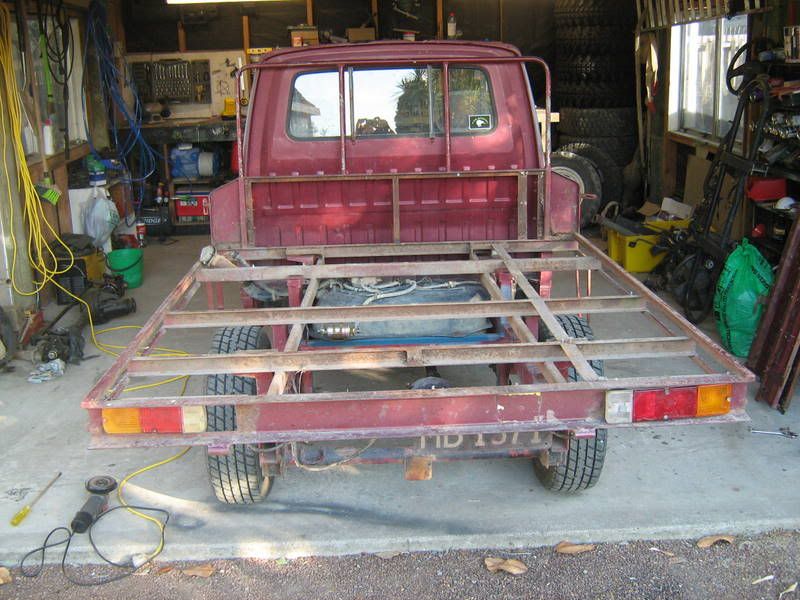
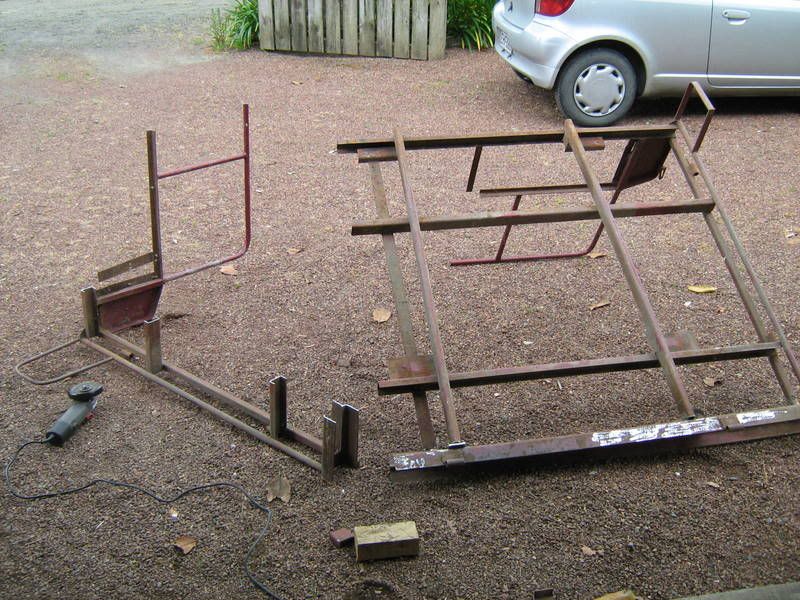
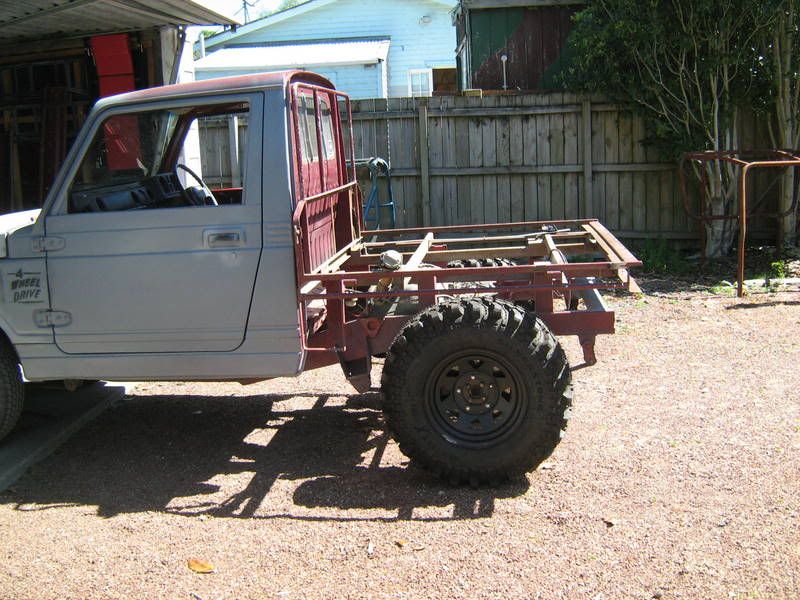
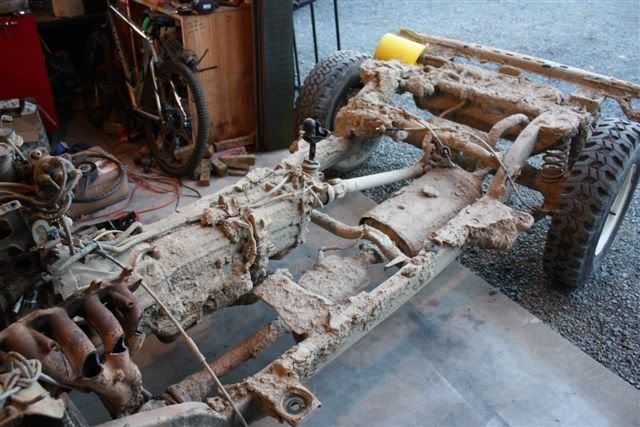
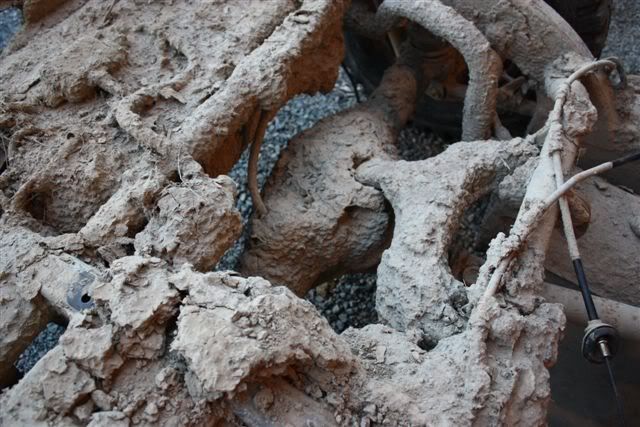
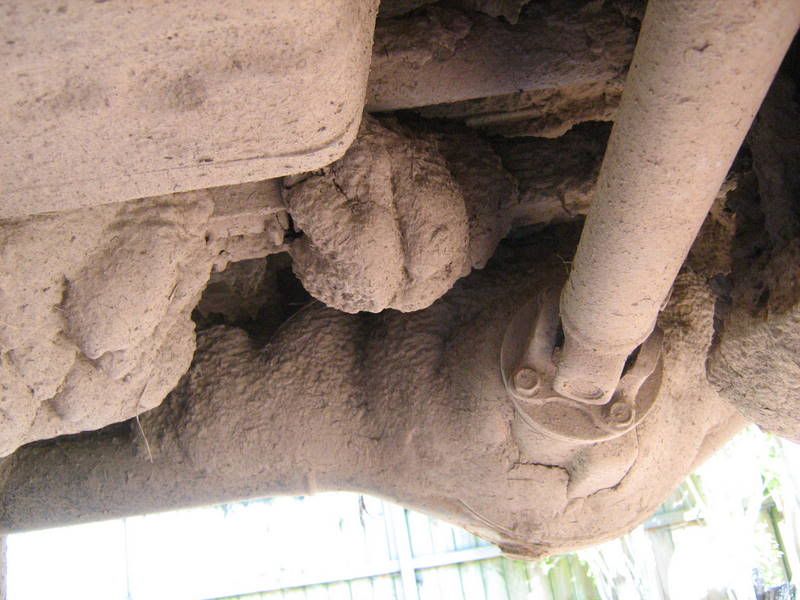
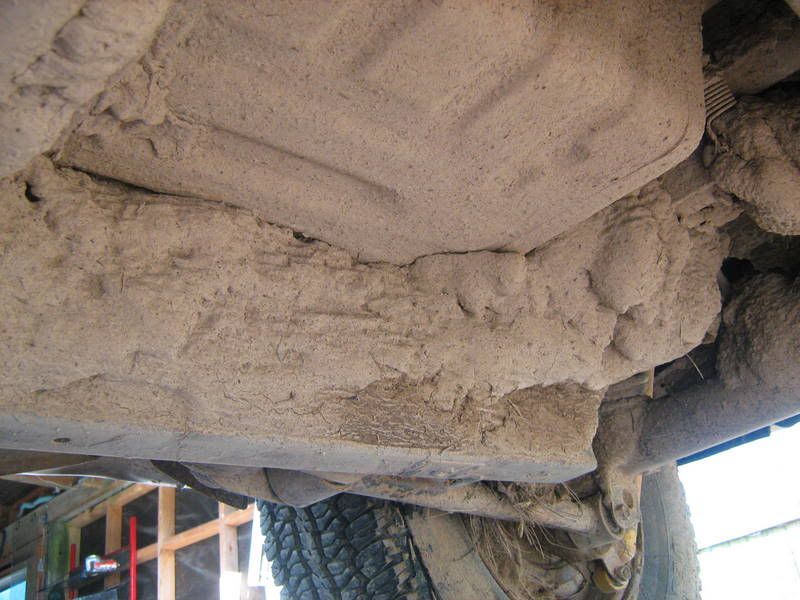
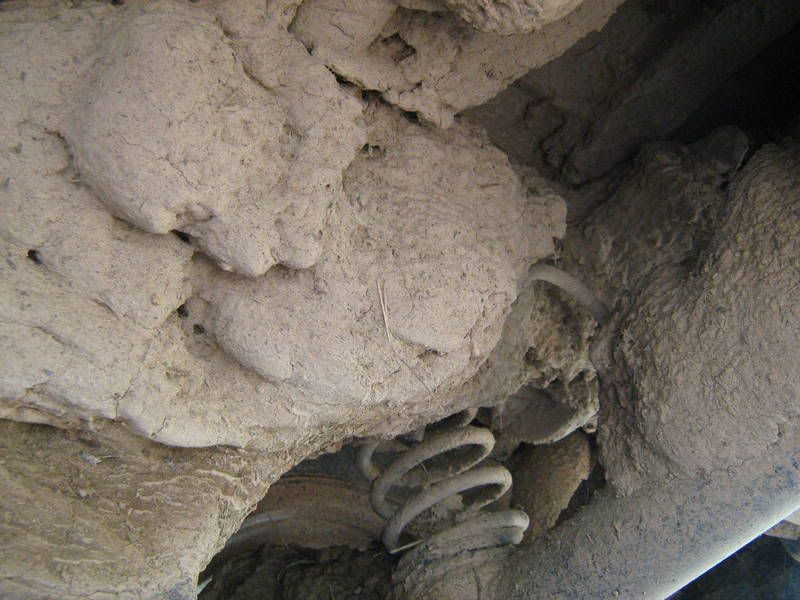
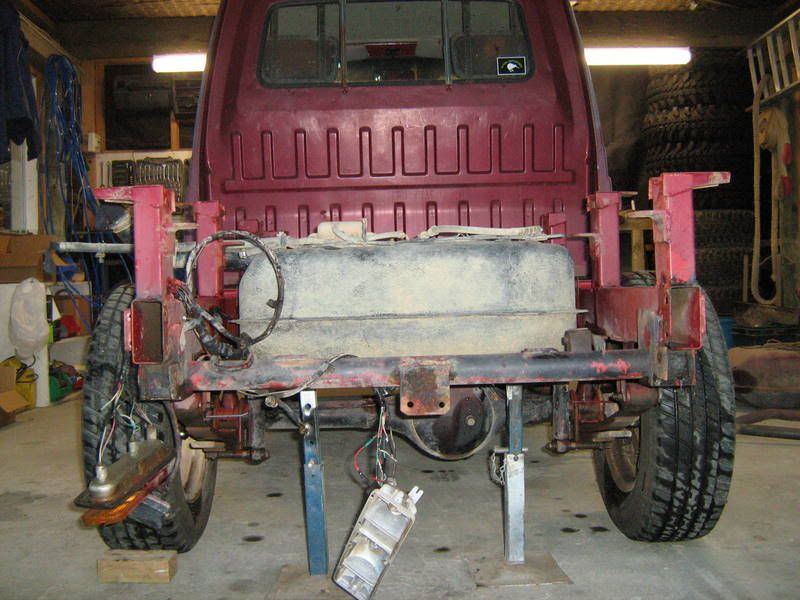
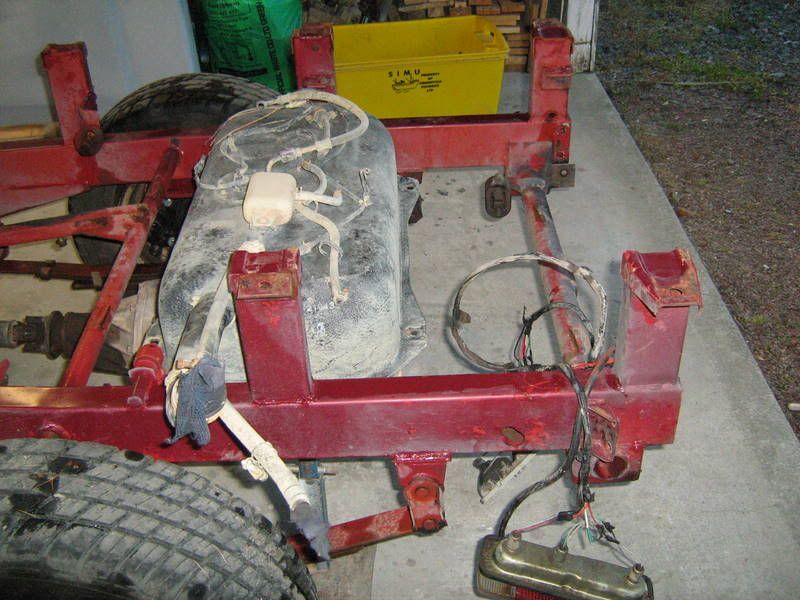
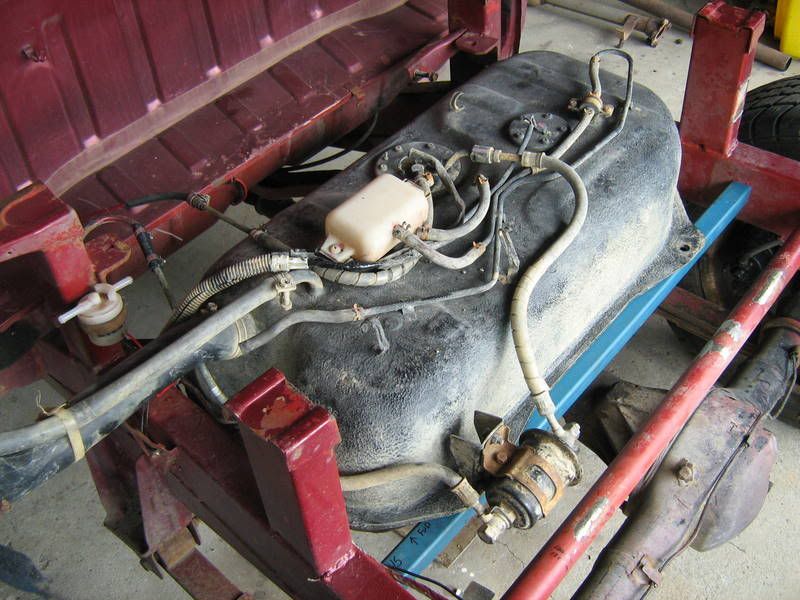
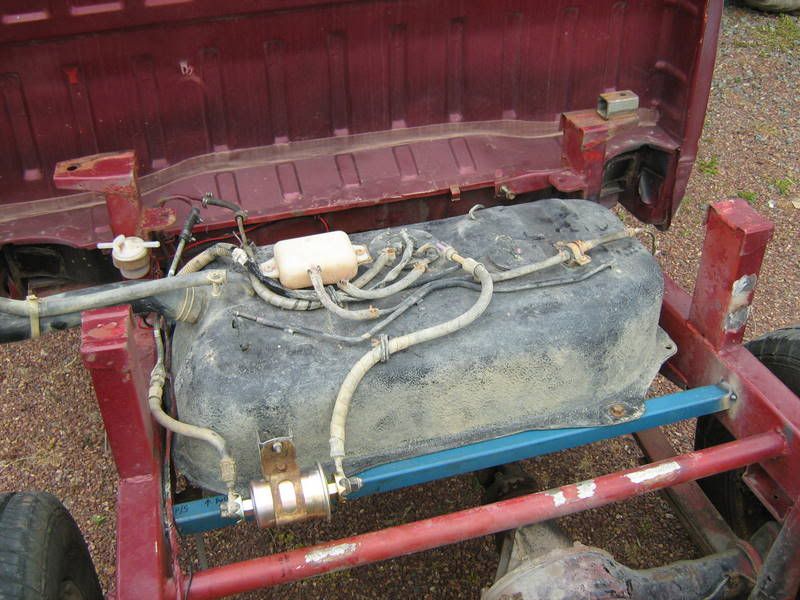
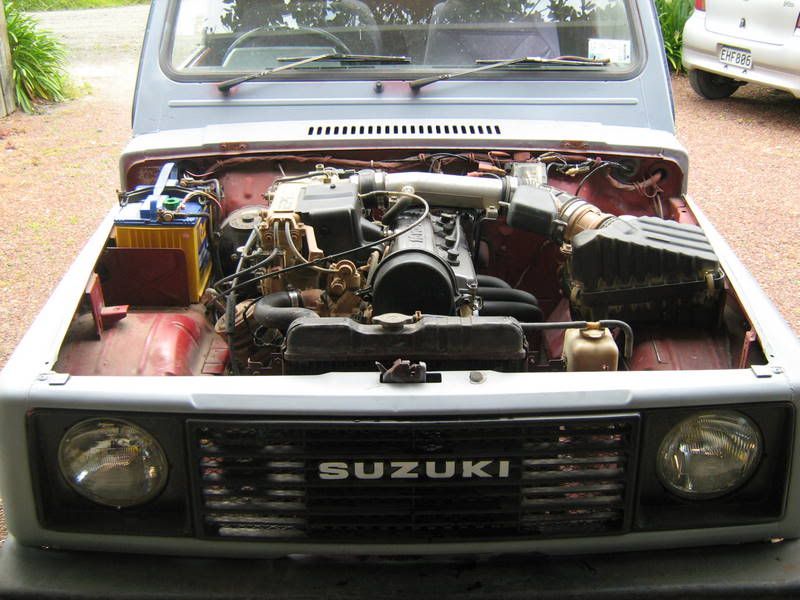
somewhere in this pic is the top a arm for the rear diff, and apparently a efi fuel tank
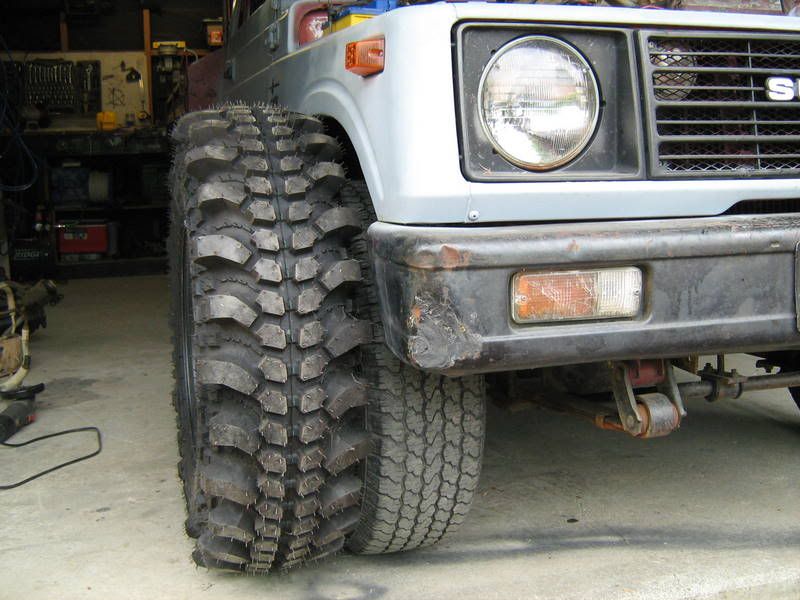
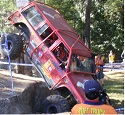
POS nearly got a match, was well over rusted bolt heads and 2 ton of clay....
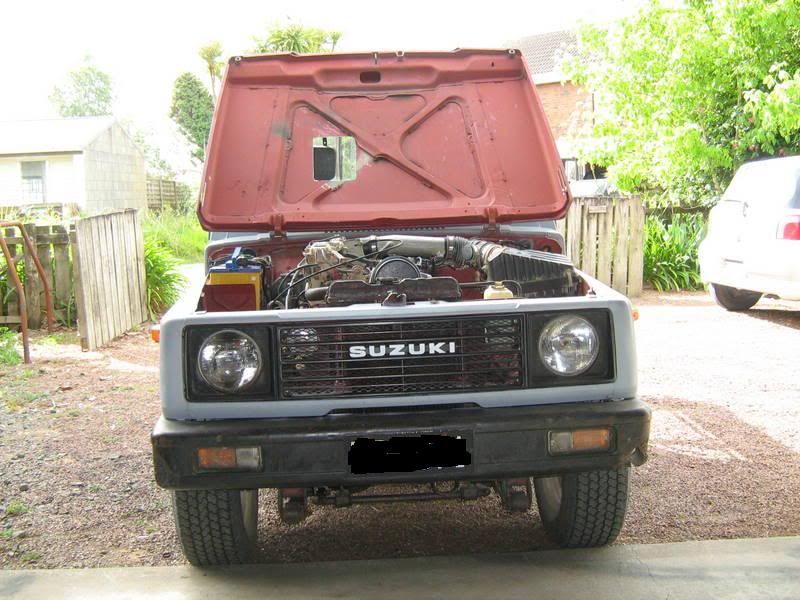
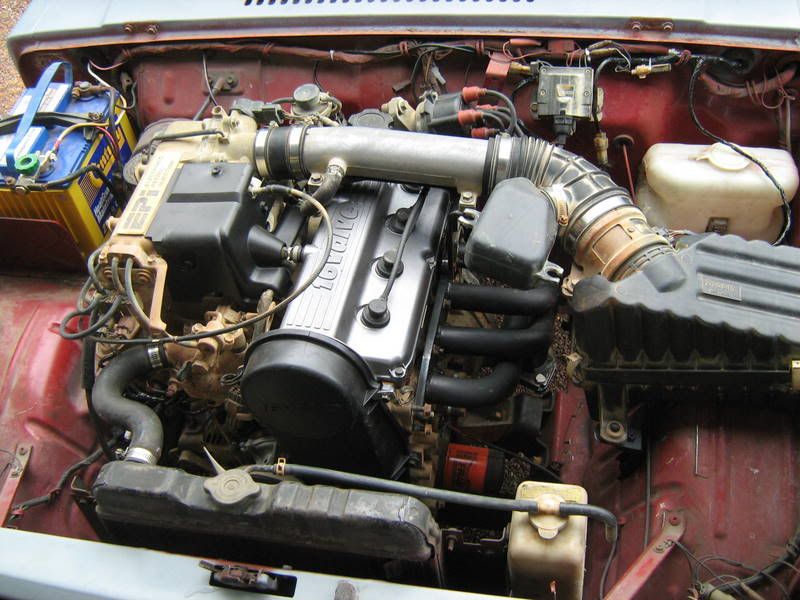
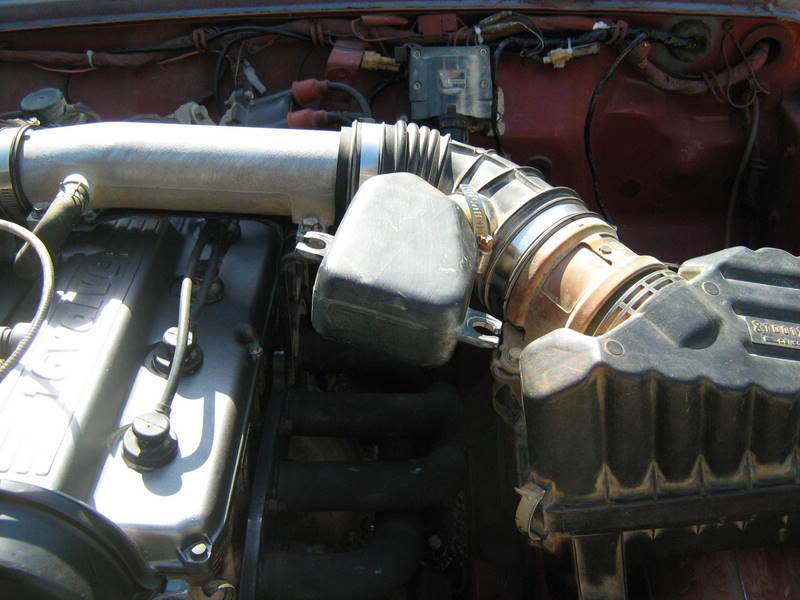
pandasport wrote:whats the story with the exhaust?? has it got holes in it or is it just camera tricks?
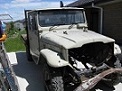
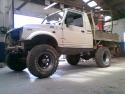
Heath wrote:Where the hell did you guys pick up those ... ah ... heavy weight zooks?

PuddleJumper wrote:Plan is to start this thing up on Labour weekend...

meatc wrote:Check out my bonnet auction
http://www.trademe.co.nz/Browse/Listing.aspx?id=326691749
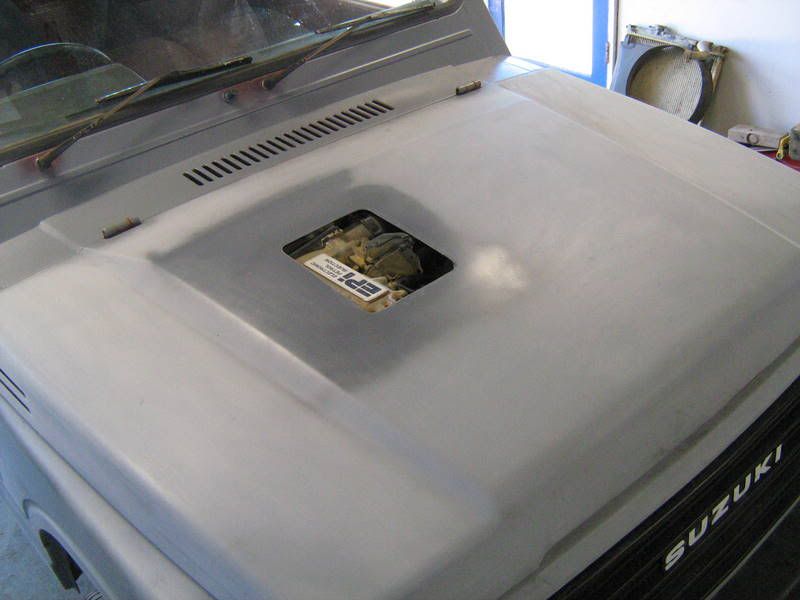
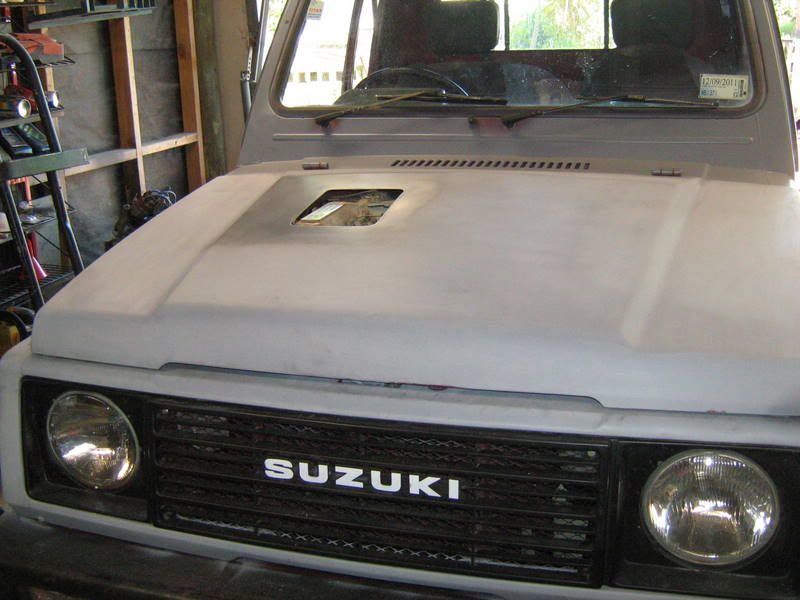
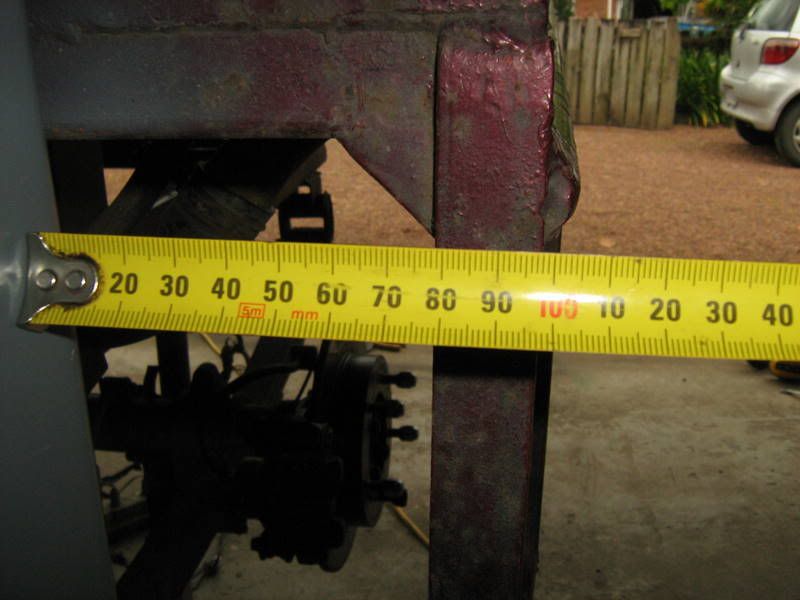
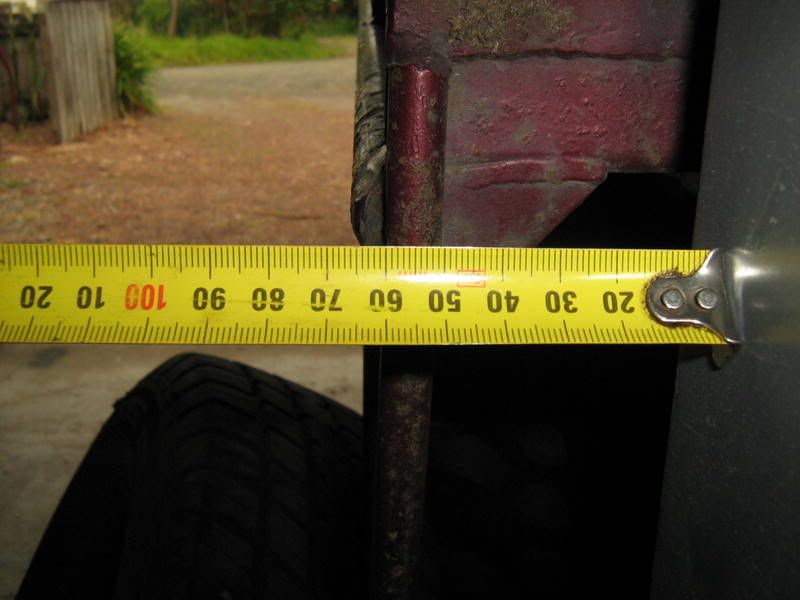
Will get you some measurements of the hump if you want. Its about 60mm high and the black stripes in the photo are on the flat area.
PuddleJumper wrote:meatc wrote:Check out my bonnet auction
http://www.trademe.co.nz/Browse/Listing.aspx?id=326691749
Will get you some measurements of the hump if you want. Its about 60mm high and the black stripes in the photo are on the flat area.
If you can measure the hump that would be great! 60mm should be enough height wise. Just width ways I'm worried about.
Thanks!
Scott
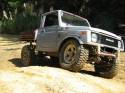
badnuz wrote:one word: very nice