Guards and Flares:
I have touched on these in other posts.
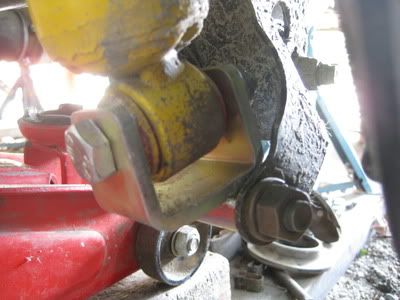
Bigger tyres and better articulation means rubbing in the guards. We can't have that so have to make some room.
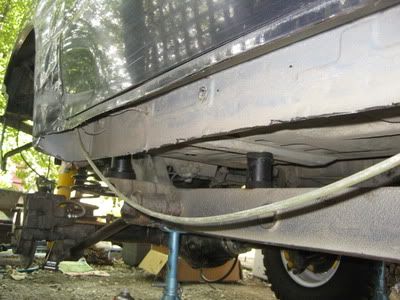
The body lift went a long way to addressing this and the wheel offset helps as well. But at some point the guards simply have to be trimmed back, especially on the door side of both front and rear guards.
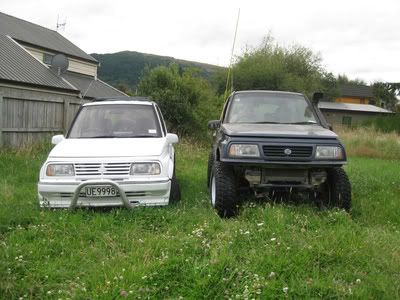
We have seen a lot of vehicles on a lot of different trips and we wanted to avoid the feral bashed out guard looked (at least ones from deliberate actions we have a few character marks and west coast pinstripes which are a different matter...).
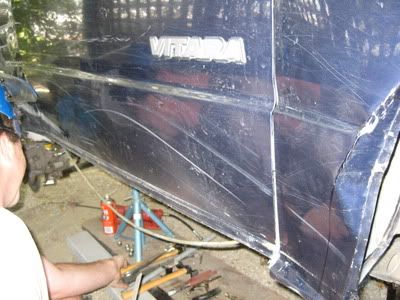
Inside the front guards (once the plastic comes off) it is obvious where there is a seam at the backof the weheel arch. I hammered this back flat and used the resulting face to guide me as to where to put the new bend in the exterior panel. I marked it up with vivid and found the first hiccup - mark up both sides to ensure what you do on one can happen on the other - there was a snorkel in the way on the front passenger side and a fuel filler in the way on the rear drivers side.
Once marked out properly, I started folding the steel over progressively using a pair of pliers. At the top of the arch, it is a small amount, at the bottom, I had to cut more than an inch of steel - was getting quite handy with the cut off disc by now. Obviously I was also making sure things fitted with the box section sills.
Once roughly folded over, I smoothed it over and tightened up the fold using some panel beater tools (I had these for some work on an HR holden I had - the sale of which funded most of the Vitara work).
This took quite a bit of time - but it is important to take the time to make it look right (and equal) otherwise it can look really half assed.
It is much the same in the rear guards, but a bit more complex because there is a double skin. I marked this out and ended up cutting a wedge out to retain the welded seam at the outside edge of the guard. This was then welded back in by the panel beater who did the final welding on the box section sills. Even without the box section, the rear guards were probably beyond my immediate capability, especially as I didn't have a suitable welder.
Sorry I don't immediately have a photo of this because it would be much easier to demonstrate. This stuff was getting done at the business end of us going on holdiay overseas, followed by moving to WA.
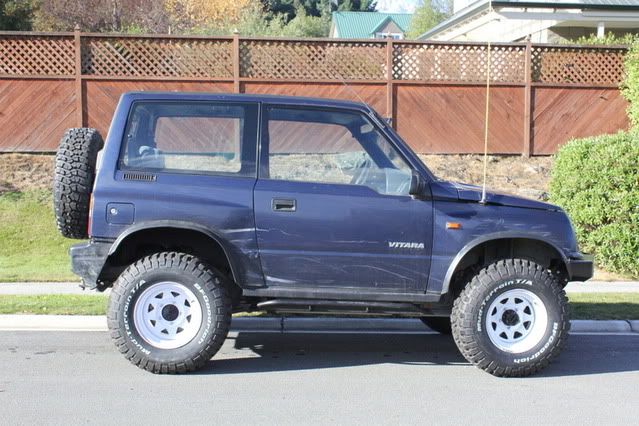
However, once trimmed back and painted up, keeping an eye out on Trade Me got us a few bushranger? flexy flare offcuts and I screwed these into place. Looks easy, but was a shit of a job that took me about 4 hours! Getting the flare sitting at the right position and staying there while first doing the pilot hole and then the screw (bollocks they are self tapping...) was quite difficult and I had a lot of vice grips in place at times. It did get smoother as I got further through it.
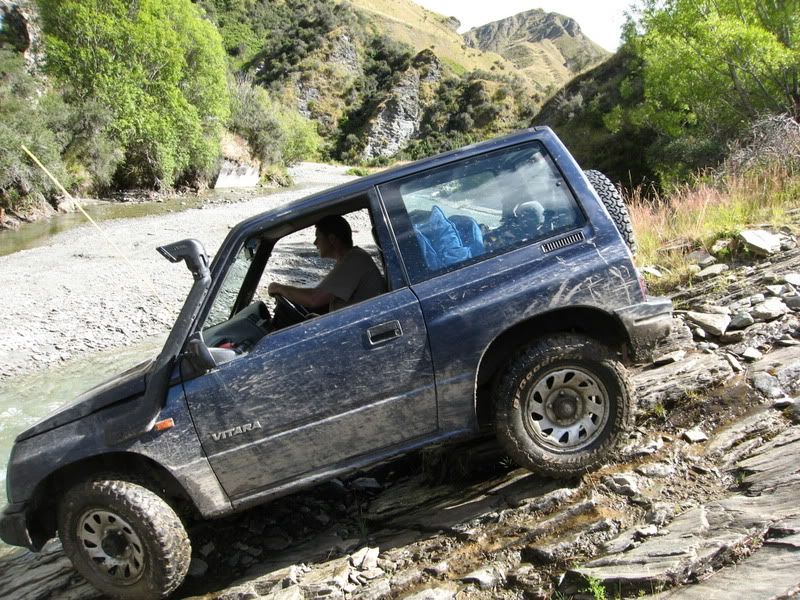
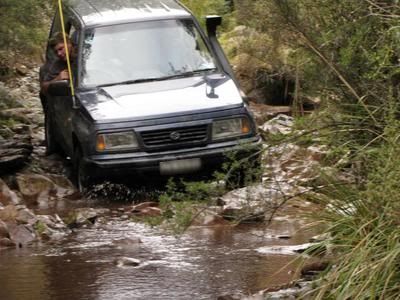
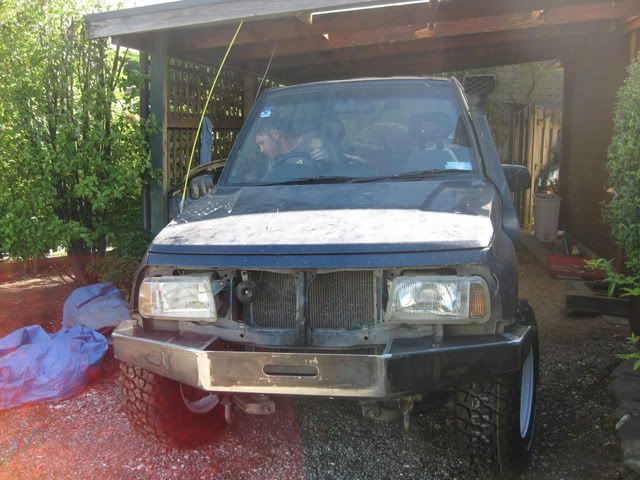
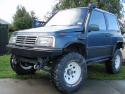
End result, big black flared guards that just cover the wheel treads but will flex and give if we tickle a tree or two.
This post really sucks without a picture, so I will repeat one. Wish I had more, i spent a lot of time doing the guards.