terrano gearbox rebuild
Posted: Thu Oct 24, 2013 9:16 pm
this is my disclamer: i am only a mechanic that does wofs all day, not a gearbox specialist 
I know i have another thread bout this thats 2 years old which i never got around to doing
so here goes
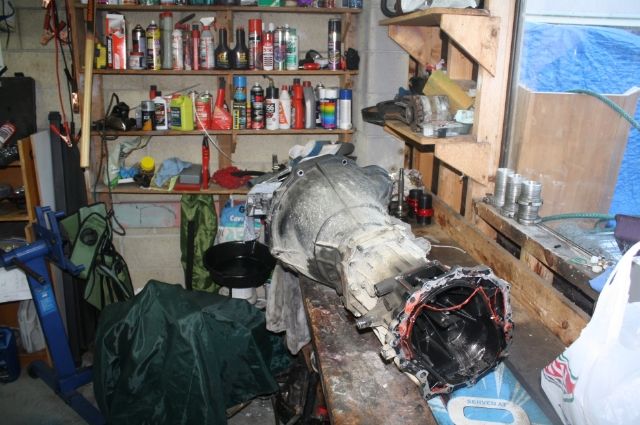
you should start with something like this
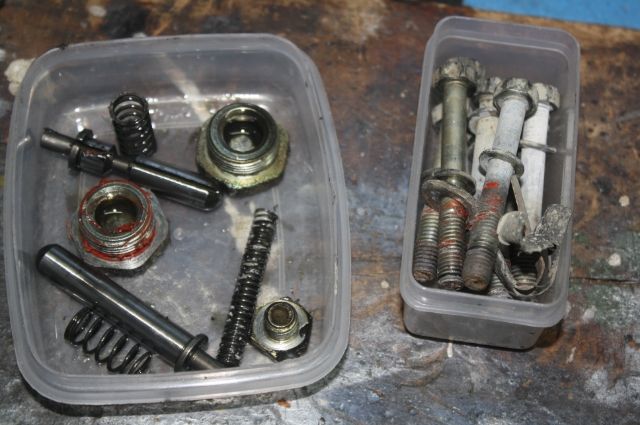
remove these parts and the arse will come off
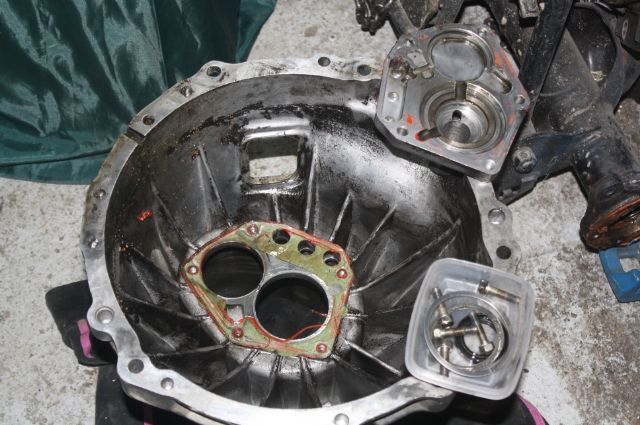
more bolts etc and bell housings off
now ur left with the internals, put her in a vice (makes life easy)
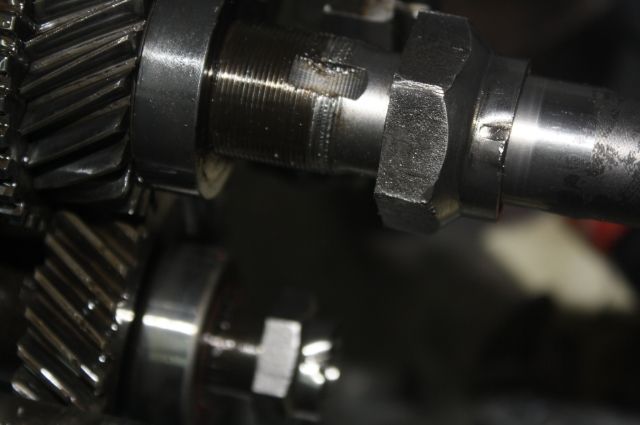
remove lock nuts. NOTE: the big one is left hand thread, which was a bitch to undo cause it was x threaded
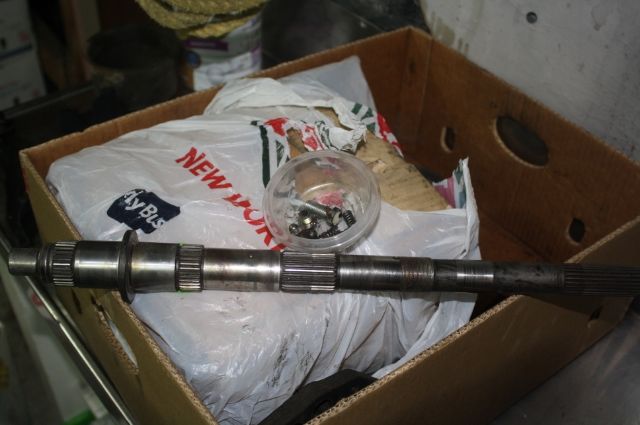
luckly i have a spare gearbox in bits
now remove the selctor shafts
then remove all gears and shit off the rear section
put every thing in order so you know which way it goes back on
get your trusty old hammer out and beat the two shafts gently forward till the bottom one comes out (dont drop it)
remove input shaft
keep smaken till main shaft comes out
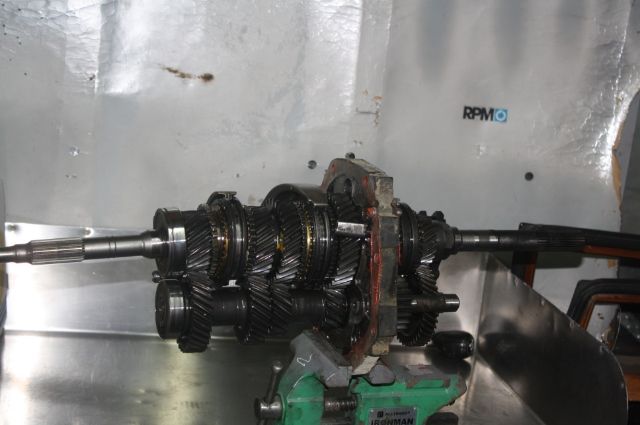
should be left with these internal parts
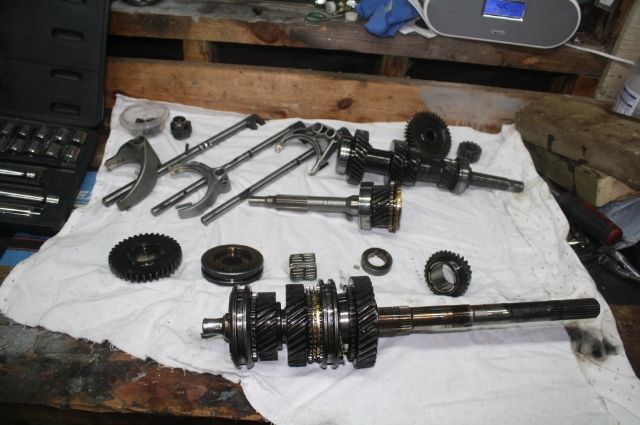
also this
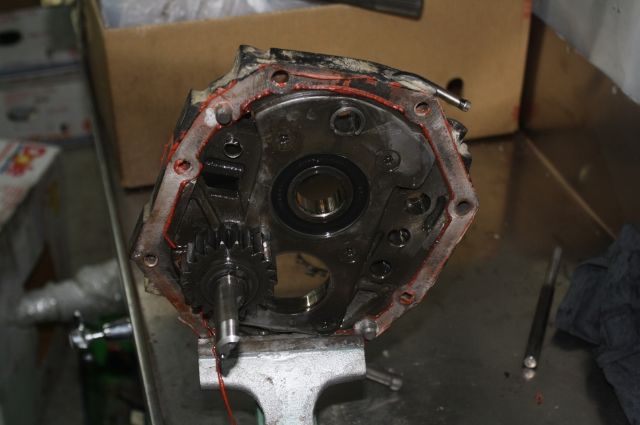
and this is why 4th gear wouldnt ingage

remember to clean parts as you go and reclean when you put it back together
will put more photos of the reassemble when i get around to doing it
I know i have another thread bout this thats 2 years old which i never got around to doing
so here goes
you should start with something like this

remove these parts and the arse will come off

more bolts etc and bell housings off

now ur left with the internals, put her in a vice (makes life easy)

remove lock nuts. NOTE: the big one is left hand thread, which was a bitch to undo cause it was x threaded

luckly i have a spare gearbox in bits

now remove the selctor shafts
then remove all gears and shit off the rear section
put every thing in order so you know which way it goes back on
get your trusty old hammer out and beat the two shafts gently forward till the bottom one comes out (dont drop it)
remove input shaft
keep smaken till main shaft comes out
should be left with these internal parts

also this

and this is why 4th gear wouldnt ingage

remember to clean parts as you go and reclean when you put it back together
will put more photos of the reassemble when i get around to doing it


