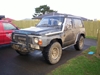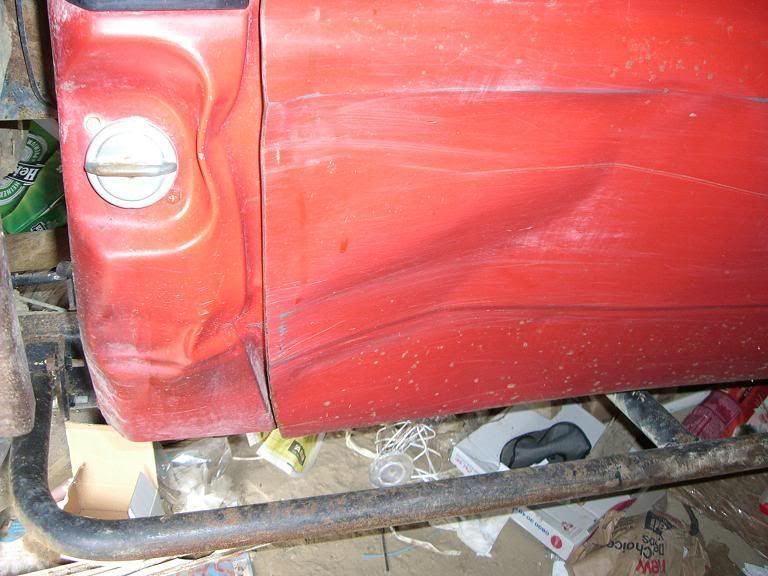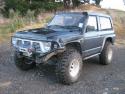
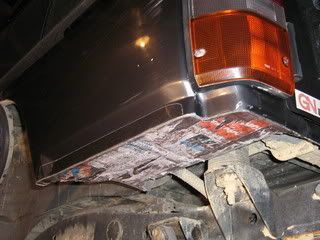
Finally got around to doing my rear quarter panel chop and sidebars so thought someone might be interested in seeing them as the sidebars mount differently ( rear suspension arm box )to others I have seen, and I used fiberglass cloth and resin for my rear guard chop which I found very easy and has the advantages of no welding, damage to paint and very neat.
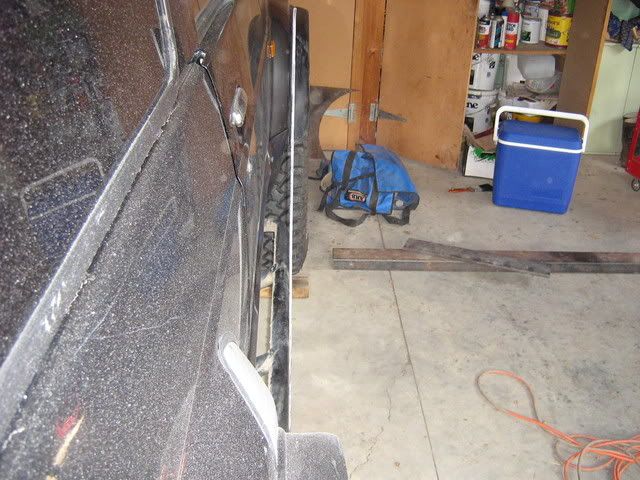
Guard chop
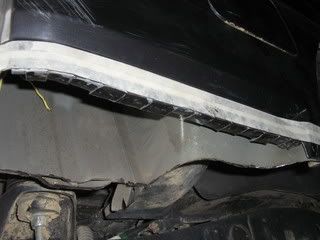
Cut just below the new line and cut tabs which I bent inwards for the fiberglass to key into. These tabs were cut with tinsnips but I later found the cutting disc did a better job by not twisting the tabs.
Do tabs all the way round ( one side is only half done here )
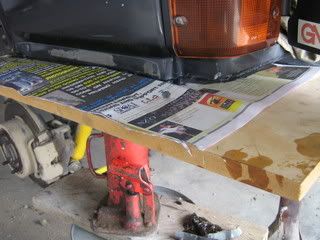
I cut some fiberglass matt roughly the shape of the hole. Dunked it in resin and laid it on a board ( Paper inbetween to make it easy to seperate ) and held the board up flush to the bottom of the cut. It was a simple job then to just build it up inside the cavity with more cloth and resin, keying it into the tabs. ( plenty of vids on UTube showing how to fiberglass )
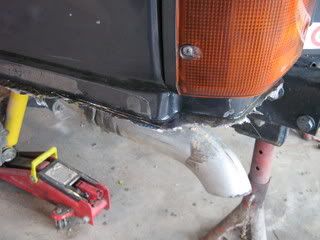
Let dry then pull off the board. You can see the resin has oozzed out filling and sealing any holes and gaps.
Just trim the excess and you have one very neat, strong job.
Don't forget to put the drain holes back in for the floor support
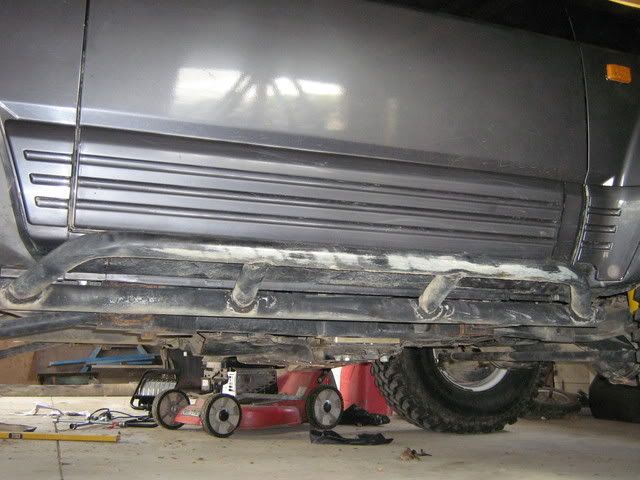
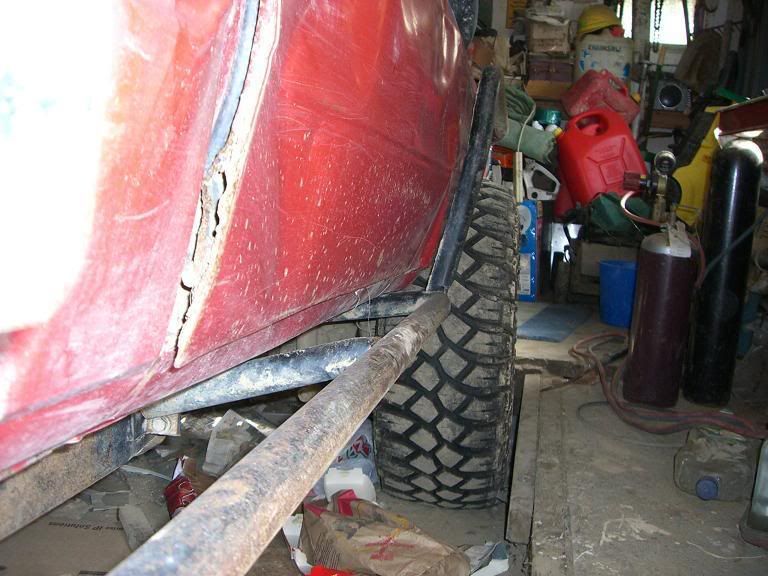
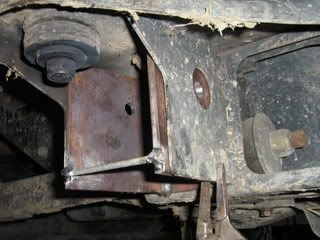
Sidebars
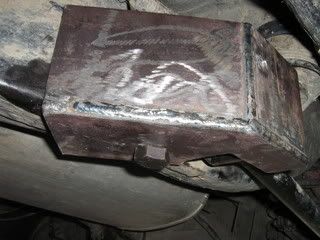
Made the brackets out of 6mm thick x 100mm wide flat. This was just the right width and depth to fit inside the front body mounting bracket and around and under the rear suspension arm mount.
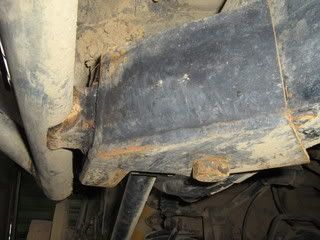
Front Attachment is pretty typical but I have made sure that the plates are hard up against the underside of the body mounts so there is less weight taken on the bolts. I thought I would need to put an extra bolt in the lower corner but it doesn't seem to need it. 1st Pic below shows the bracket only partly made.
I made some tapered washers to lock and locate the big factory hole onto my smaller bolts.
Rear Attachment uses the big hole in the bottom of the rear lower suspension arm brackets
Left side
Left side
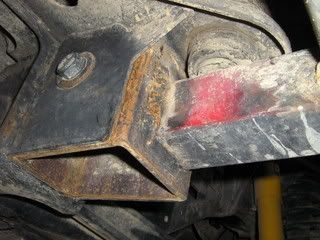
I used a 20x50mm bolt with a nylock nut. I had to drop the suspension arm to put the nylock nut inside the suspension bracket but once inside it was kept from turning because it was wedged into the triangular corner. you could get real fancy and use some "Kneedit" to help locate it but you can get your fingers in behind easily enough to start the thread.
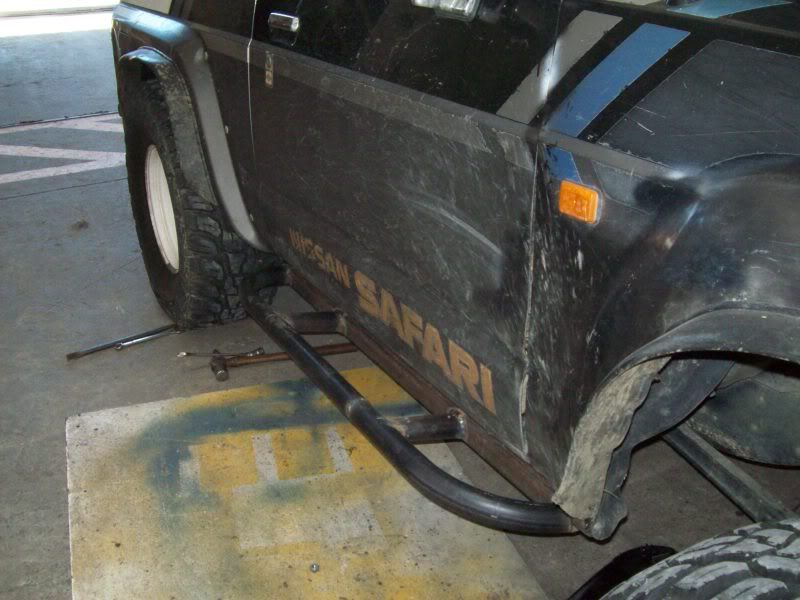
This is the Right side view ( after some playing )
Because the bracket is so close to the bar there is not much leverage, and the triangular shape of the bracket and the fact it wraps around the suspenion bracket makes it plenty strong enough.
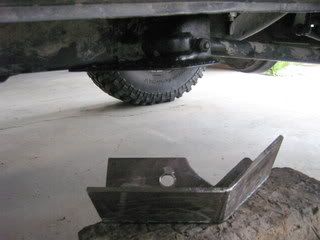
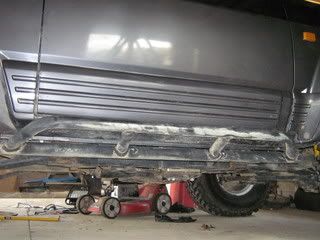
Had the "HiLift" jack under them and lifted the truck no sweet.
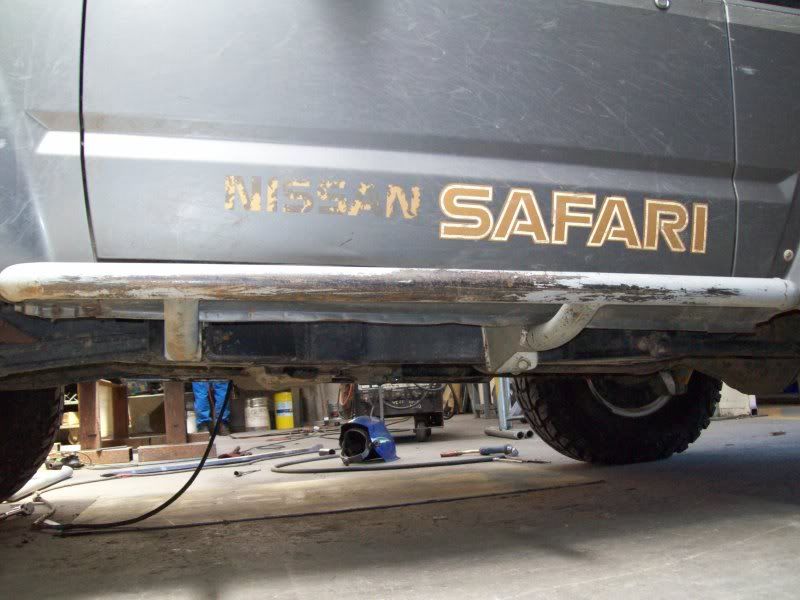
Bar offset ?
I wanted resonable protection but not so wide as to drag unnecesarily or hinder entry into the cab. You can see from the pic that they protrude out abit more than halfway between the widest point of the door and the tyres. After a good thrashing at RallyWoods I feel really pleased with this setup.

Hope this may help someone
Cheers